The Best Pet-friendly Houseplants
For most, pets are a member of the family. And like any other family member, we’ll do whatever it takes to keep them happy and safe. Since our furry friends don’t always know what’s best for themselves, it’s up to us to petscape and create a safe environment they can roam freely in.
To remove some of the guesswork, we have comprised a list of plants that add beauty to your home and are problem-free for your pets. Just because these plants are pet-safe, doesn’t mean a mischievous cat still won’t knock your favorite plant off the table or dog might decide to take a bite. If your pet does get into any plants, even the nontoxic kind, be alert for signs of an allergic reaction.
5 Houseplants Safe to Have Around Pets
- Spider plant
This classic, indoor plant is a staple in many households because it grows fast growers and improves indoor air quality. Spider plants do need regular waterings, but can live in most light conditions and temperatures.
- Bamboo
In addition to being non-toxic to dogs, cats and horses, bamboo adds beauty to any household. The plant prefers a location with indirect, bright light, but can thrive under artificial lighting as well.
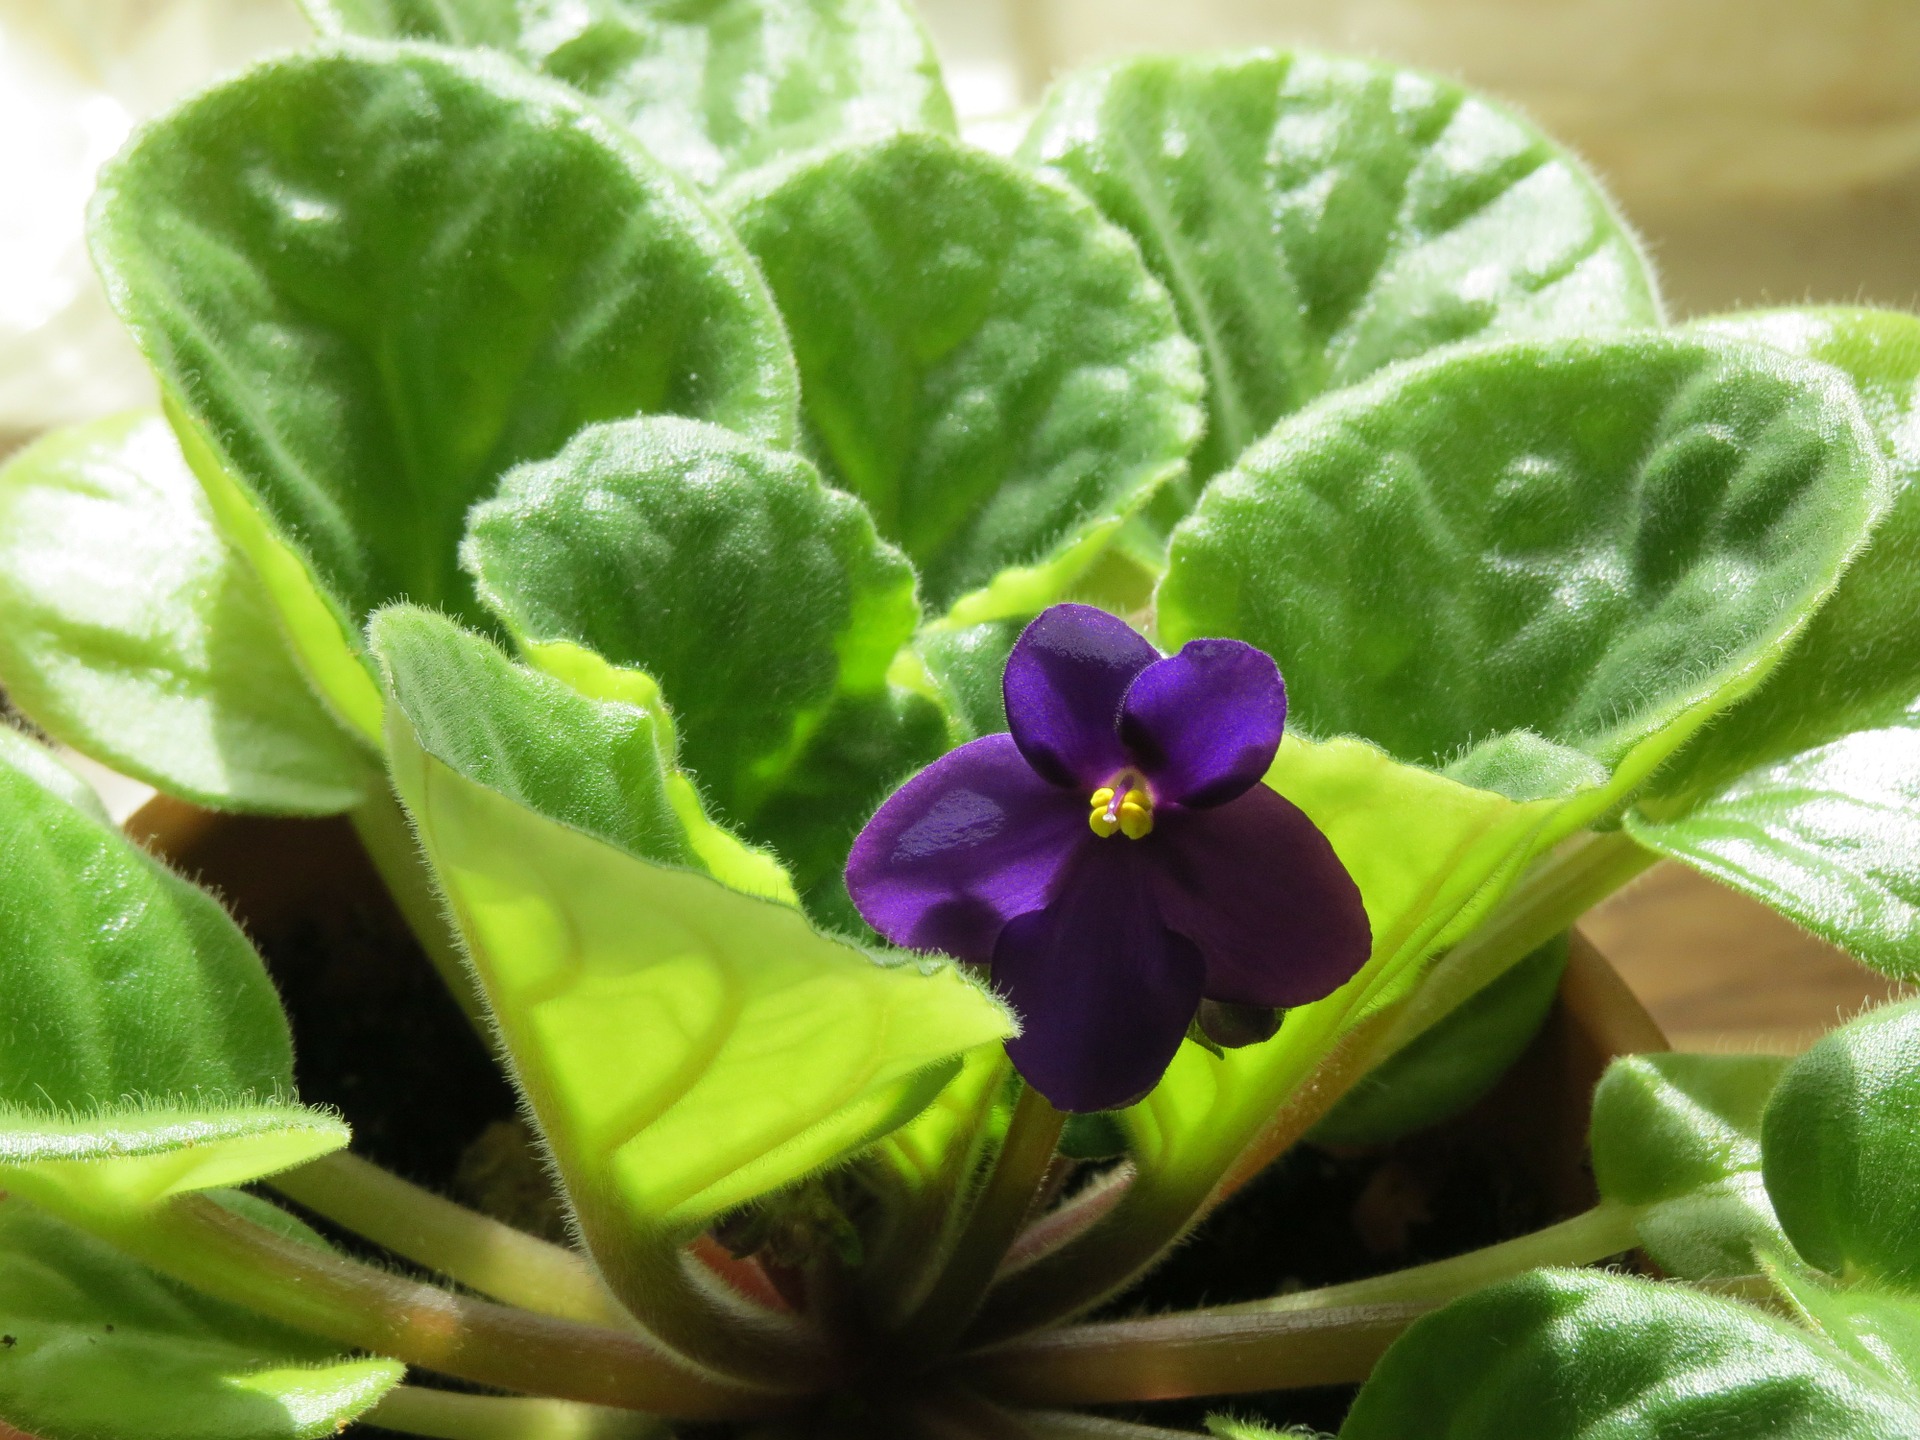
- African violet
The blooms of African Violets are delicate and come in hues of vibrant purples and pinks. They can thrive in windowsill container gardens and are very easy to care for. Keep them in a warm place in the house where they can get lots of sunlight to ensure year-round flowers.
- Boston ferns
Only true ferns are safe for pets, so when shopping make sure to look for this fern. These non-toxic plants can survive in cool, humid, dark places. Humidity is key for these plants, so lightly mist them once or twice a week and be sure to monitor the soil and keep moist.
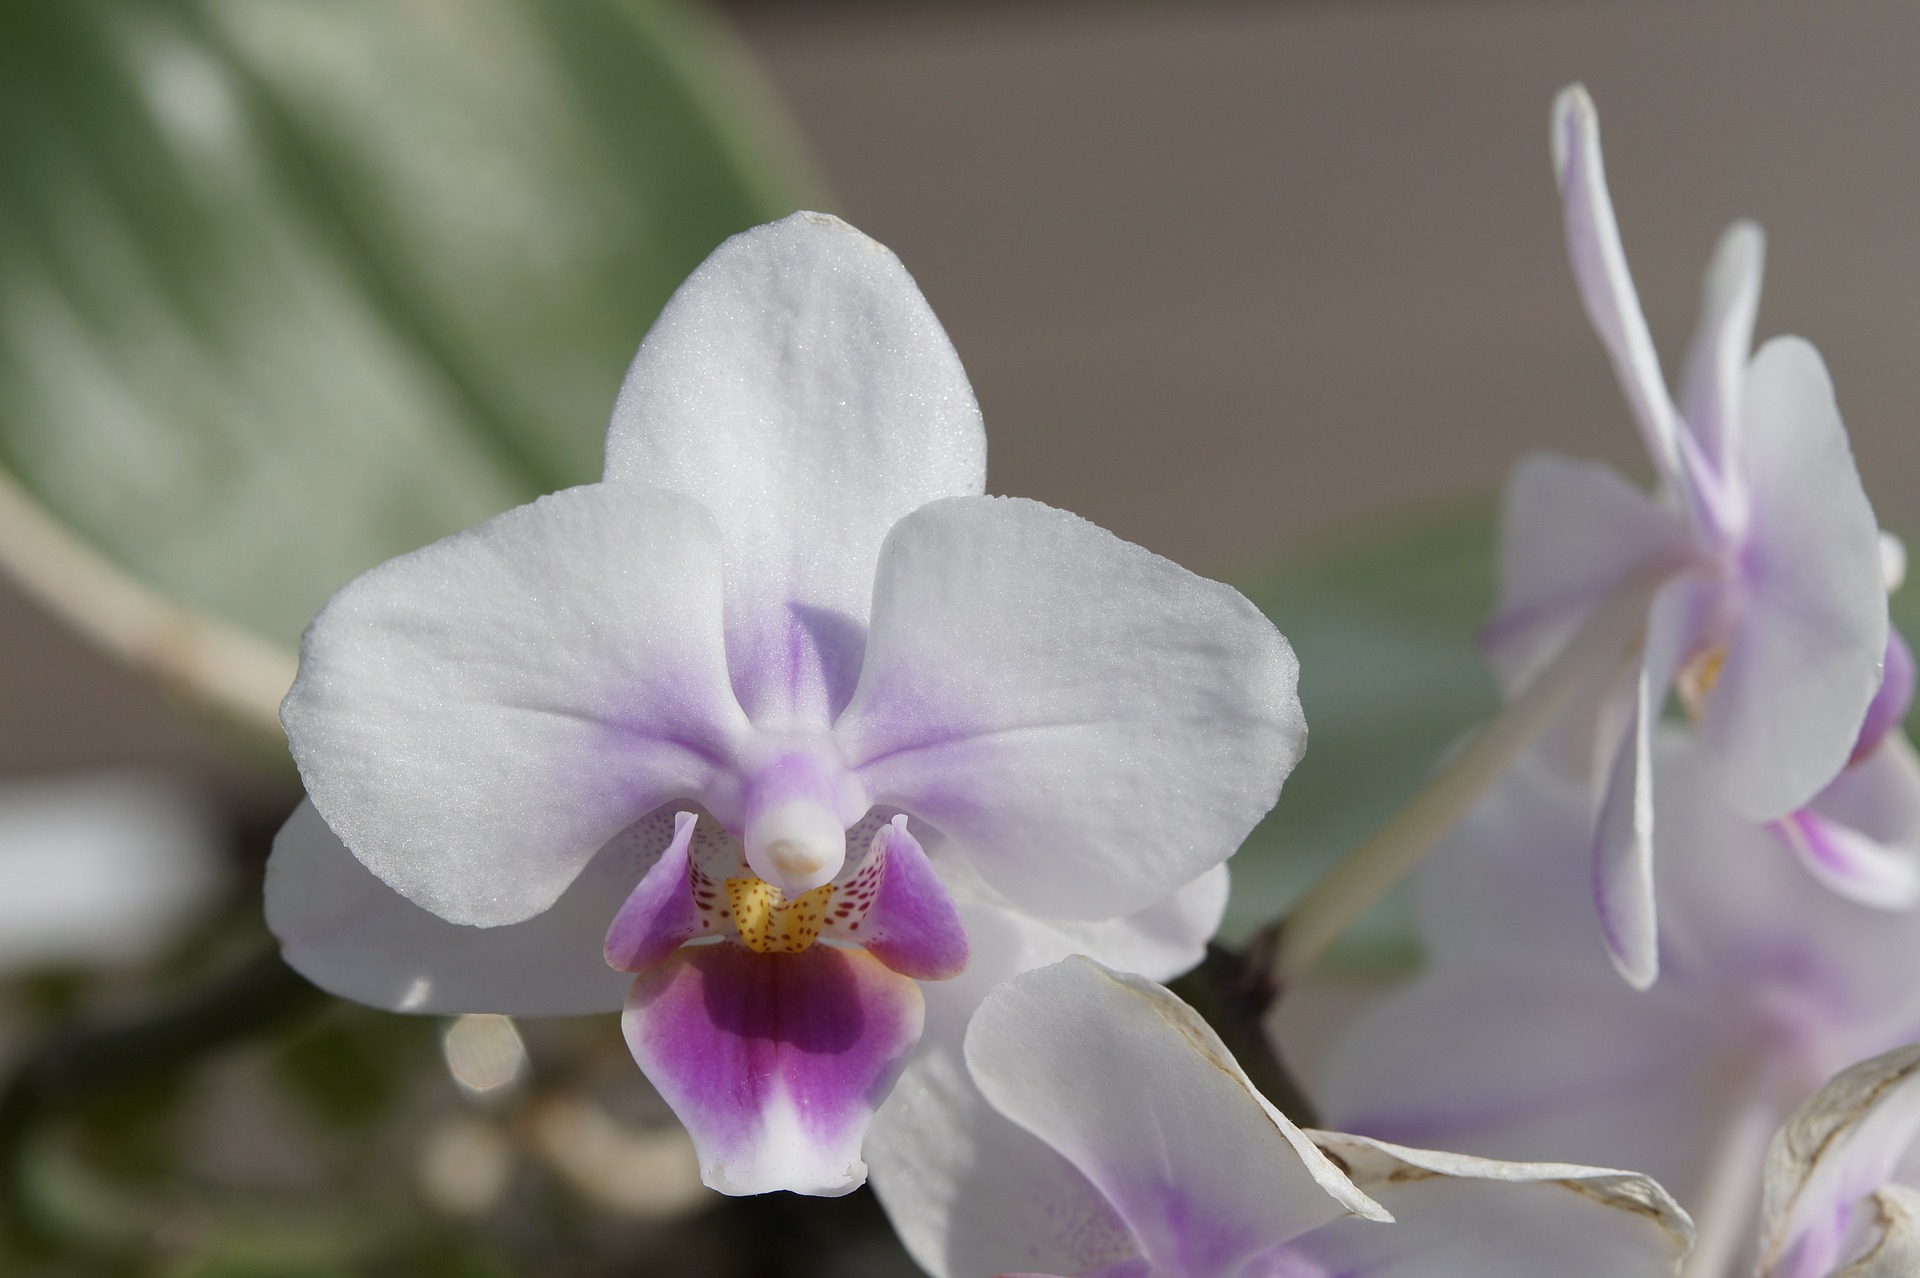
- Phalaenopsis orchids
These orchids are great because they are both pet safe and human safe. This popular edible flower is found often in Hawaiian dishes and tropical drinks. They require indirect, bright light and need water once a week, but don’t overwater.
Now that you’ve taken care of indoor plants, learn how to petscape your yard.