Espoma Organic
  • Products
    • Close
    • Product Line Overview
    • Plant food finder
    • Garden Fertilizers
    • Potting Soils
    • Liquid Fertilizers
    • Lawn Fertilizers
    • Single Ingredients
    • Conventional Plant Foods
    • Animal Care Products
  • Where to Buy
  • Our Story
    • Close
    • Our Story
    • Locations
    • Historical Timeline
    • Our Commitment
    • Directions
    • Solar
    • Join our Team
    • Espoma Brand Partners
  • Learn
    • Close
    • Espoma Blog
    • FAQ’s
    • Pocket Guide
    • Espoma Guides
    • Garden Clubs
    • Safe Paws Lawn
    • PRODUCT FACT SHEETS
    • Fertilizer Fundamentals
      • Close
      • Understanding Plant Nutrition
      • Reading Labels
      • Choosing the Right Type of Fertilizer
      • Terms & Definitions
    • Gardening Projects
    • Resource Links
  • Contact Us
  • Menu Menu

Rubber Plant Care and FAQs

April 19, 2022/in Blog, Bloom and Grow Radio, Indoor Gardening, Indoor Gardening

Rubber Plant Care Guide

Rubber Plant Care and FAQs

Rubber plants (Ficus elastica) don’t get enough credit in the tropical plant world. These humble plants are usually available at the garden center and always affordable, but they tend to get overlooked by some of the “sexier Instagram-worthy plants.” They can be hardy, growing into 6 foot trees from a small 4-inch pot, and come in beautiful variegated varieties. Rubber plants are fantastic for many more reasons that we’re going to dive into.

This blog is inspired by Episode 148 of Bloom and Grow Radio–where host Maria Failla interviewed Raffaele Di Lallo, founder of Ohio Tropics. 

Let’s first look at different types of rubber plants! 

Types of Rubber Plants

The two types of rubber plants are non-variegated and variegated.

Non-Variegated Rubber Plants: 

Ficus elastica ‘Decora’: typical shiny, green leaves

Ficus elastica ‘Robusta’: similar, but larger leaves 

Ficus elastica ‘Burgundy’: gorgeous, super dark, almost black leaves and stems

Variegated Rubber Plants: 

Ficus elastica ‘Tineke’: different shades of green, yellow, and cream 

Ficus elastica ‘Ruby’: beautiful pink variegation 

Ficus elastica ‘Doescheri’: leaves are a little bit narrower

PART 1: How to Take Care of Rubber Plants

No matter the variety of rubber plant you have, the care is almost identical. The only minor difference is that variegated plants need more volume of light than non-variegated plants. 

Rubber plants come from the Moraceae family, which also contains figs and mulberries. But don’t be fooled: rubber plants are actually toxic. If you break off a branch or leaf, you’ll notice a white substance dripping out that’s quite toxic to humans and animals. This white latex-like liquid was originally used to create rubber, hence the name rubber plant. Make sure to wear gloves when handling or pruning the plant. 

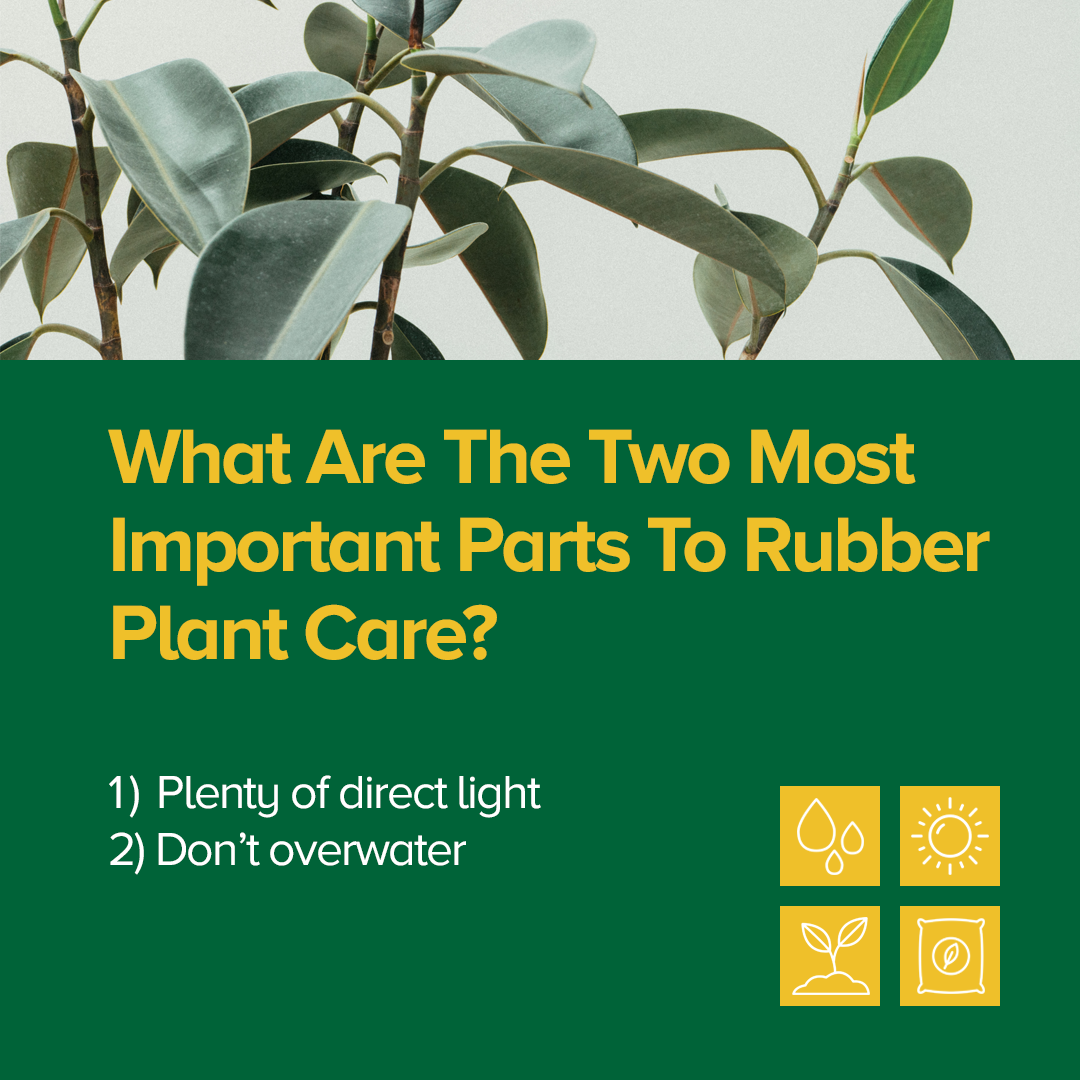
An easy-to-follow care plan for rubber plants is 1) make sure it gets plenty of direct light and 2) don’t overwater. Let’s get into more details below!

Rubber Plants Most Important Tips

How to Water Rubber Plants

Rubber plants need to dry out sufficiently between waterings. Your finger is your best friend when it comes to determining moisture in your potting mix. Use your finger to determine how dry the potting mix has gotten. If you have a small four-inch pot, let the top 1/2 inch dry out before watering it again thoroughly. If you have a much bigger pot (around 15 inches), let at least the top quarter of the soil (2-3”) in your pot dry out before watering again. 

Always water your rubber plant thoroughly and always have a drainage hole in your pot. Don’t let your soil completely dry out, or you risk stressing out your plant’s roots. How to water rubber plant

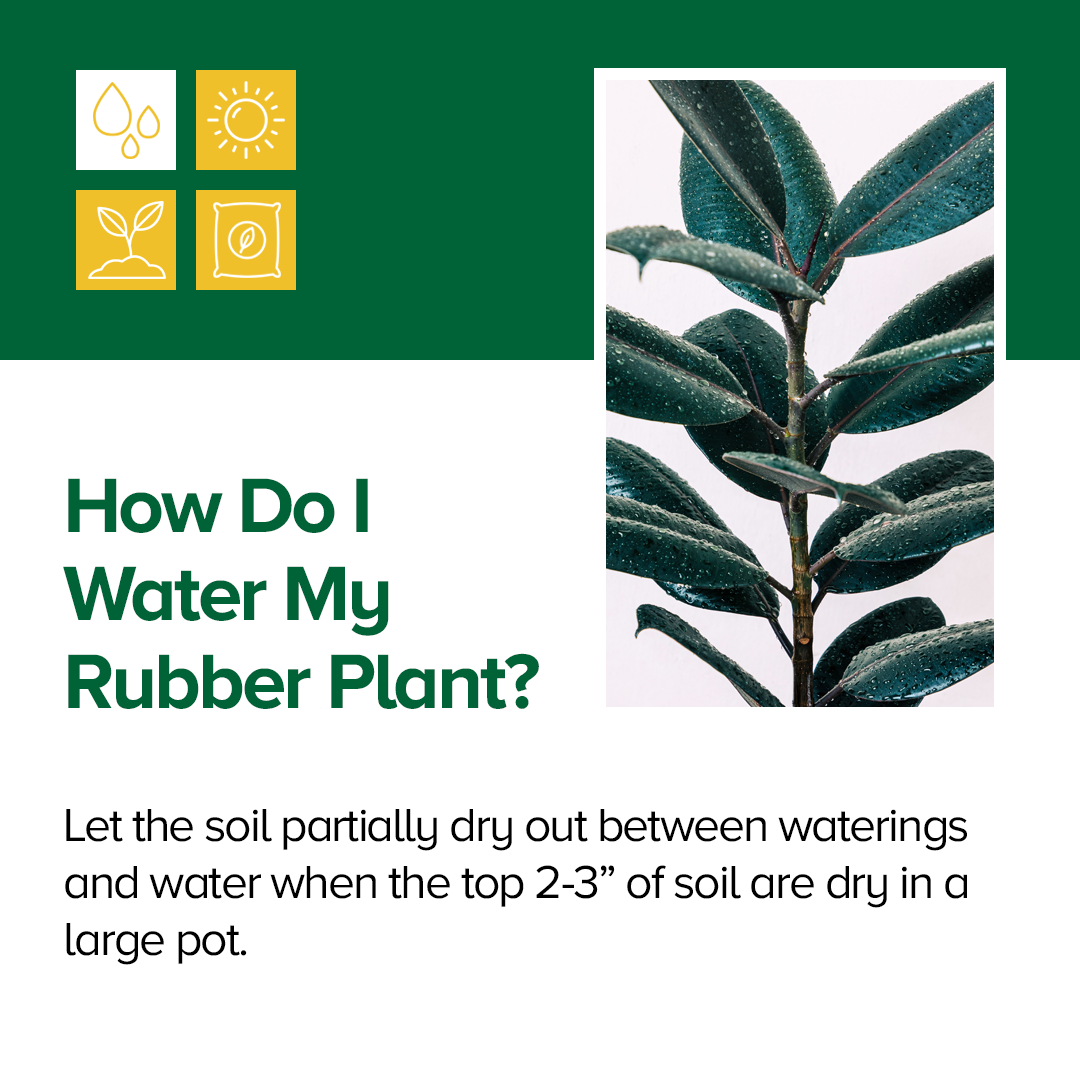
How Much Light Do Rubber Plants Need? 

Oftentimes rubber plants are labeled as low light plants, but they really are low light tolerant. You can’t overdo light for your rubber plant indoors! As a general rule of thumb, put your rubber plant right in front of a window, preferably a window with some direct sun. 

An Eastern-facing window that gets morning sun is beautiful, or a Western-facing window that gets afternoon sun is great too. If you live in the Northern hemisphere and you have an unobstructed Southern window, those tend to get a ton of direct sun. Now, if you’re in the Southern hemisphere, North and South are reversed and you’ll have to adjust appropriately.

When it comes to water, the more light you have, the quicker your soil is going to dry out, because your plant will be growing more. So if you have plenty of sun, then you have to monitor your plant a lot more frequently, because it’s going to dry out quicker. How Much Light for Rubber Plant

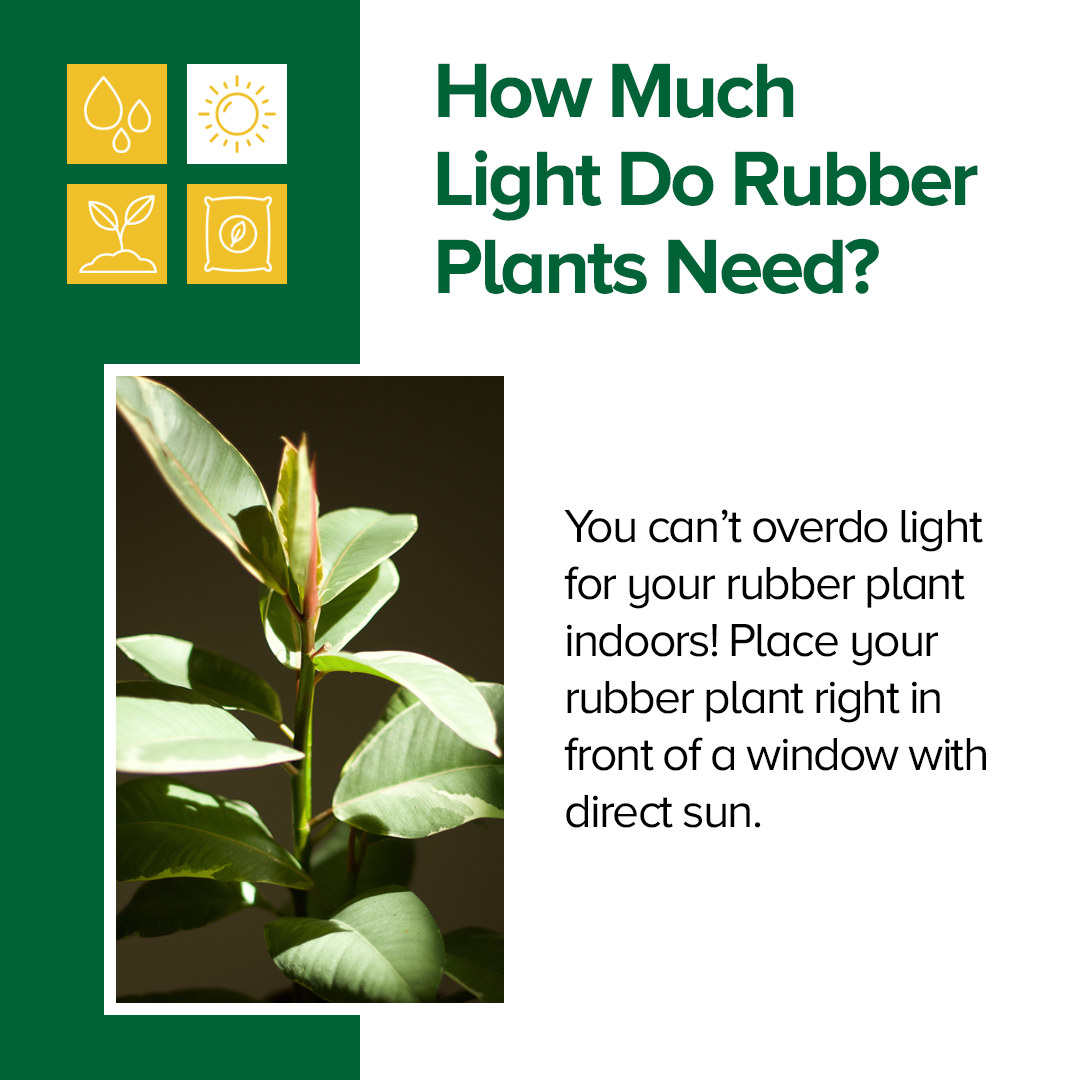
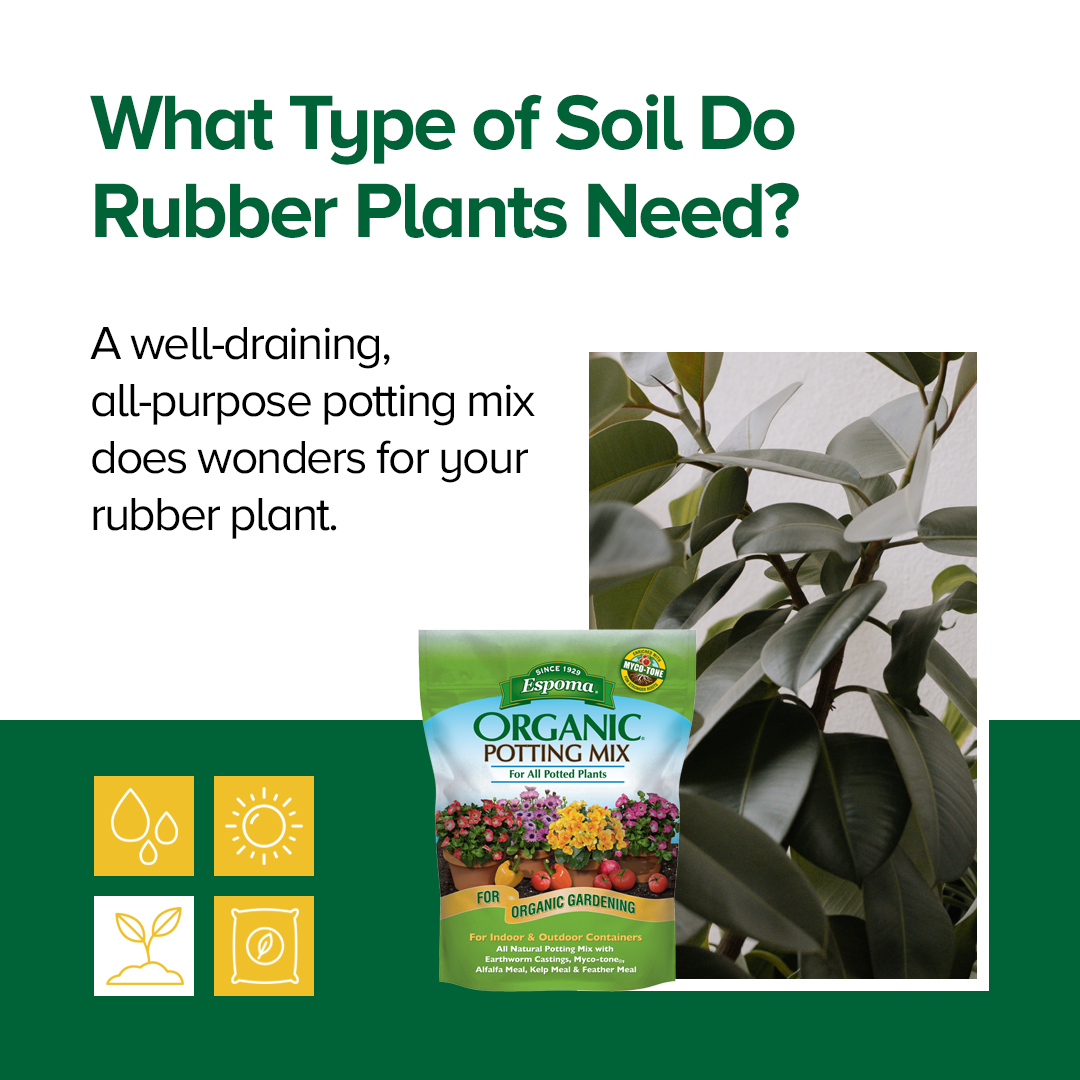
What Type of Soil Do Rubber Plants Need? 

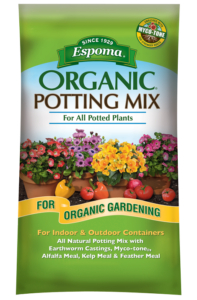
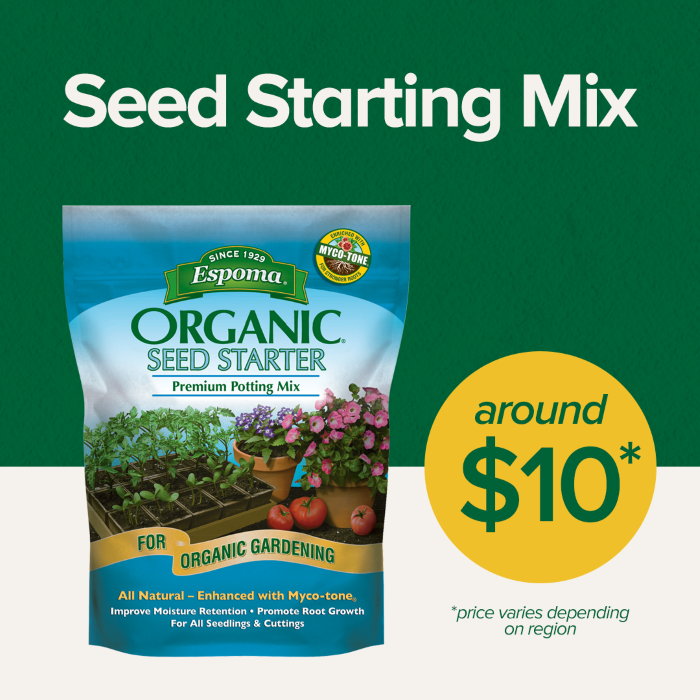
A well-draining, all-purpose potting mix will do wonders for your rubber plant. Check out Espoma’s Organic Potting Soil Mix to get you started; it’s often the best soil for indoor plants. Adding in perlite or orchid mix will provide that extra aeration to make sure your mix is well draining. To get a good balance between moisture retention and drainage, use three parts all-purpose potting mix and one part perlite. 

What Type of Soil for Rubber Plant

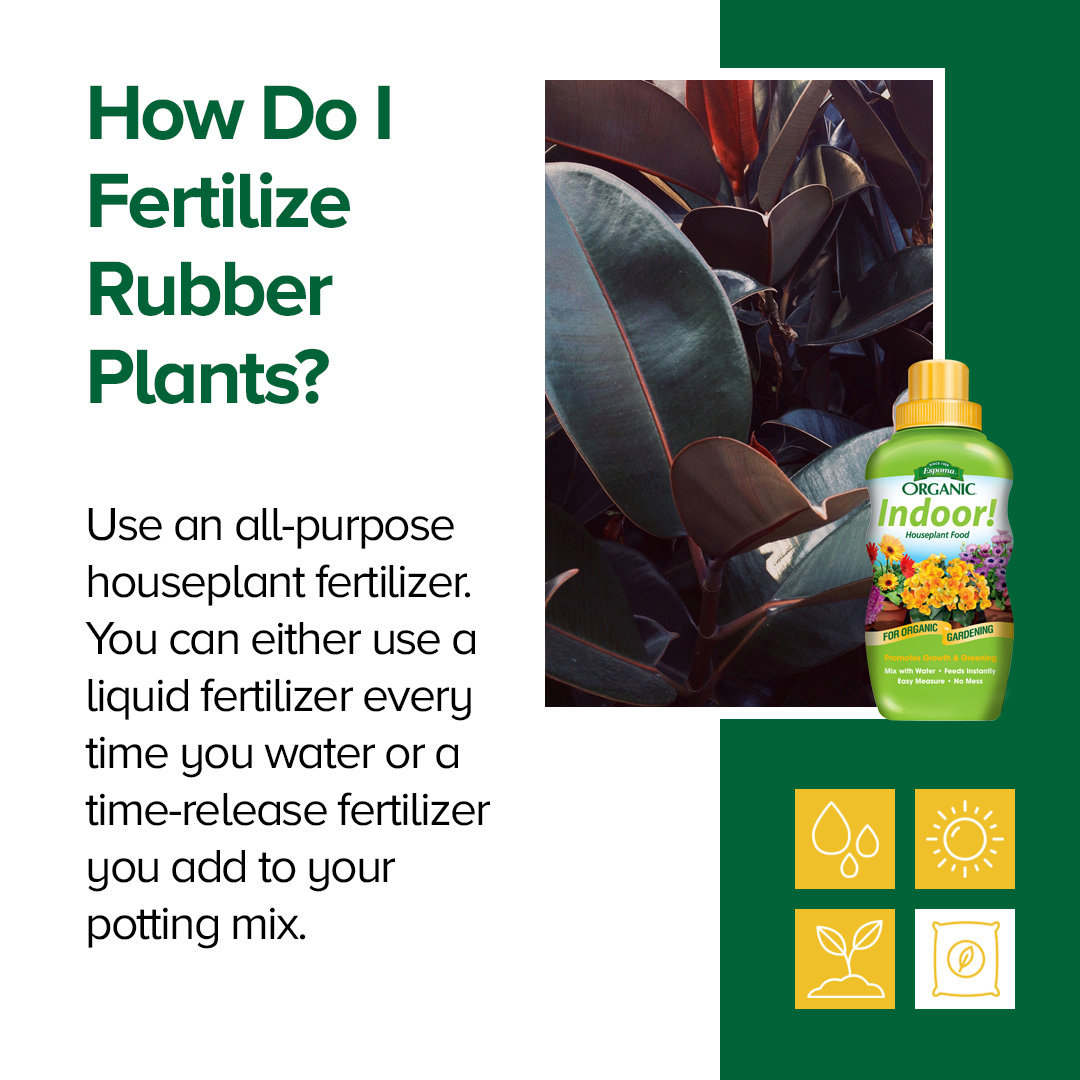
How to Fertilize Rubber Plants

You can use any all-purpose houseplant fertilizer for rubber plants. There are two options: liquid fertilizer or a slow-release fertilizer you can add to your potting mix. 

If you don’t like liquid fertilizers, you can always use a slow-release plant food  that you add to your potting mix when you plant your rubber plant. Those fertilizers generally last up to 6 months. 

Now that you know all about rubber plant care, let’s get into some frequently asked questions! 

How to fertilize rubber plants

PART 2: Rubber Plant Frequently Asked Questions and Answers from Raffaele di Lallo

Why Is My Rubber Plant Not Growing? 

Your rubber plant needs more light! If your rubber plant is in a far corner from your window, it might be time to move it to brighter light. Remember, rubber plants thrive in bright, direct sunlight. 

How Do I Get My Rubber Plant to Branch and Be Bushier Instead of Taller? 

Don’t be afraid to prune! Just hack it off wherever you want (just not all the way down to the soil) and chop off a good portion of it. Pruning your rubber plant forces new branches to form, resulting in a bushier rubber plant. 

You can also try air layering, which is propagating from stems still attached to the plant. Take a sharp knife and make a diagonal cut about halfway into your rubber plant trunk. Then add some sphagnum moss in the cut and wrap the entire branch with moss. Put plastic wrap around it and tie it on both ends. Over the course of a few months, it’s going to send out roots from where you cut it, which you should be able to see through the plastic wrap. Then you simply cut the stem right under your air layering and replant it. 

What Are the Best Ways to Propagate a Rubber Plant?

The first way to propagate a rubber plant is air layering, described above. This works especially well if you have woody branches already formed. Air layering takes a few months to achieve new root growth. 

The second propagation method is making individual node cuttings. Find the spot where the leaf meets the branch and cut it off on each side, leaving half an inch on either side. You’re basically left with a leaf and then part of the stem, where the node is. At that point, you can either stick the stem in water or soil to grow roots. 

Be aware that if you try propagating your rubber plant in winter, you might have a lower success rate and it will be substantially slower compared to trying it in spring or summer when the plant is actively growing

Why Are New Leaves on My Rubber Plants Smaller Than the Older Ones?

Number one, our conditions at home are nothing like ideal conditions in the greenhouses that these plants were grown in. That in and of itself could be a cause. 

Poor, inconsistent conditions could be your second culprit. Poor lighting and letting your plant dry out too much as its developing new leaves can also affect the leaf size.

Why is My Rubber Plant Dropping Leaves? 

Rubber plants don’t like to be moved, first and foremost. And if you bring your plant home and shove it in a dark hole, you will get leaves dropping off. Your plant is not going to be able to support all the leaves it had when it was growing in good conditions.

If your plant is horribly root bound, it’s going to be very hard to keep up with the watering required to keep the roots hydrated. This could also be contributing to dropping leaves. At that point, you really need to re-pot it in a bigger pot. 

My Rubber Plant Looks Healthy, But the Branches Are All Over the Place. Why Is This Happening?

Indoors, we don’t have the benefit of wind that strengthens plants outside. Because of this, our indoor plants may need a little help compensating. It’s totally okay to tie up your plant. Rafaelle uses a bamboo stake that he inserted right through the root ball, gently tying the branches that were getting unruly. 

Why Are the Edges of My Variegated Rubber Plant Browning? 

You might not be watering your rubber plant properly. Avoid letting your soil dry out completely or letting your rubber plant soak in water for too long. Once you get the watering right, make sure your rubber plant is supplemented with enough light! 

What Are the Tiny White Spots on My Rubber Plant? 

Those tiny white spots are called lithocysts and pose no harm to your rubber plant. They are cells that contain calcium carbonate. 

Which Rubber Plant Should I Get?

Now that you know how to care for rubber plants and troubleshoot any issues, let’s figure out which rubber plant is right for you! 

If you’re getting your first rubber plant and have never grown one before, Raffaele recommends sticking with a non-variegated plant, since they’re going to be a little bit easier to care for. ‘Robusta’ is a great beginner rubber plant. And if you really love variegated plants, try the ‘Tineke’ or the ‘Ruby’ cultivars. 

Want to learn more about rubber plants and houseplants? Make sure to check out Raffaele’s blog and brand new book, Houseplant Warrior coming out soon! 


About Bloom & Grow Radio Podcast

Bloom & Grow Radio Podcast helped people care for plants successfully and cultivate more joy in their lives. Host Maria Failla, a former plant killer turned happy plant lady, interviews experts on various aspects of plant care, and encourages listeners to not only care for plants, but learn to care for themselves along the way.

About Our Interviewee

Engineer and plant parent for more than thirty years, Raffaele Di Lallo knows that the world of houseplants can be full of confusing myths and conflicting care advice. Raffaele started his blog Ohio Tropics focused on gardening with a tropical flare in cold weather climates. It quickly became a blog all about houseplant care. Five years later and he’s still writing about all things houseplants! 

His new book Houseplant Warrior: 7 Keys to Unlocking the Mysteries of Houseplant Care demystifies every aspect of plant parenting and is set to release on March 15, 2022. Houseplant Warrior is particularly relevant for the beginner or any houseplant aficionado struggling with their houseplants. Raffaele teaches a holistic approach to houseplant care and understanding how all of the conditions work together.

​​Follow Raffaele: 

Blog

Instagram

YouTube

Book


Featured Products

Where to Buy

https://www.espoma.com/wp-content/uploads/2022/04/Rubber-Plant-1.png 1080 1080 espoma https://www.espoma.com/wp-content/uploads/2023/05/espoma-logo340w-1.png espoma2022-04-19 14:09:282024-09-06 10:49:10Rubber Plant Care and FAQs

Seed Starting 101: How to Start Seeds Successfully

April 5, 2022/in Blog, Bloom and Grow Radio

Seed starting setup

Seed starting is upon us in the gardening world! There is no better way to connect with the food we eat than by growing it ourselves. Starting edible plants from seed can be intimidating, but we’re here to break it down and answer all your burning questions. 

This blog is inspired by Episode 114 of Bloom and Grow Radio–where host Maria Failla interviewed Joe Lamp’l–the Joe behind The joe gardener Show.

Before we dive into the how of seed starting, let’s understand the why. 

Why Start Your Garden from Seed? 

In our world of instant gratification, what’s better than starting your gardening season way sooner than most gardeners?! When you start seeds indoors, you get your hands in the dirt and get a jump on the growing season. And what a rewarding feeling it is to start your plants from seed, and enjoy the journey of bringing them from seed to plate. 

If you love your edibles, decide what you want to eat and which varieties you want. Don’t leave it up to what’s available at the garden center. Think about how much you can choose when you start from seed: flavor, varieties, and the stories behind different heirlooms. You can really expand your food choices when you get to pick exactly what you grow. 

Another great reason to start your own seeds is to make sure you’re growing the right kind of plant for your needs. Do you absolutely love tomatoes, but only have a small balcony to grow them? Look for microdwarf tomato varieties that only grow about 1-2 feet tall! If you have a short growing season, you’d also want to make sure you choose “early” or “short season” plant varieties. 

Starting from seed offers us the ability to be in control of the varieties we grow, plan in advance, and save lots of money in the long run. Speaking of starting seeds on a budget…

How to Get Your Seed Starting Setup for Under $100

Your seed starting setup can be super budget-friendly if you take the time to look at the components. For under a hundred dollars, you can put together everything you need! Let’s break down the materials, costs, alternatives, and conditions you need for seed starting. 

Seed Starting Mix

To start, you need a good seed starting mix. It’s called a “mix,” because there’s really no soil in it. It’s made of natural ingredients like peat moss, vermiculite, and perlite. A bag of seed starting mix is going to cost between $5-$10.

Espoma Organics takes the guesswork out of your selection by providing their high quality seed starting mix. 

Seed Starting Trays

With one bag of seed starting mix, you can fill about two seed starting trays, which is your next material needed. Seed starting trays can give you anywhere between 18 to 72 cells to sow your seeds. You can get two trays for about $10. 

Look for seed starting trays with cells about 3.5 inches or smaller. In a traditional seed starting tray, cells are deep so seedling roots have more room to grow down. About 4 weeks from germination you’ll have to transplant your seedlings into a larger individual pot, AKA “potting up”.

Best Grow Lights for Seed Starting

Next is a grow light. Grow lights are where you could spend a lot of money in your seed starting setup, but if you’re on a budget, there is nothing wrong with buying an LED or fluorescent shop light for $20. You can get your seeds sprouted and ready for planting outside in good condition with a very inexpensive shop light. Will it be as good as a seedling that’s under a more expensive light? Maybe not, but all you’re really trying to do is rear those seedlings to the point that they are ready to go outside. Once they get outside, Mother Nature knows what to do and so does that seedling.

What are Heat Mats for Seed Starting important?

Heat mats are seed starting game changers. Heat mats raise the soil temperature, which helps your seeds sprout faster. Seeds have an ideal range of soil temperature in which they sprout the best, and can be anywhere from 65 to 85 degrees Fahrenheit. Seed mats will cost you between $15 and $35, depending on whether you get a thermostat attached.

Once most of your seeds have germinated, remove them from the heat mats. If you leave your seedlings on heat too long, they can start to become leggy. 

Humidity Dome for Germination

You’ll also want a humidity dome. It’s a clear plastic top that you put over the seed tray to hold the moisture in the soil until the seed germinates. If you don’t have a cover on your tray, the moisture won’t stay in the soil and the seed is not as likely to germinate. For two humidity domes, you’ll probably pay about $6. You can also use plastic wrap and lay it over the top to hold in moisture for your seedlings. 

A key point to remember with humidity domes: once your seeds germinate, remove the humidity dome so seedlings get enough oxygen. Airflow brings us to the next material needed. 

Small Fan for Seed Starting

Last but not least, a fan. You can get a cheap clip-on fan for $15. Fans are important because once the seed germinates, you need air movement across that soil surface. Air movement reduces the chance of a fungal disease called damping off, which can kill your seedlings. Fans also simulate wind, making the stems sturdier and ready for outdoor conditions.

Total Seed Starting Materials Cost

Here’s the cost breakdown to get your seed starting setup for less than $100:

Bag of seed starting mix: $10

2 seed starting trays: $10

Shop light: $20

Heat mat: $15 – $35

Humidity dome: $6

Clip-on fan: $15

TOTAL: $81 – $96

All about Seeds: Where to Buy Them, Expiration Dates, & Non-GMOs

It’s important to find a good seed company. Here are some tips when you’re searching: 

  • Look for companies that have been around for a while with a good reputation. 
    • Do they have good customer service? 
    • Are their staff knowledgeable about their seeds? 
  • Find local or regional seed companies that grow their seeds close to home. Some seed companies can outsource their seeds from overseas from a huge commercial supplier. It’s important to know where your seeds are grown. 
  • When you grow seeds adapted to your area, plants have a much better success rate. The more you grow those seeds and save them, the more adapted they’ll become to your specific microclimate too! 

Seed Expiration Dates 

Seed packets will show the day that the seed was packed. Assuming you have leftover seeds and you keep them in a cool, dark, dry place, they will last anywhere from as little as one year to many years, depending on the seed. 

How do you know when a seed is still good or if it’s gone bad? Do a germination test! Before you plant your seeds, put about 10 seeds in a damp paper towel in a plastic bag. Check the moisture daily and after about 10-14 days, your seeds will either have sprouted or not. If 7 out of 10 sprouted, your viability is about 70%. Depending on your viability you can either plant extra or compost unusable seeds.

What are Non-GMO Seeds?

GMO stands for Genetically Modified Organism. Many seed companies have jumped on the bandwagon saying all of their seeds are “certified non-GMO.” There actually aren’t any GMO gardening seeds available for home gardeners. None of the seeds you purchase will ever be GMO seeds. GMO seeds are present in the commercial agriculture industry, but it’s expensive to produce a GMO seed and it’s not anything that we’re going to even be able to buy. So if a company is touting non-GMO seeds, that’s true, they are. But so are everyone else’s.

The Best Time to Start Your Seeds

The most important date you need to know is the last day that you are potentially going to have frost. This is called your frost-free date in Spring. You can find yours by Googling “last frost date” in your area. Once you have that date, then you work backward to about 6-8 weeks. That’s when you’ll be sowing most of your seeds.

You want to time your seed starting so you give your seeds about 6-8 weeks of growing time indoors. By the end of the 6-8 weeks, seedlings will have grown to a sturdy size and are then ready to grow outdoors. If you choose a good seed company, there should be lots of information about this on the back of the seed packet.

If you start your seeds too early, you risk your plants getting too big and outgrowing their space. They’re going to be looking for resources that you probably can’t provide indoors, like more light, nutrition in the soil, and space to grow. The longer your seedlings are confined indoors without the right environment, the more stressed they become. Timing when you plant your seeds is crucial to the seed starting process. 

Let’s Get Planting! 

Now that you’ve got your seed starting setup and timing down, how do you get your seeds in the soil? 

First, look at the information on your seed packet. It will typically have all that important seed starting information you need, including how many weeks to start indoors, days to maturity, and growth patterns. 

Make sure your seed starting mix is pre-moistened, like a damp sponge. Most seeds don’t need light to germinate, but they don’t need to be planted very deeply either. Once you have your seeds in, sprinkle a little bit of extra seed starting mix on top. Spray the tops of the soil gently with water so you don’t move the seeds around too much.

When your seeds are planted, place your humidity dome on top, put your tray on your heat mat, and turn your lights on. Your seedlings are going to sprout in a matter of days to a week, maybe two weeks at most. Once your seeds germinate, remove your humidity dome and turn on your fan. From there, you’re just ensuring that the soil stays moist.

The first leaves that come up are called seed leaves, or cotyledons. In a few weeks, your plants will grow new “true” leaves. Once those new true leaves emerge, you can start to add small amounts of supplemental fertilizer.

Your job over the next 4-5 weeks will be monitoring plant growth and making sure everything looks good. Keeping the lights at the proper distance above the tops of the seedlings is also key–not too close, not too far away.

The Final Step: How to Harden Off Your Plants

Hardening off is about 7 to 10 days of transitioning your seedlings slowly to outdoor conditions. You slowly increase the tender, new leaves’ exposure to sun and wind over about two weeks. Make sure outdoor temperatures are above 45 degrees Fahrenheit with no inclement weather during this period, and bring plants indoors every evening.

Here is a rough schedule to follow: 

  • Days 1-2: 1-3 hours outdoors in shade
  • Days 3-4: 3-5 hours outdoors in shade
  • Days 5-6: 3-5 hours outdoors in morning sun
  • Days 7-8: 7-12 hours outdoors in sun
  • Days 9-10: Leave plants outdoors overnight 

Once you’ve gotten your plants used to the outdoor elements, they’re all ready to be planted in their new homes outdoors! 

*****

Featured Products:


Where to Buy

https://www.espoma.com/wp-content/uploads/2022/04/Seed-starting.png 500 500 espoma https://www.espoma.com/wp-content/uploads/2023/05/espoma-logo340w-1.png espoma2022-04-05 08:25:302023-12-06 13:46:36Seed Starting 101: How to Start Seeds Successfully
Where to Buy

Get News & Updates

Recent Posts

  • VIDEO: How to Plant a Raised Bed Like a Pro with Farmer Nick
  • VIDEO: Transplanting Magnolias 🪴🌺 with Wyse Guide
  • VIDEO: How to Care for Roses 🌹 & Hydrangeas 🌸 with Garden Answer
  • VIDEO: How to Grow a Hummingbird Garden 🕊️🌿🌺 | Growing Joy with Maria
  • VIDEO: Boost Your Blooms: 🌸 Fertilizing Hydrangeas the Organic Way with Skye Hamilton

Tags

All-Purpose Potting Mix bio-tone Bio-tone Starter Bio-tone Starter Plus cactus and succulents Cactus Mix caring for houseplants Container Gardening DIY project Espoma espoma grown espoma organic Espoma Organics Espoma Video fall gardening flower garden flowers garden Garden Answer Gardening gardening tips gardens grow holly-tone houseplants Indoor! indoor gardening indoor plants Kaleb Wyse organic organic fertilizer Organic Gardening organic plant food Organic Potting Mix Outdoor Gardening Planting plants Potting Mix potting soil Spring Gardening succulents summer rayne oakes vegetable garden Vegetable Gardening Wyse Guide

Espoma. A Family Tradition Since 1929.

Espoma Organic logo
  • Espoma Dealer
  • Espoma Pro
  • Garden Club
  • Privacy Policy

Scroll to top