Espoma Organic
  • Products
    • Close
    • Product Line Overview
    • Plant food finder
    • Garden Fertilizers
    • Potting Soils
    • Liquid Fertilizers
    • Lawn Fertilizers
    • Single Ingredients
    • Conventional Plant Foods
    • Animal Care Products
  • Where to Buy
  • Our Story
    • Close
    • Our Story
    • Locations
    • Historical Timeline
    • Our Commitment
    • Directions
    • Solar
    • Join our Team
    • Espoma Brand Partners
  • Learn
    • Close
    • Espoma Blog
    • FAQ’s
    • Pocket Guide
    • Espoma Guides
    • Garden Clubs
    • Safe Paws Lawn
    • PRODUCT FACT SHEETS
    • Fertilizer Fundamentals
      • Close
      • Understanding Plant Nutrition
      • Reading Labels
      • Choosing the Right Type of Fertilizer
      • Terms & Definitions
    • Gardening Projects
    • Resource Links
  • Contact Us
  • Menu Menu

Houseplants for the Bedroom

January 31, 2018/in Indoor Gardening

Your bedroom should be a sanctuary. The place to go at the end of a day and unwind, relax and rest. We’ve already shared the best houseplants for the kitchen; now let’s focus on the bedroom.

Unique indoor plants are the perfect solution to help purify the air and add serenity to your space. Plus, they can add natural color and exotic beauty to bedrooms.

Not all houseplants are the same. Some will let off CO2 while others release oxygen, which can really make a difference. The best indoor houseplants do the double duty – they help you relax while purifying the air in your room.

Here are our top picks for plants in the bedroom:

  1. Snake Plant

This plant is an excellent night breather, which leads to a better night’s sleep. It has tall pointed foliage and is easy to care for. Anywhere you need to add a little height, this plant will do the trick. The foliage can be green, yellow or white, with spots and lines of various shades. Read more about healthy houseplants.

  1. Bamboo Palm

With foliage that’s a little wild and crazy, this plant is certainly a showstopper. Bamboo palms bring color and warmth to bedrooms with their exotic textures. Plus this palm can be happy almost anywhere since it grows in low light. Plus, it is pet-friendly! Learn about more pet-friendly plants.

  1. Fiddle-Leaf Fig

The most popular houseplant of the moment, the fiddle-leaf fig, is a stylist’s dream accent. Its violin-shaped glossy leaves and mass will fill space in larger bedrooms. It truly is a plant that you will admire. Read more about oversized houseplants here.

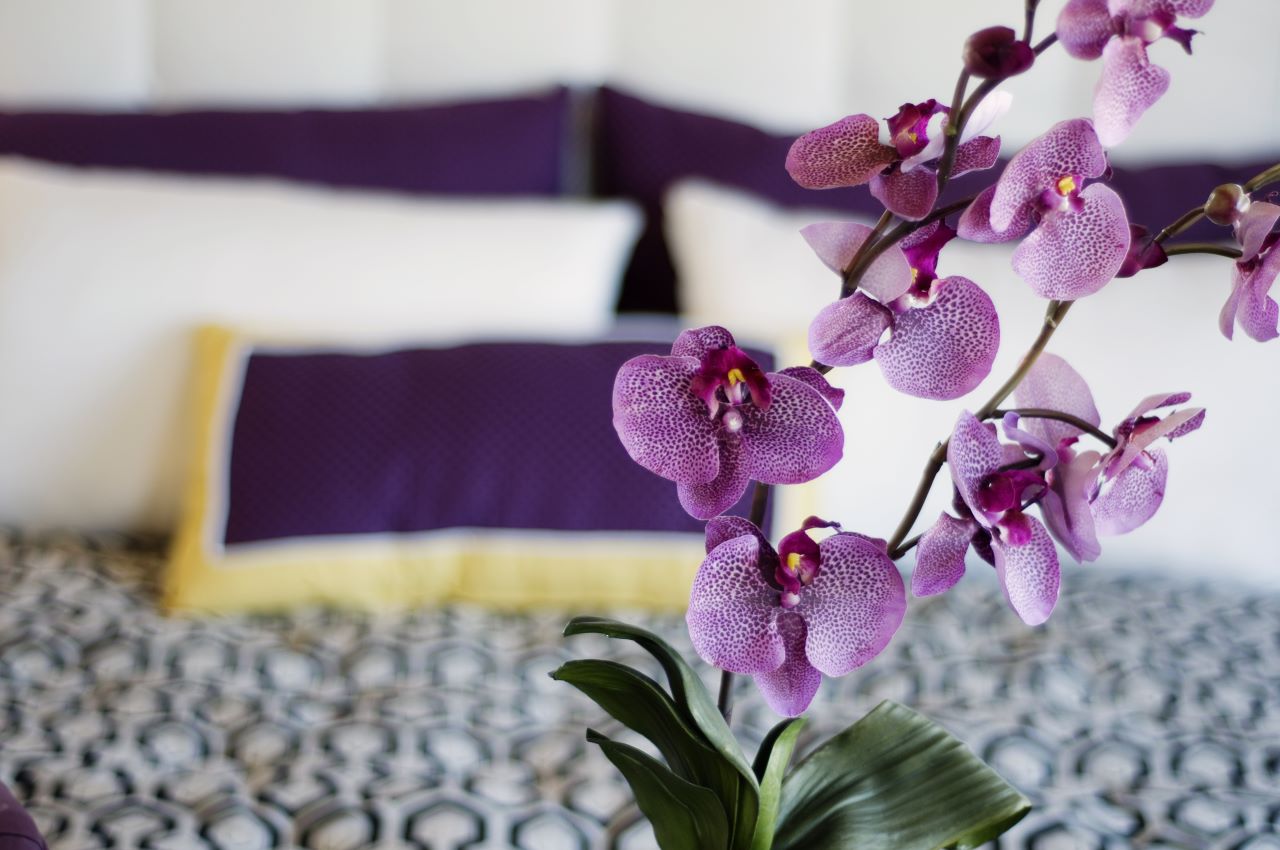
  1. Orchids

Orchids are perfect houseplants for your bedroom. Keep them happy with Espoma’s Orchid! liquid fertilizer.

Orchids are also excellent night breathers and offer gorgeous blooms. Orchids provide the perfect balance of elegance for décor and tranquility for health. With Espoma’s Orchid! Liquid fertilizer your orchid will be thriving and happy. Visit your local garden center to learn more about orchids. Learn more about orchid care. 

  1. Dracaena

Most Dracena’s grow upwards with smooth strap-like leaves in various shades of greens, with white, cream or red touches. Depending on the species, the leaves can be short and pointy or long and grass-like, making this tropical plant even more unique. Read more about unique indoor plants.

Remember to keep your bedroom a place of relaxation and serenity to help unplug, unwind and sleep well. Feed your houseplants regularly with Espoma’s Indoor! liquid fertilizer to help keep them healthy and strong. Visit your local garden center to learn more.

Have a Christmas cactus that needs some care? Watch Laura help explain what these plants need to survive these cold months.

https://www.espoma.com/wp-content/uploads/2018/01/shutterstock_670562686.jpg 667 1000 espoma https://www.espoma.com/wp-content/uploads/2023/05/espoma-logo340w-1.png espoma2018-01-31 11:35:302019-05-07 10:00:26Houseplants for the Bedroom

How to Fertilize Houseplants with Homestead Brooklyn

January 29, 2018/in Espoma Videos

Find out how Summer Rayne of Homestead Brooklyn cares for and fertilizes her houseplants. Summer is using Espoma’s Indoor! liquid fertilizer.

https://www.espoma.com/wp-content/uploads/2018/01/espoma-homestead-brooklyn-Thumb.jpg 1080 1920 espoma https://www.espoma.com/wp-content/uploads/2023/05/espoma-logo340w-1.png espoma2018-01-29 12:10:152024-08-20 07:57:35How to Fertilize Houseplants with Homestead Brooklyn

7 Tricks for Starting Tomato and Peppers Seeds Indoors

January 24, 2018/in Vegetable Gardening

Dreaming of juicy, flavorful tomatoes and ripe, spicy peppers? Grow them yourself in only a few months.

If you’re as excited about tomato season as we are, why not get started now?

The best way to get a head start on growing tomatoes is to start seeds indoors 4-6 weeks before the last spring frost date in your region. Whether you’re growing cherry tomatoes or hot peppers, visit your local garden center to pick up supplies and seeds.

Here’s how to start tomato and pepper seeds indoors:

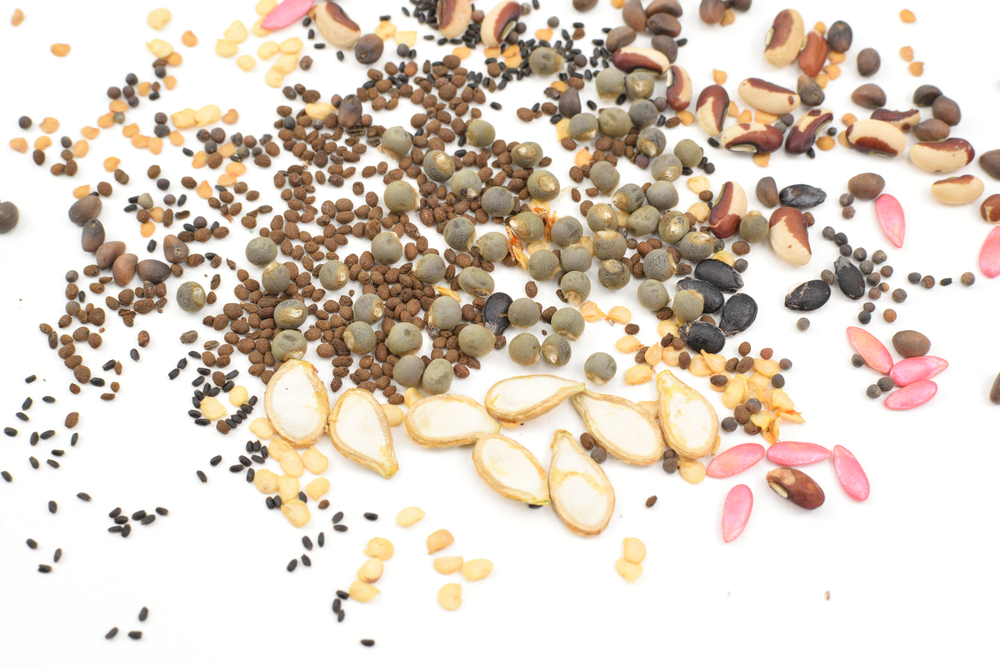
  1. Test Seeds

If you saved tomato seeds from last year and stored the seeds properly, they should last for about four years. Pepper seeds will last about two to three years.

Check seeds for vitality before planting for a successful crop. Need seeds? Find them at your local garden center.

Test your seeds a few weeks before you’re ready to start. Place several seeds on a wet paper towel cover it with plastic and place it in a warm spot. If the seeds are viable, they should sprout within a week.

  1. Soak Seeds

Give your seeds a head-start. Simply soak seeds in warm water for 2-4 hours to soften. Read the instructions on the seed packet to ensure the optimal conditions for your seeds.

  1. Start Seeds

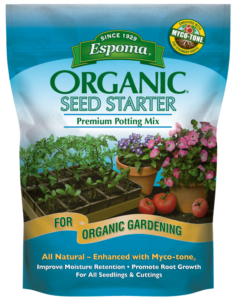
Gather supplies and fill seed trays to within ¼” of the top with Espoma’s Organic Seed Starting Mix. Follow instructions on the seed packets to see how deep and far apart to plant. Cover with soil, press down and lightly water.  Find out more about starting seeds here.

  1. Add Heat

Once the seeds are planted, it’s time to warm them up. Heat loving crops like tomatoes and peppers love the warm weather. While your seedlings are sprouting, store them on top of the fridge or in a warm place. An even better option is use a special heating mat. The warm temperatures help to speed up the growing process. Make sure to check seeds daily for moisture since the soil may dry out more quickly.

  1. Feed

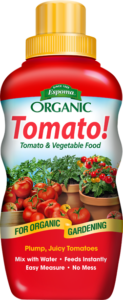
Once the true leaves have developed, seeds will benefit from a nutrient boost. Add Espoma’s Organic Tomato! plant food to feed instantly.

  1. Thin Plants

Thinning is the process of removing weaker seedlings to allow more room for the stronger ones. It creates healthier plants that produce more. As seedlings grow and you see crowding beginning to happen, gradually thin plants to 4” apart by gently pulling out the smallest ones with your hands.

  1. Prepare for Transplant

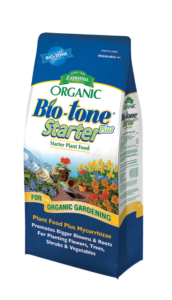
Start hardening off plants once the last frost date has past. Place seedlings outdoors for seven to 10 days for a few hours each day. Once plants are ready for transplanting, gently remove plants from containers without damaging the roots. Plant in a prepared bed and mix in Espoma’s Bio-tone Starter Plus, to keep roots strong.  Once plants are established in the garden or container feed with Tomato! liquid or  Tomato-tone.

See our guide to growing tomatoes here


Where to Buy


https://www.espoma.com/wp-content/uploads/2017/05/tomato-varieties-heirlooms.jpg 3744 5616 espoma https://www.espoma.com/wp-content/uploads/2023/05/espoma-logo340w-1.png espoma2018-01-24 15:00:222022-04-12 08:53:227 Tricks for Starting Tomato and Peppers Seeds Indoors

Best Houseplants for the Kitchen

January 17, 2018/in Blog, Indoor Gardening

Sometimes we find a beautiful houseplant and have no idea where to put it. Other times we have a space that needs filling and no idea what to put there.

The way we see it, you can never go wrong with more plants!

There’s no better place to start adding plants than the kitchen. If you haven’t thought of adding plants there before, you’re missing out!

Houseplants in the kitchen aid in decreasing cooking scents that consume your home – while it might smell amazing when you bake cookies, cauliflower can really bring you down. Or, you can grow edibles in your kitchen to have easy access while cooking.

Here are our top picks for plants in the kitchen:


  1. Assorted Herbs
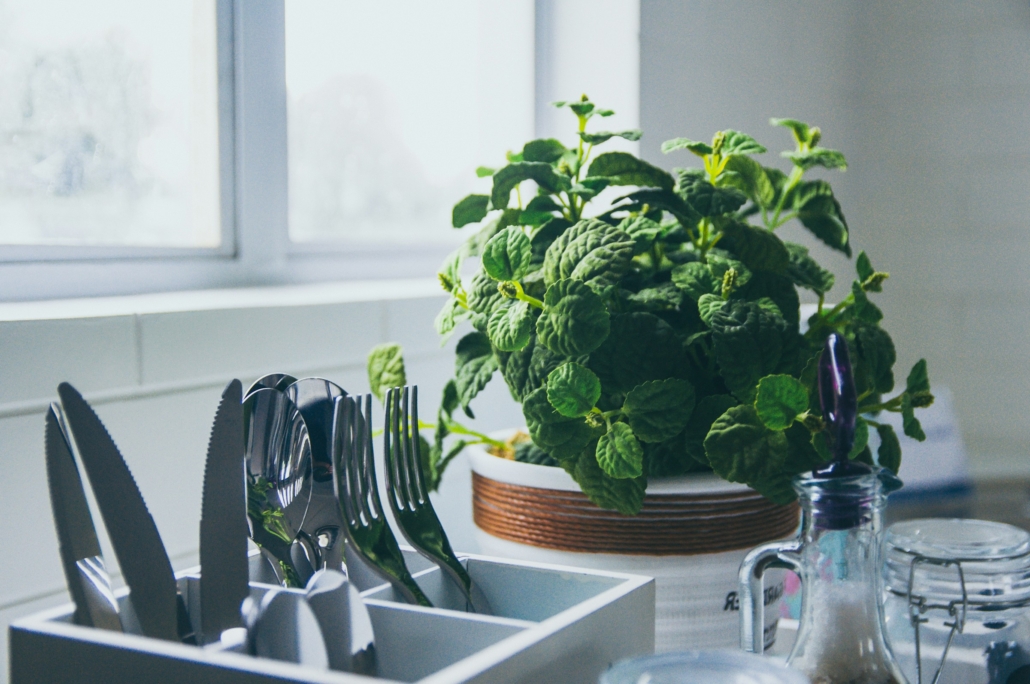
    Herbs are perfect to grow in the kitchen. Place your herb garden on your windowsill or in a hanging basket for ease. Luckily, a lot of herbs grow well indoors with adequate light. They need to be rotated if they start to become leggy. Read more about growing herbs in your kitchen.
  1. Aloe Vera
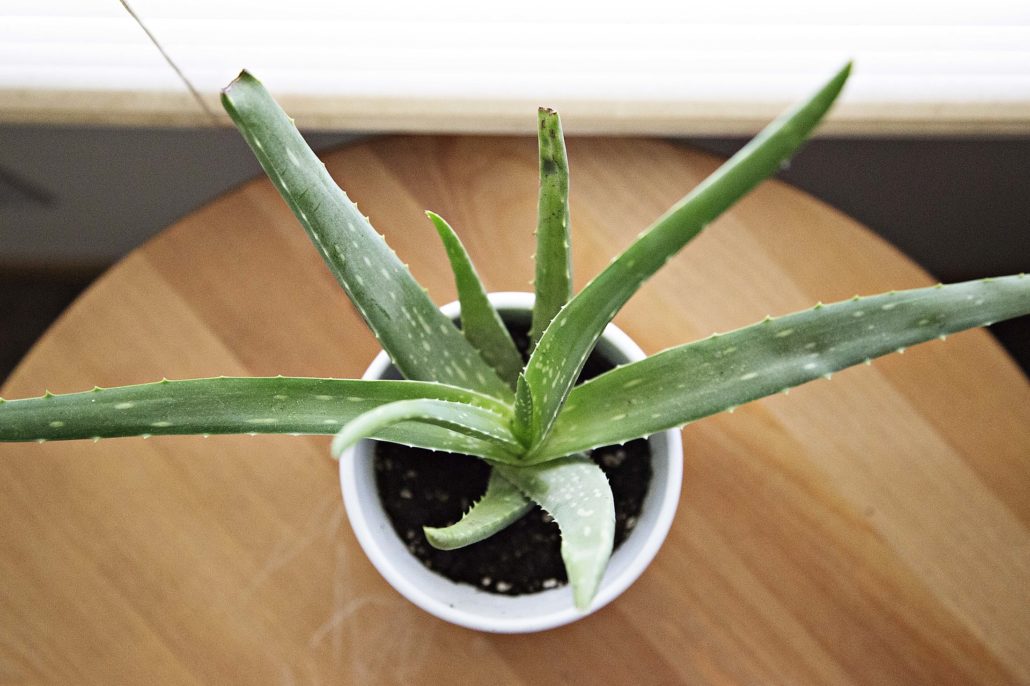
    Aloe Vera is one of the easiest plants to grow, so keeping it in your kitchen will bring life there all year long. It’s especially great to have in the kitchen to use its natural coolant in case of a burn. It will do well anywhere in the kitchen, although next to the stove is probably best. Read more about growing aloe and other succulents.

  1. White Jasmine
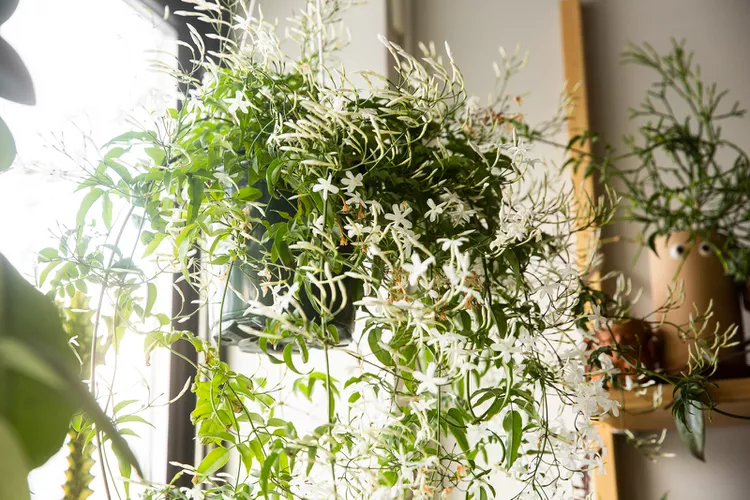
    The soft jasmine scent that is released from the blooms of this plant will help keep your kitchen smelling nice and fresh. The scent is subtle enough that it won’t overwhelm the kitchen yet can still help your space feel clean and refreshed. Read more about growing jasmine.

  1. English Ivy
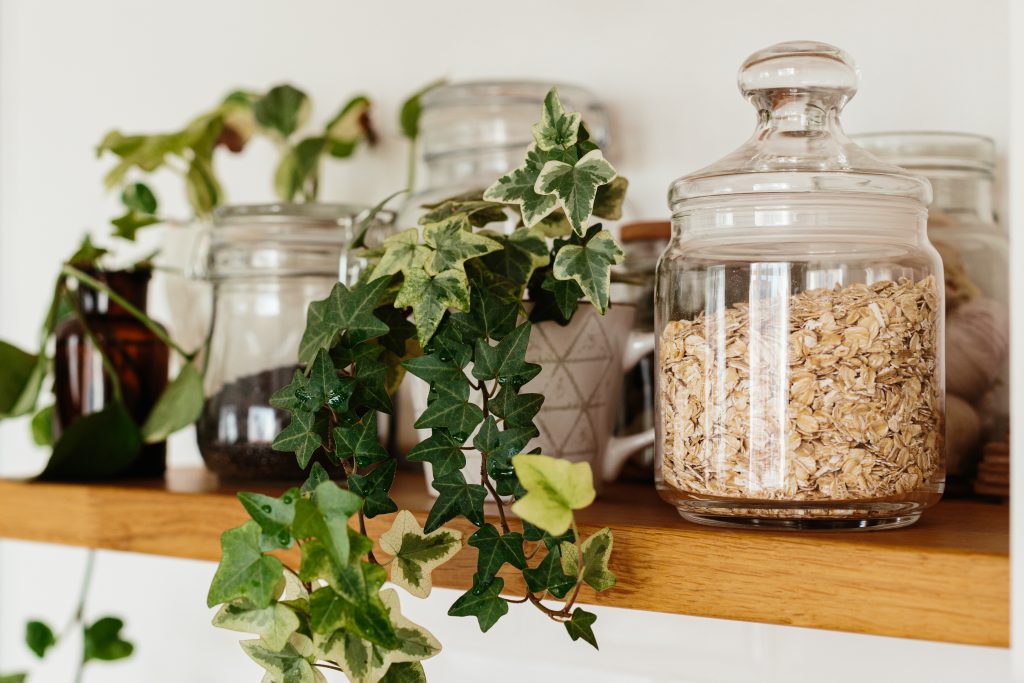
    Ivy is a diverse plant that can thrive in many rooms. Putting it in the kitchen will add dramatic lines and textures while purifying the air. If your cabinets don’t hit the ceilings, this ivy will gladly take up space. It will add wonderful shades of green with accents of whites or yellows. Read more about growing ivy in unusual spaces.

  1. Spider Plant
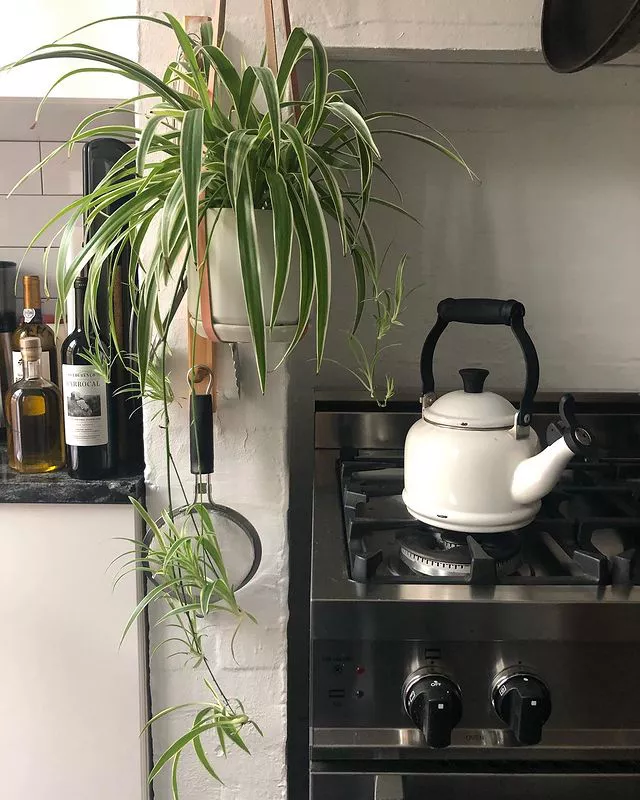
    Another great air purifier, the spider plant will help keep cooking more enjoyable. Place it somewhere you need to add height and texture to an area. It is an easy-care houseplant that will continue to love you in every season. Read more about the benefits of houseplants.

Don’t forget, all of these plants need to be fed as directed with Espoma’s Indoor! liquid fertilizer to grow strong and highlight their colors.


Featured Products:


Where to Buy

https://www.espoma.com/wp-content/uploads/2018/01/shutterstock_673534633.jpg 667 1000 espoma https://www.espoma.com/wp-content/uploads/2023/05/espoma-logo340w-1.png espoma2018-01-17 16:42:102024-01-24 16:24:35Best Houseplants for the Kitchen

How To Make An Easy Terrarium

January 10, 2018/in Indoor Gardening

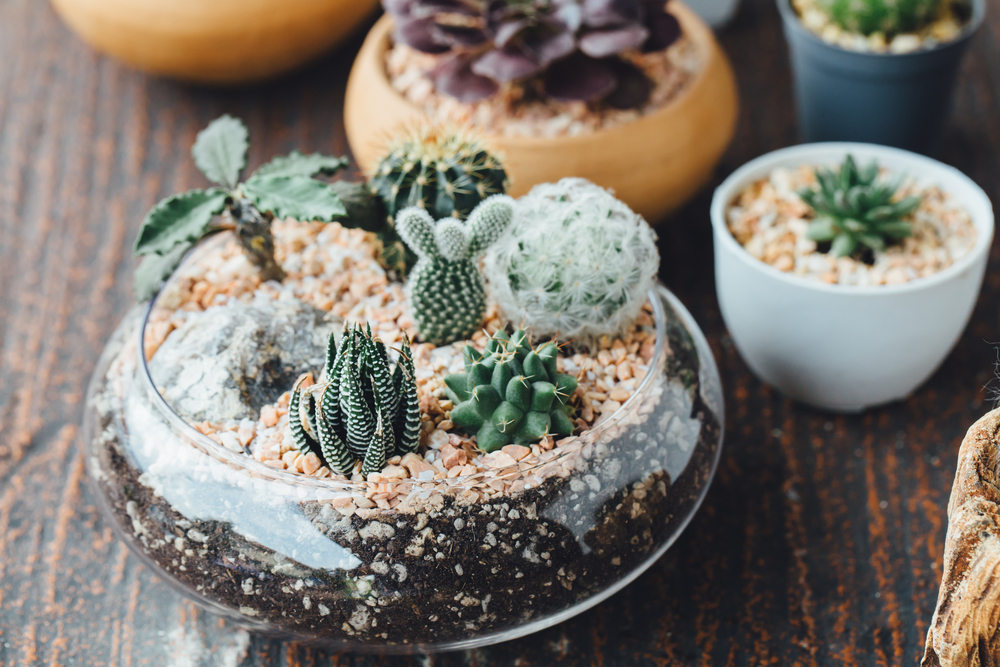
Terrariums make great additions to any room. There are endless options for variety, decorations and plants. They can be assembled in minutes and will continue to be enjoyed for months.

They can even match this season, like these adorable winter snow globes!

Whether you’re a terrarium expert or just making your first one, here are six easy steps to follow again and again.

Six Steps to Create a Terrarium

Step 1: Assemble materials

First, envision the terrarium you want. Where will you place it? What kind of plants are in it? What type of container will you use? Does it have a lid? Once you’ve got an idea, visit your local garden center to find many of the materials needed to make a terrarium.

You will need:

  • Glass jar or bowl
  • Sand
  • Activated charcoal
  • Espoma’s organic potting soil or cactus mix, depending on plants
  • Ornamental moss
  • Decorative elements such as fairies, rocks, shells, or stones
  • Small plants or succulents
  • Watering can
  • Espoma’s Indoor! or Cactus! liquid fertilizer depending on plant needs
  • Optional: Tweezers
  • Optional: Small sticks or bark

Step 2: Sand Layer

The first layer in your terrarium will be for drainage. Add about a 1-inch layer of sand, rocks or pebbles at the bottom. This ensures that water will not linger in the soil and will help to prevent root rot.

Step 3: Activated Charcoal Layer

Add about ¼ cup of activated charcoal to the terrarium to help keep it healthy. The charcoal helps the water stay clear of buildup and microorganisms that can grow on any living thing.

Step 4: Add Soil and plants

Add an adequate amount of soil for your plants. Dig a small hole to place the plant in. Choose a few standout succulents or add as many plants as you’d like. Make sure each plant has room to grow. Remember to leave some space to add in creative elements.

Step 5: Get Creative

Once your terrarium has plants, it’s time to add the finishing touches. Layer different types of ornamental mosses or decorative stones to enhance the look. If you’ve got fairy garden elements, add them in now. If you’re adding any pieces that you may have brought in from outside, make sure to rinse them off well first. You might find it’s easier to use a set of tweezers to place these pieces in smaller terrariums.

Step 6: Fertilize

Help your terrarium plants stay healthy and strong by feeding with the proper Espoma liquid fertilizer.

Enjoy! Switch up your terrarium whenever you feel like you need a change or new plants!

https://www.espoma.com/wp-content/uploads/2018/01/shutterstock_478365961.jpg 3534 4712 espoma https://www.espoma.com/wp-content/uploads/2023/05/espoma-logo340w-1.png espoma2018-01-10 09:00:012024-08-21 05:04:59How To Make An Easy Terrarium

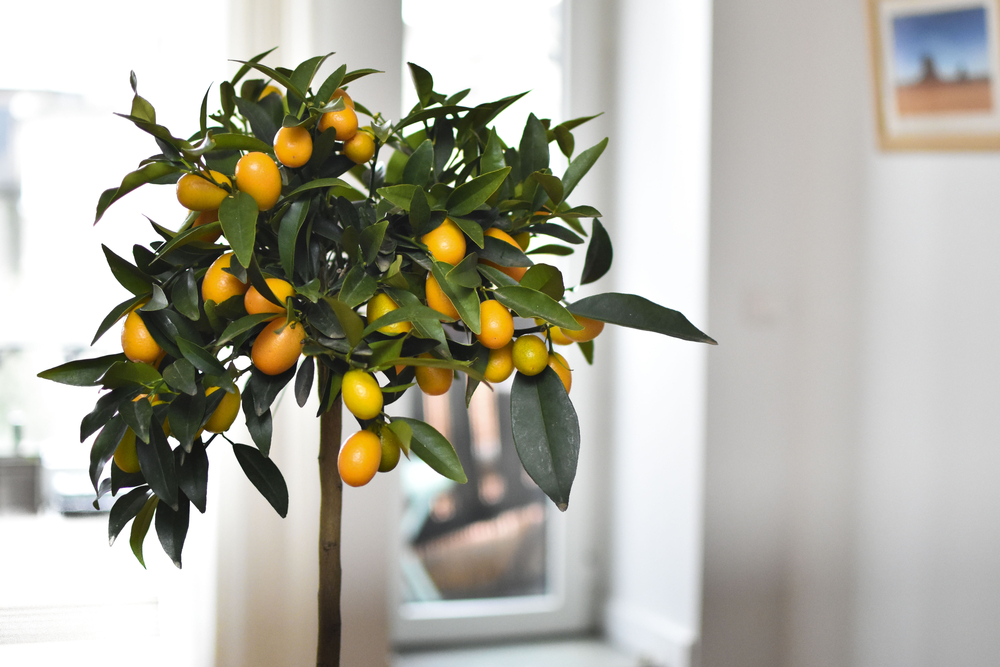
When Life Gives You Lemons – Grow Them Indoors!

January 3, 2018/in Indoor Gardening

Everyone loves houseplants – they provide greenery and pops of color to your home. Sometimes it’s fun to switch things up a little bit. Growing citrus indoors is actually easier than you think!

Unless you live in a warm climate year round, growing citrus outside can be tough. Bringing it indoors will keep it at the temperature it needs and gives it a chance to thrive.

Just imagine seasoning your salmon on a chilly night, adding fresh lemon to your water, or making a natural cleaner and being able to grab citrus right out of your living room to do it! And Meyer lemon trees smell so good too!

How to Grow a Citrus Tree Indoors:

1. Choose your container

If allowed, citrus trees will grow incredibly tall. Keep citrus trees from hitting the ceiling by choosing a container that is deeper than it is wide. This will help roots to grow down and not out, keeping the tree balanced as it grows.

If the tree will stay in one well-lit area year-round, any container will do. If you are moving it from room to room to follow the sunlight per season, a thinner plastic container is lighter and easier to transport. Make sure your container has adequate drainage holes.

2.The right soil

Citrus trees don’t like wet feet. A light well-drained soil mix, such as Espoma’s Cactus Potting Soil, works best to grow your tree in. It provides the tree with enough water to keep it happy and allows the excess to drain quickly.

Fill your container with just enough soil so your root ball is just under the lip of the container. This helps your tree to get the right nutrients and drain correctly.

3. Plant your tree

Before placing the root ball in the container, be sure to sprinkle Espoma’s Citrus-Tone on your soil as directed.

Center your tree’s root ball and fil the sides in with soil. Tuck the soil in the sides, so the tree doesn’t lean. Feed your tree regularly to ensure successful and juicy citrus.

4. Choose your location

Citrus trees require 8-12 hours of sunlight a day. Be sure to choose a south-facing window with good airflow. In the winter months, you may need to supplement with a grow light if there isn’t enough daylight.

5. Give it a drink

While citrus trees don’t like their feet wet, they also don’t like to dry out. If the first inch of the soil dries out, be sure to water your tree. If you water about once a week, you should be using around ¼ of a gallon. If the tree is standing in drainage overflow, be sure to allow it to dry before watering again.

Do you have outdoor trees that need to be fertilized? Watch this video to learn how!


https://www.espoma.com/wp-content/uploads/2018/01/meyer-lemon-tree-citrus-.jpg 667 1000 espoma https://www.espoma.com/wp-content/uploads/2023/05/espoma-logo340w-1.png espoma2018-01-03 16:18:412019-05-07 10:00:27When Life Gives You Lemons – Grow Them Indoors!
Where to Buy

Get News & Updates

Recent Posts

  • VIDEO: How to Plant a Raised Bed Like a Pro with Farmer Nick
  • VIDEO: Transplanting Magnolias 🪴🌺 with Wyse Guide
  • VIDEO: How to Care for Roses 🌹 & Hydrangeas 🌸 with Garden Answer
  • VIDEO: How to Grow a Hummingbird Garden 🕊️🌿🌺 | Growing Joy with Maria
  • VIDEO: Boost Your Blooms: 🌸 Fertilizing Hydrangeas the Organic Way with Skye Hamilton

Tags

All-Purpose Potting Mix bio-tone Bio-tone Starter Bio-tone Starter Plus cactus and succulents Cactus Mix caring for houseplants Container Gardening DIY project Espoma espoma grown espoma organic Espoma Organics Espoma Video fall gardening flower garden flowers garden Garden Answer Gardening gardening tips gardens grow holly-tone houseplants Indoor! indoor gardening indoor plants Kaleb Wyse organic organic fertilizer Organic Gardening organic plant food Organic Potting Mix Outdoor Gardening Planting plants Potting Mix potting soil Spring Gardening succulents summer rayne oakes vegetable garden Vegetable Gardening Wyse Guide

Espoma. A Family Tradition Since 1929.

Espoma Organic logo
  • Espoma Dealer
  • Espoma Pro
  • Garden Club
  • Privacy Policy

Scroll to top