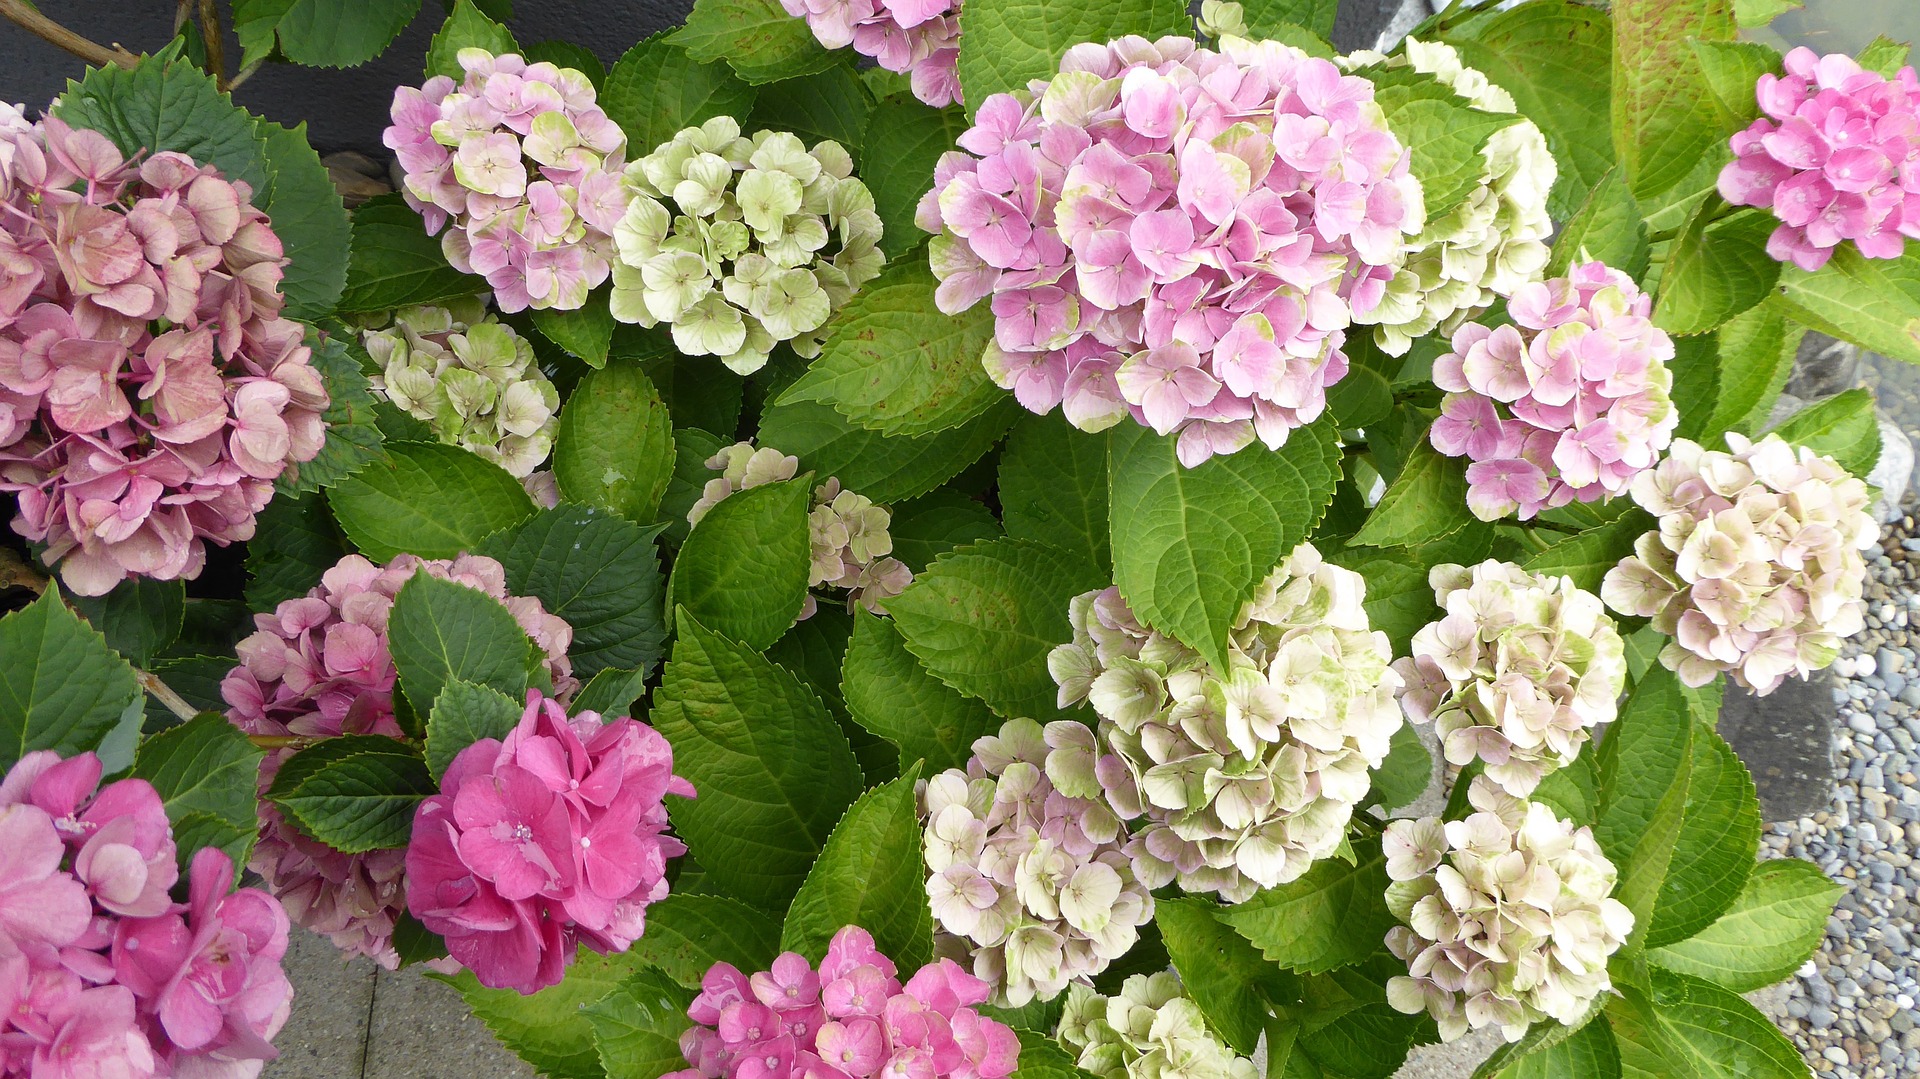
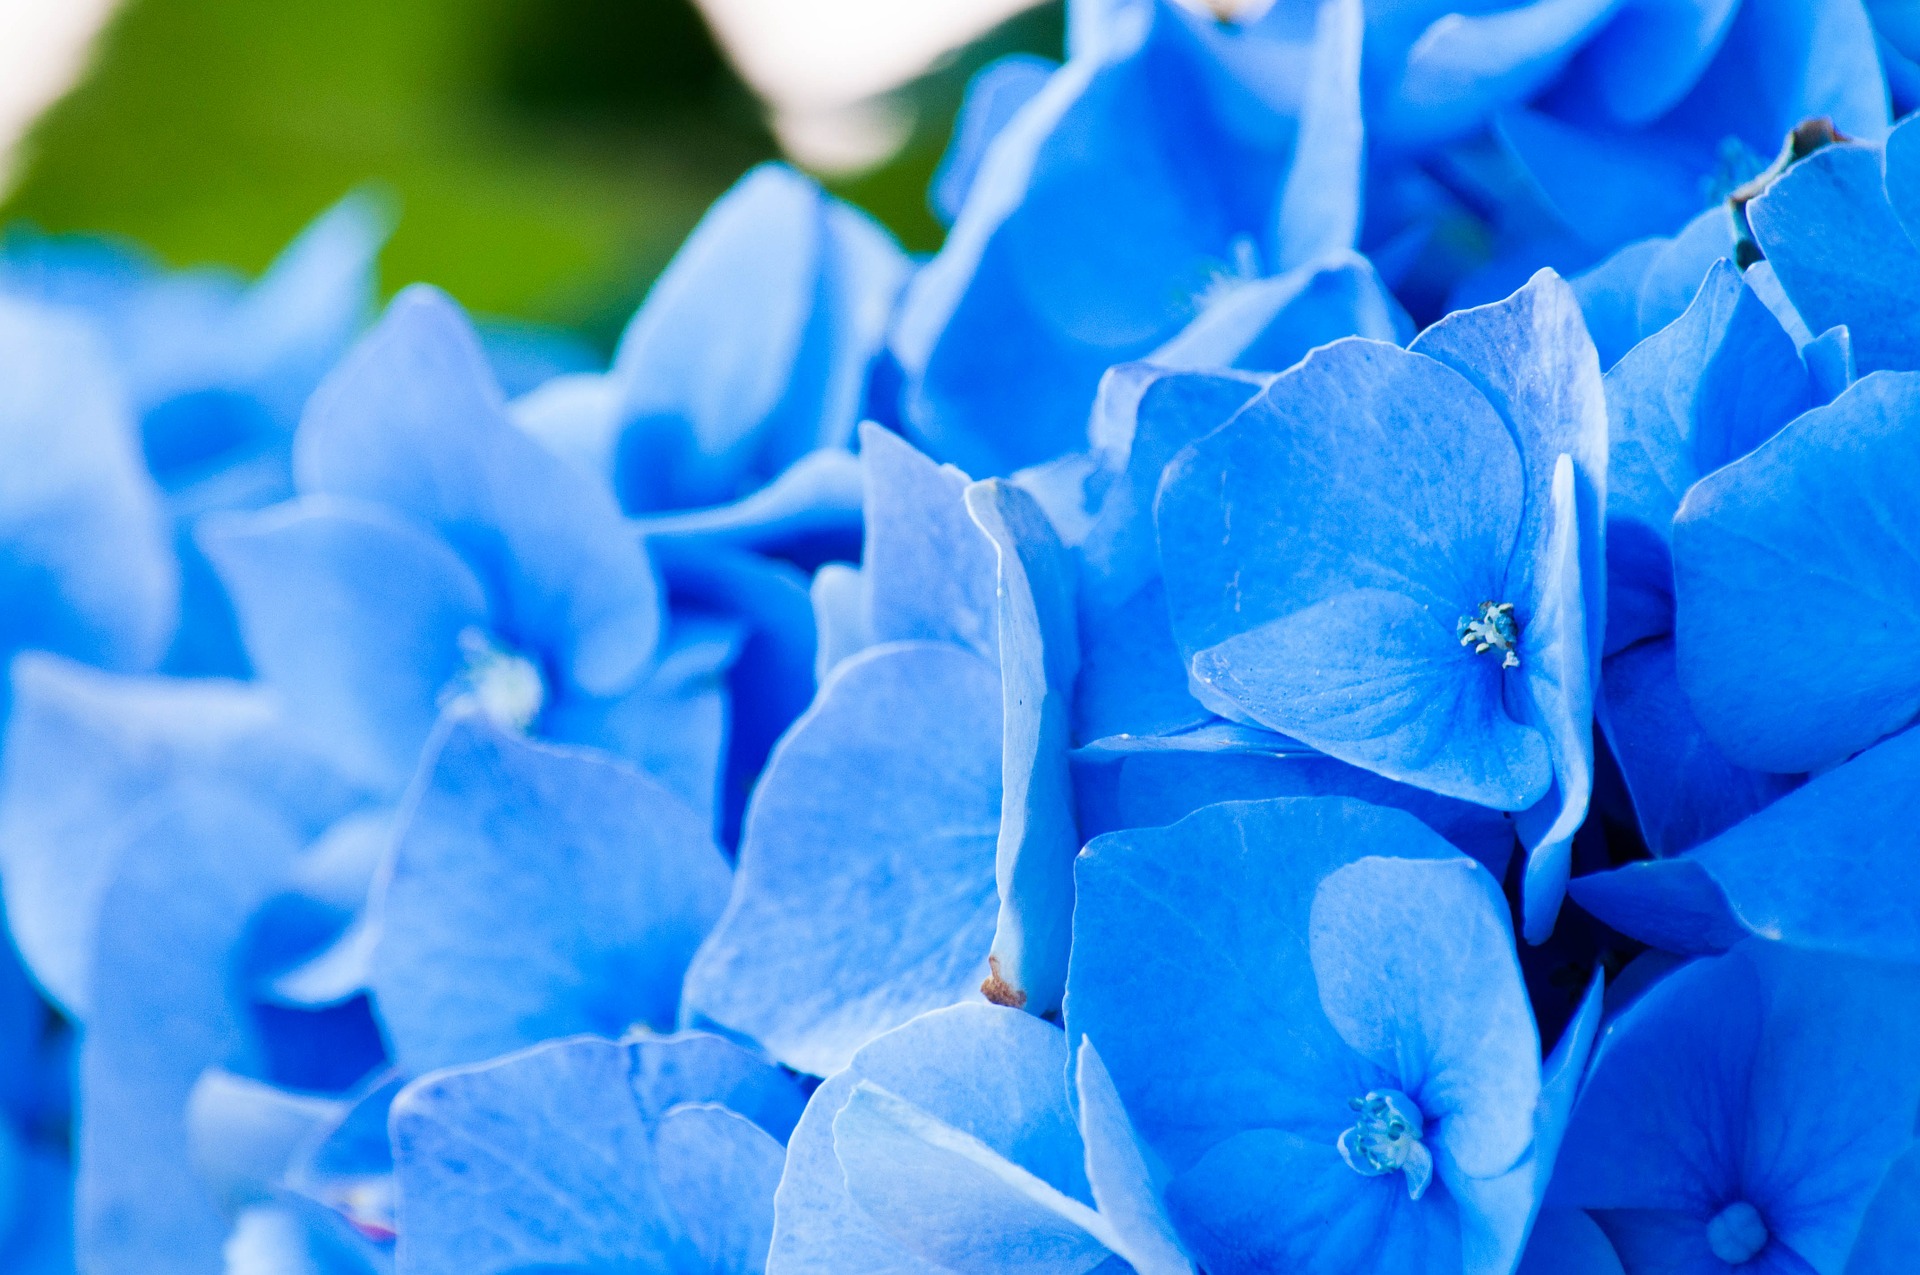
Transplant Hydrangeas in Fall
You’ve had an amazing hydrangeas season. But by now, they may have outgrown their spot in your yard. Or, they might need a new spot to thrive.
Luckily, it’s easy to transplant hydrangeas.
7 Steps to Transplanting Hydrangeas
1. Transplant at the right time. Plan to transplant before the ground freezes over. Wait until hydrangeas have finished flowering or gone dormant for the year before moving them.
2. Find a new home. Pick a place for the hydrangea that doesn’t receive too much sun. Hydrangeas prefer semi-shade. Make sure your location can accommodate the size of the rootball.
3. Dig carefully. Use your shovel to make cuts around the hydrangea before actually digging it up. When pulling the plant up, remove with it as much of the rootball as possible. The rootball, dense with fibrous roots and soil, may be very heavy, so enlist help if you need it.
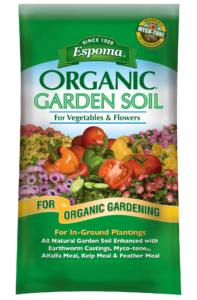
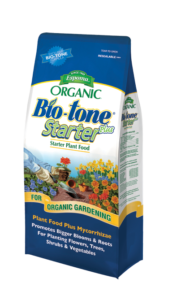
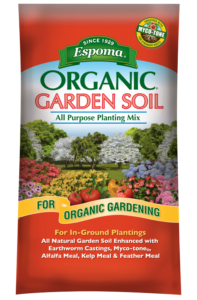
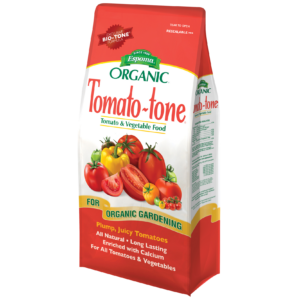
4. Plant right. Move the plant to its new home. When digging the hole for the transplant, be sure to leave enough room for the rootball. Add Bio-Tone Starter Plus to help reduce transplant shock and establish roots. After the plant is moved, fill in the hole with Espoma Organic All-Purpose Garden Soil and compost.
5. Give them a drink. Dormant transplanted hydrangeas need a deep watering. Water thoroughly once transplanted using a hose, rather than a watering can or sprinkler, to quench the hydrangeas’ thirst.
6. Watch closely. After transplanting, pay careful attention to the next two summers. Hydrangeas need plenty of water during these hot months. If the leaves wilt, but the soil seems moist enough, mist leaves. Fertilize hydrangeas twice each year with Espoma’s Holly-tone, once in early spring and a half feeding in fall.
7. Mulch. To prevent the rootball from drying out, apply mulch to the base of the hydrangeas.
Have any tips for transplanting hydrangeas? Let us know in the comment section!


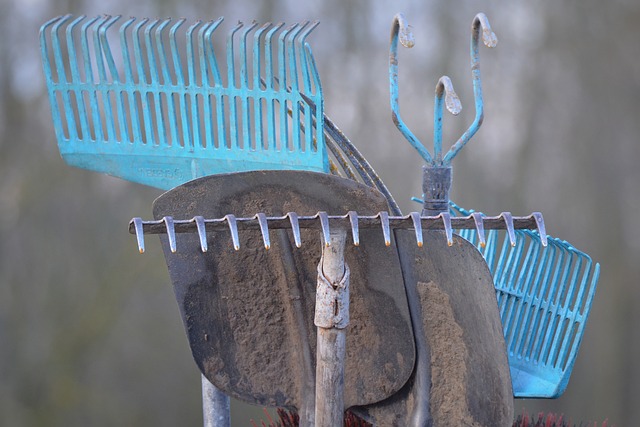
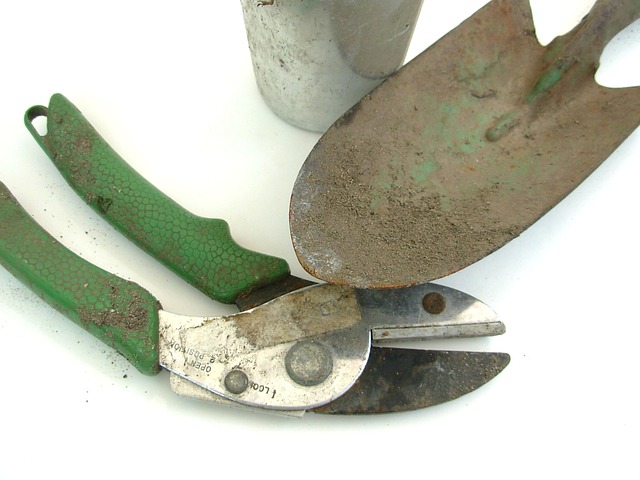
 6. Sharpen Pencils. Clean and sharpen your garden tools to get them ready for the new season! You can DIY or take them to your local garden center.