Espoma Organic
  • Products
    • Close
    • Product Line Overview
    • Plant food finder
    • Garden Fertilizers
    • Potting Soils
    • Liquid Fertilizers
    • Lawn Fertilizers
    • Single Ingredients
    • Conventional Plant Foods
    • Animal Care Products
  • Where to Buy
  • Our Story
    • Close
    • Our Story
    • Locations
    • Historical Timeline
    • Our Commitment
    • Directions
    • Solar
    • Join our Team
    • Espoma Brand Partners
  • Learn
    • Close
    • Espoma Blog
    • FAQ’s
    • Pocket Guide
    • Espoma Guides
    • Garden Clubs
    • Safe Paws Lawn
    • PRODUCT FACT SHEETS
    • Fertilizer Fundamentals
      • Close
      • Understanding Plant Nutrition
      • Reading Labels
      • Choosing the Right Type of Fertilizer
      • Terms & Definitions
    • Gardening Projects
    • Resource Links
  • Contact Us
  • Menu Menu

Container Garden Tip: Extend Summer Color! ????

May 31, 2016/in Blog, Flowers

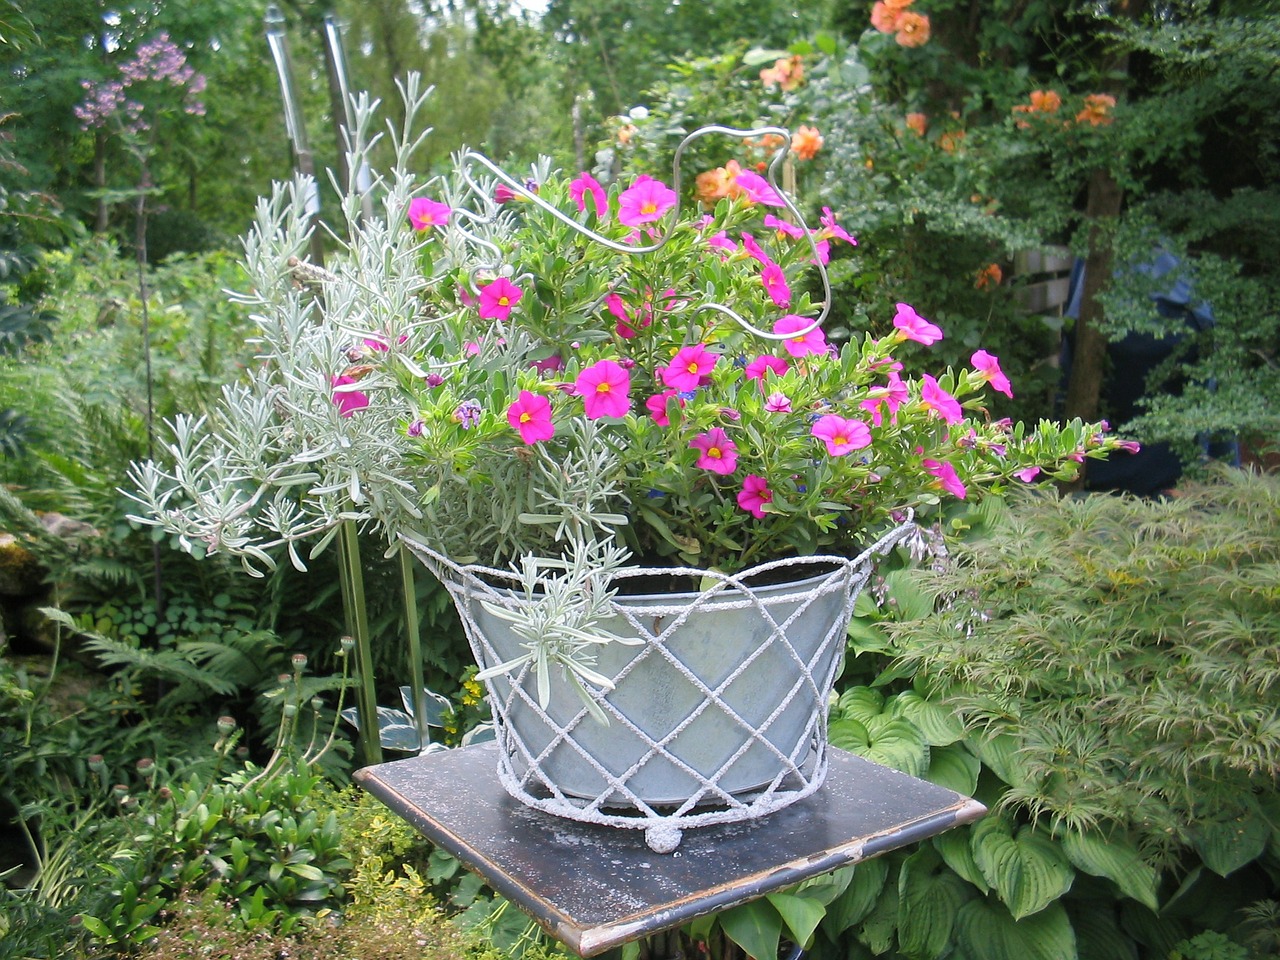
4 Tips to extend the life of containers for a summer of color.


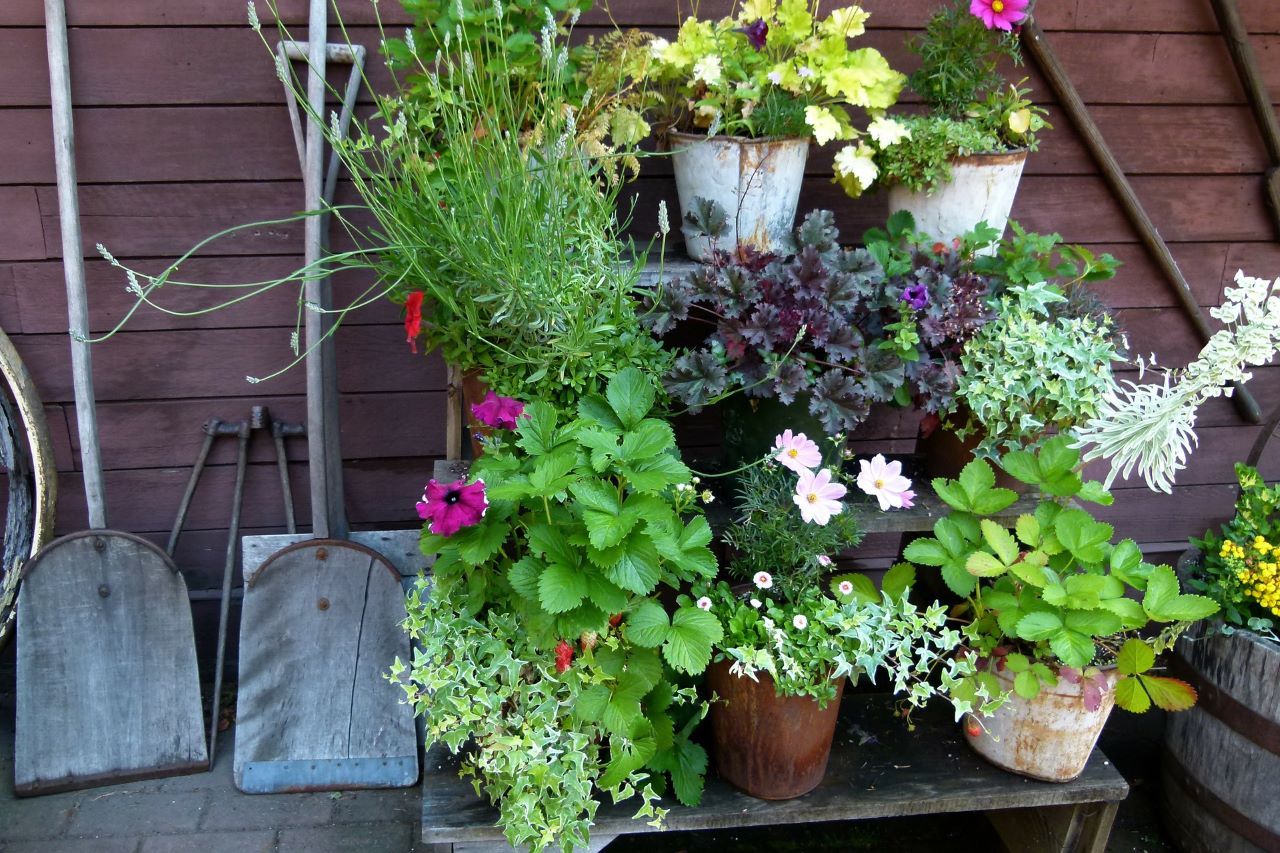
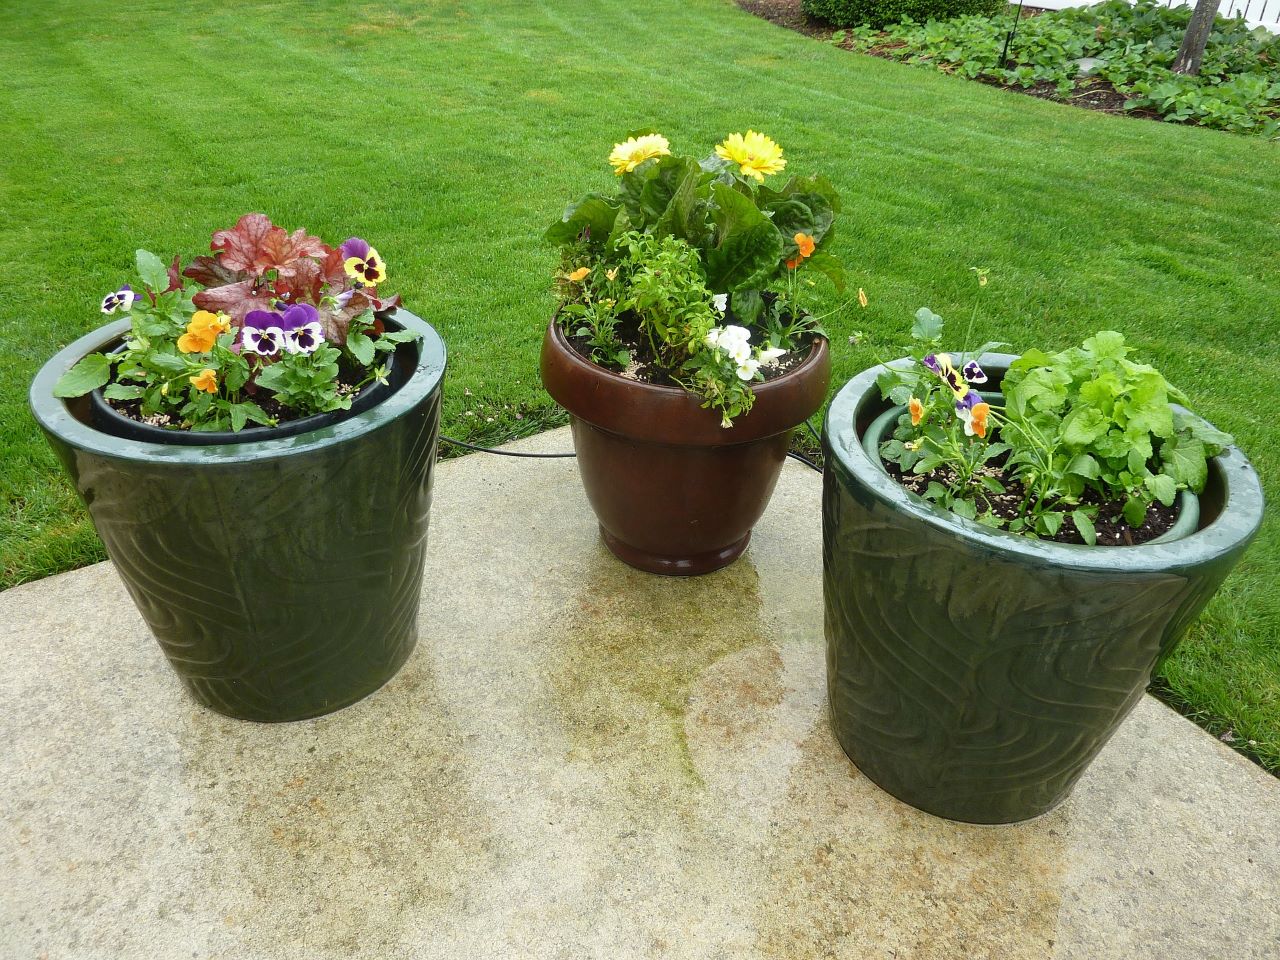
Containers filled with bright blooms are great additions to any patio, yard, or landscape. Containers help add beautiful pops of color and are easy to maintain with the right care.

Before summer’s heat and dry conditions get the best of them, give containers what they need to extend their life into summer with these 4 easy tips.

liquid fertilizer, potting soil, container gardening

1. Deadhead. Use pruners or shears to snip off dead or dying flowers, stems, and foliage. This is called deadheading. Don’t be afraid to clip stems back a little to encourage new growth. This not only makes the plant look better, it helps encourage more blooms.

Hint: Want even less work? You can always opt for plants that do the deadheading on their own, like Million Bells.

liquid fertilizer, potting soil, container gardening

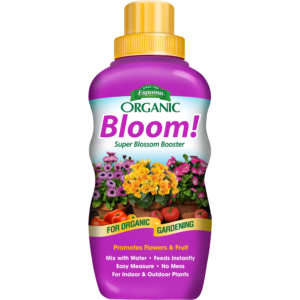
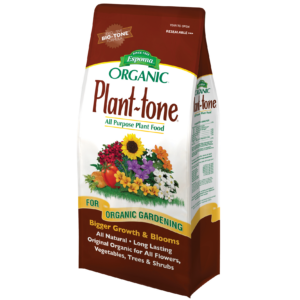
2. Feed. Feed established containers with our Bloom! liquid fertilizer to promote & prolong flowering or sprinkle granular plant food, like Plant-tone, on the soil surface and gently work in and water thoroughly.
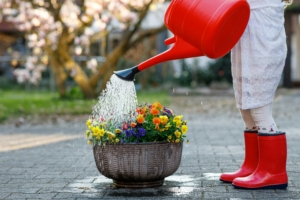
 

3. Water. Containers need to be drenched – generally every day – and make sure to get the roots. Water the container until it pours from the drainage holes. Be sure to empty saucers to keep roots from getting waterlogged.
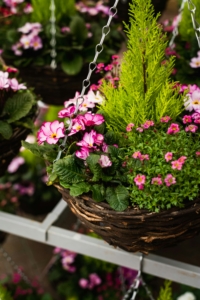
 

4. Replace. If all else fails, simply replace the leggy or tired plants in your container garden with late-season bloomers, like ornamental cabbage, coneflowers or sedum.

Now that your containers are taken care of, sit back and enjoy the extra color that will surround you while enjoying the beauty and warmth of summer!

*****

Featured Products:


Where to Buy

https://www.espoma.com/wp-content/uploads/2016/05/plants-252104_1920.jpg 1440 1920 espoma https://www.espoma.com/wp-content/uploads/2023/05/espoma-logo340w-1.png espoma2016-05-31 08:00:162024-05-14 12:29:45Container Garden Tip: Extend Summer Color! ????

Spruce Up Your Garden Before Memorial Day Weekend

May 25, 2016/in Flowers

As the official kickoff to summer, Memorial Day weekend is the perfect excuse to tidy up the garden. So before you bring out your red, white and blue and get ready for the summer season, spend a little time cleaning up around the yard.

And yes, Memorial Day may be the start of summer fun, let’s not forget the real reason behind the holiday and thank our veterans.

This federal holiday, observed the last Monday of May, honors those who’ve died serving in our country’s armed forces. Formerly known as Decoration Day, the holiday originated after the Civil War to commemorate both Union and Confederate soldiers who died in the war.

Take some time and  follow these simple, inexpensive and necessary gardening tips to get your yard in tiptop shape.

liquid fertilizer, potting soil, container gardening

Five Ways to Spruce Up:

CLEAN.

It’s not the prettiest task but it is one that can have the most impact. First, give lawns a nice clean cut and trim. Next, rake leaves out of garden beds and borders. Shred or leave them whole and place in a compost pile. Finally, remove tools, debris and the uncoiled hose that may be sitting on the patio.

liquid fertilizer, potting soil, container gardening

WEED.

Another task that’s low on the fun list, but necessary for a clean yard is weeding. Pull any weeds and discard. Do not compost weed seeds.

MULCH.

Adding fresh mulch to the garden makes everything look clean. Mulch with shredded bark, compost or other biodegradable mulch.

FEED.

Now is a good time to apply the second application of your annual feeding program for your lawn. It’s also a good time to give your plants a boost with liquid fertilizer Bloom! to ensure they’re looking their prettiest and peppiest for the party.

liquid fertilizer, potting soil, container gardening

DECORATE.

Colorful flowers do a world of wonder for a garden. Buy annuals and plant them along borders. Choose heat-loving flowers that will bloom all summer. Decorate with colorful containers and place by front door and at focal points. Putting a few plants out around the patio will really set the mood.

Have a safe and happy Memorial Day weekend! If you used any of our tips, let us know! Share your pictures with us on our Facebook page!

https://www.espoma.com/wp-content/uploads/2016/05/shed-418570_1920.jpg 1280 1920 espoma https://www.espoma.com/wp-content/uploads/2023/05/espoma-logo340w-1.png espoma2016-05-25 07:00:172024-08-19 11:33:04Spruce Up Your Garden Before Memorial Day Weekend

Turn Your Tomato Garden Upside Down

May 24, 2016/in Blog, Vegetable Gardening

Everyone loves growing tomatoes. And tomatoes are one of the easiest plants to grow.

This summer, put a new twist on growing tomatoes by adding upside-down tomato planters to your organic vegetable garden.

Growing upside down might seem crazy, but it’s actually the perfect solution for those with limited space.

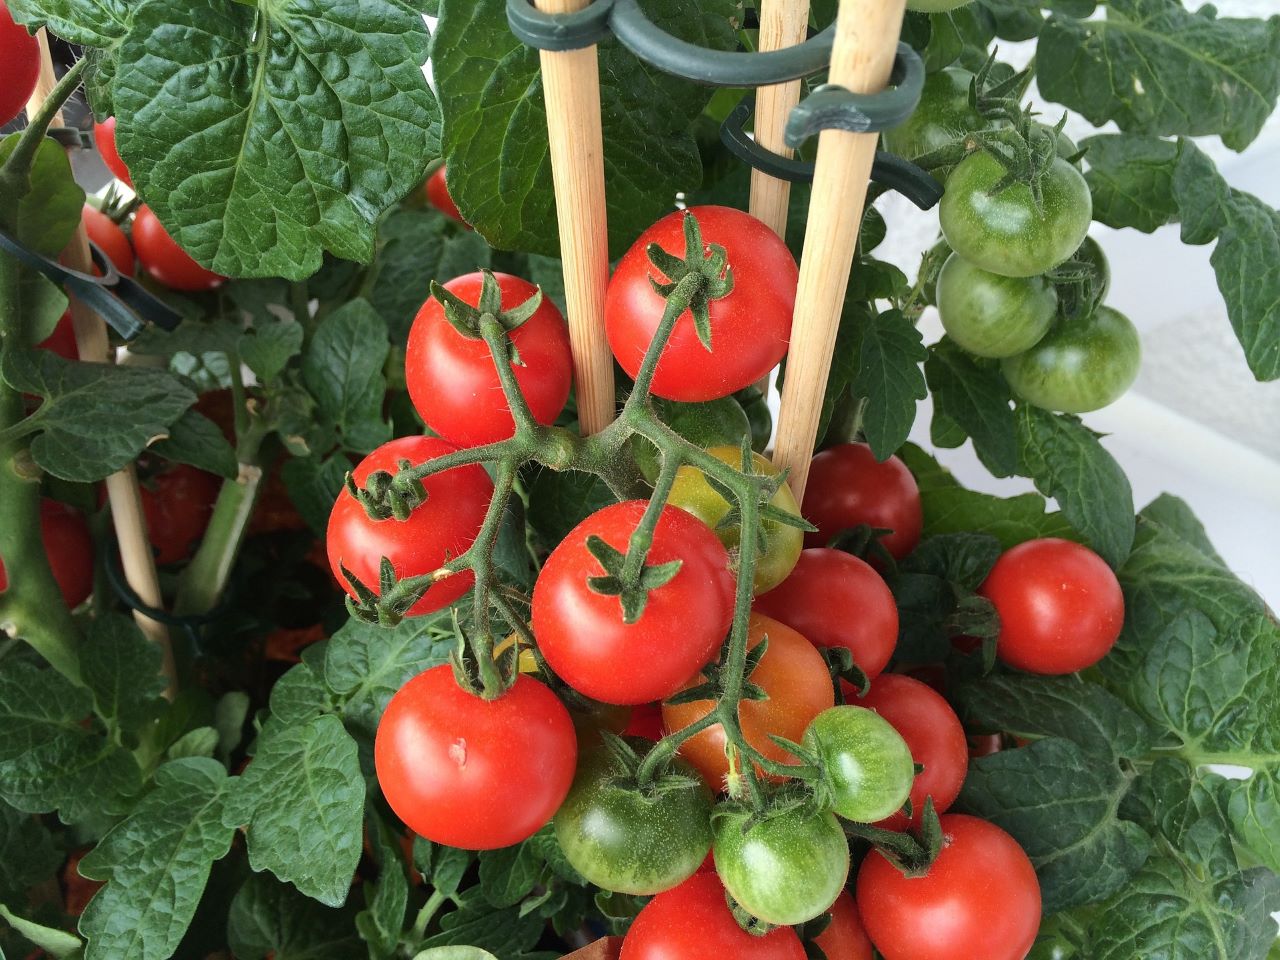
When choosing a variety, opt for smaller tomatoes like cherry or grape or those best suited for containers. Their small size and light weight prevent them from falling off the vines before they’re ready to eat!

early-girl-cropped

Choose Your Container

Purchase a 5-gallon bucket or container to serve as your planter. Drill a hole about 3” big in the bottom of the bucket. If you’re feeling creative, paint the bucket to match your outdoor décor.

Start Planting

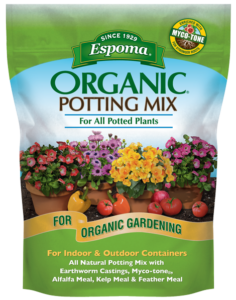
Fill 1/3 of the bucket full with Espoma’s Organic Potting Mix.

Carefully remove the tomato plant from its pot and loosen the roots from the soil.

Turn the bucket onto its side and put the roots of the plant through the hole. Hold the plant in place while turning the bucket upward.

Fill the bucket halfway with Espoma’s Organic Potting Mix.

Pick a spot to hang your planter that gets at least six hours of sun daily. The container will get heavier as the tomatoes grow, so be sure to choose a sturdy base.

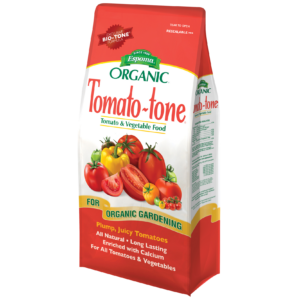
Water your upside-down planter regularly. And fertilize with Espoma’s Tomato-tone, a premium plant food formulated specifically for growing plump and juicy tomatoes.

Watch this Garden Answer video to see how you can DIY your own upside-down planter.

See our guide to growing tomatoes here


Where to Buy

https://www.espoma.com/wp-content/uploads/2016/05/bush-tomatoes-382292_1920.jpg 1278 1920 espoma https://www.espoma.com/wp-content/uploads/2023/05/espoma-logo340w-1.png espoma2016-05-24 08:00:482024-05-16 12:41:58Turn Your Tomato Garden Upside Down

The Secret to Strawberry Success

May 19, 2016/in Fruits & Vegetables

When it comes to choosing which berries to add to your organic garden, you can’t go wrong with summer’s favorite fruit — strawberries.

Packed with Vitamin C and fiber, strawberries make the perfect nutritious and delicious snack. Eat them alone or add to jams, pastries and smoothies.

Nothing says summer like the sweet taste of homegrown strawberries.  So, let’s get planting!

garden-strawberries

Choose Wisely

The first step in planting strawberries is choosing the right variety.

  • June-bearing strawberries produce one large harvest in late spring or early summer.
  • Ever-bearing strawberries produce 2-3 harvests of fruit intermittently during the spring, summer and fall.
  • Day-neutral strawberries continuously produce fruit throughout the growing season when temperatures remain between 35-85°F.

Ask an associate at your local garden center for recommendations for the best variety for your region.

When it comes to choosing which berries to add to your organic garden, you can’t go wrong with summer’s favorite fruit — strawberries.

Start Planting!

Strawberries need lots of sun, so choose a spot accordingly. Soil should be loose and fertile with a pH of 5.5 to 7. If the pH level is too high, add Espoma’s Soil Acidifier for ideal soil conditions.

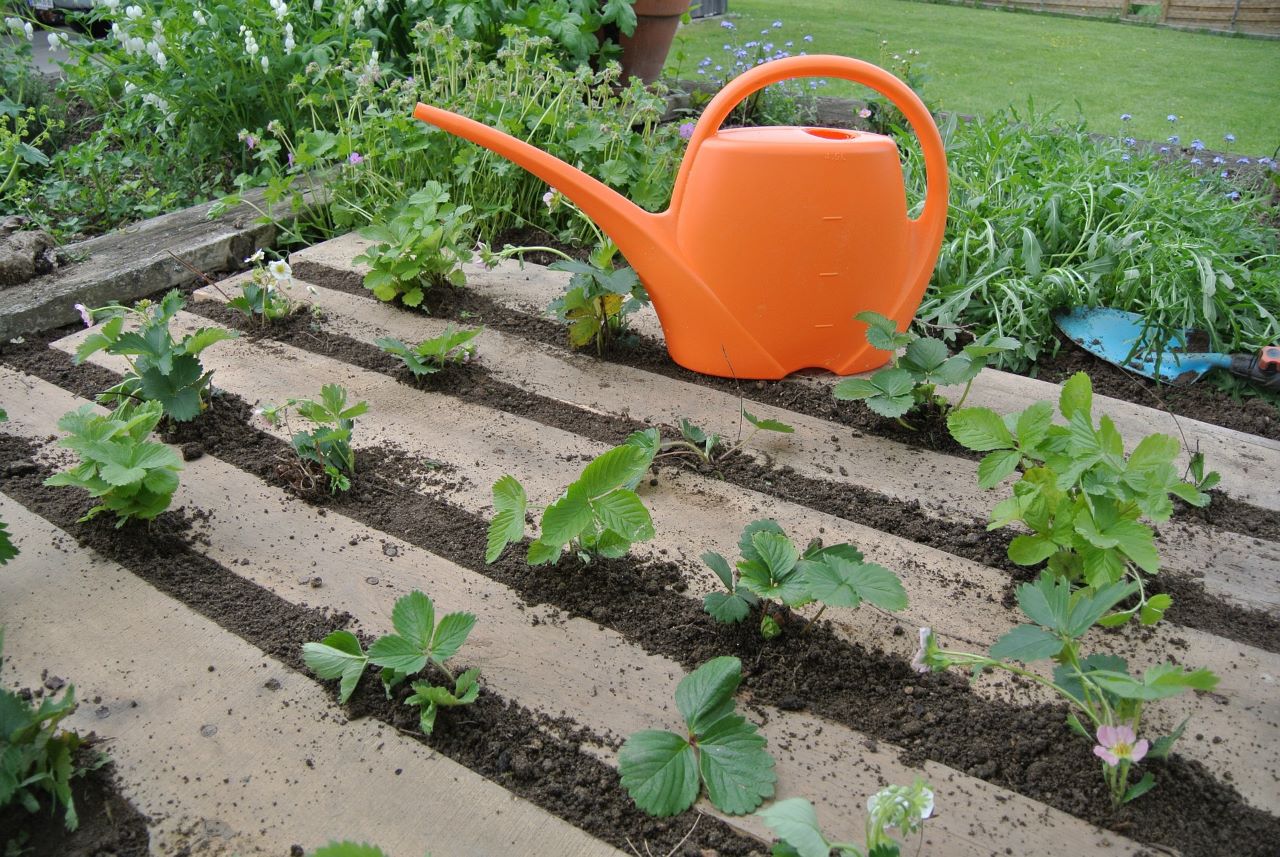
Plant strawberries in the spring as soon as the ground is workable. Space plants about 18″ apart. Dig holes deep and wide enough to accommodate the entire root system without bending it. Bury the roots, but not the center crown – it requires lots of light and fresh air.

Mix in an organic starter plant food, such as Bio-tone Starter Plus, to keep roots strong.

Encourage growth by adding Espoma’s Holly-tone, an organic plant food perfect for acid-loving plants such as strawberries.

Expect ripe berries about four to six weeks after the plants blossom.

You can still have delicious strawberries if you garden in a small space. They make perfect container plants!

Small Space Strawberries

You can still have delicious strawberries if you garden in a small space. They make perfect container plants! Hanging containers add aesthetic value and are a conversation starter. When plants are off the ground, there is also a decreased risk of pests and disease.

Simply fill a container with Espoma’s Organic Potting Mix and follow the same instructions above for planting strawberries in containers. Water plants well. Set the container in an area where it will receive at least 6 hours of sun. Rotate the container regularly so all sides receive equal light.

Whether you’re planting large beds of strawberries or starting with one small container, these tips will ensure success.

See the Total Berry Guide Here


https://www.espoma.com/wp-content/uploads/2016/05/strawberry-834947_1920.jpg 1893 1920 espoma https://www.espoma.com/wp-content/uploads/2023/05/espoma-logo340w-1.png espoma2016-05-19 08:00:112022-04-12 14:42:25The Secret to Strawberry Success

Plant Hydrangeas to Get the Best Blooms

May 17, 2016/in Flowers

Large, beautiful hydrangeas are a great addition to any landscape. Their bold colors make them perfect for freshly cut or dried flowers. Getting off to the right start in the right location is the difference between a hydrangea bush that blooms for years and one that never does.

Get the beautiful blooms you desire with these hydrangea planting tips.

Care for hydrangeas by planting them in the right spot.

Where should I plant my hydrangea? Choose a spot with moist, well-drained soil. Hydrangeas can grow from 4’ to 12’ in height depending on the variety, so plan accordingly. Most hydrangeas benefit from some shade, especially in hot climates. Too much shade means your hydrangea may not grow flowers.

Check the plant tag to find out how many hours of sun your hydrangea should be getting per day. Panicle hydrangeas tolerate more sun than do other species. And if you live in a region where it gets seriously hot, your hydrangea will need more shade than those grown in colder zones. Hydrangeas in southern climates especially need frequent watering to tolerate that stress.

If you’ve noticed your hydrangea has stopped blooming in recent years, it may be time to evaluate the location. Make sure hydrangeas are still receiving enough daily light and check the growth of nearby trees. Consider moving the hydrangea to a sunnier spot.

hydrangea care, hydrangea color, growing hydrangas

Get Ready to Plant. Once you’ve found the perfect spot, dig a hole twice as large as the hydrangea’s container. Mix in an organic starter plant food, such as Bio-tone Starter Plus, to keep roots strong. Add 1” of compost or Espoma Organic All-purpose Garden Soil to help with nutrients and drainage. Place the hydrangea in the hole at about the same height it was in the container, spreading its roots wide. Backfill the hole with soil and top with 2-3” of mulch.

Water Well. After you plant, water the hydrangea until a puddle forms. Water twice a week for a month. Then water deeply once a week until fall.

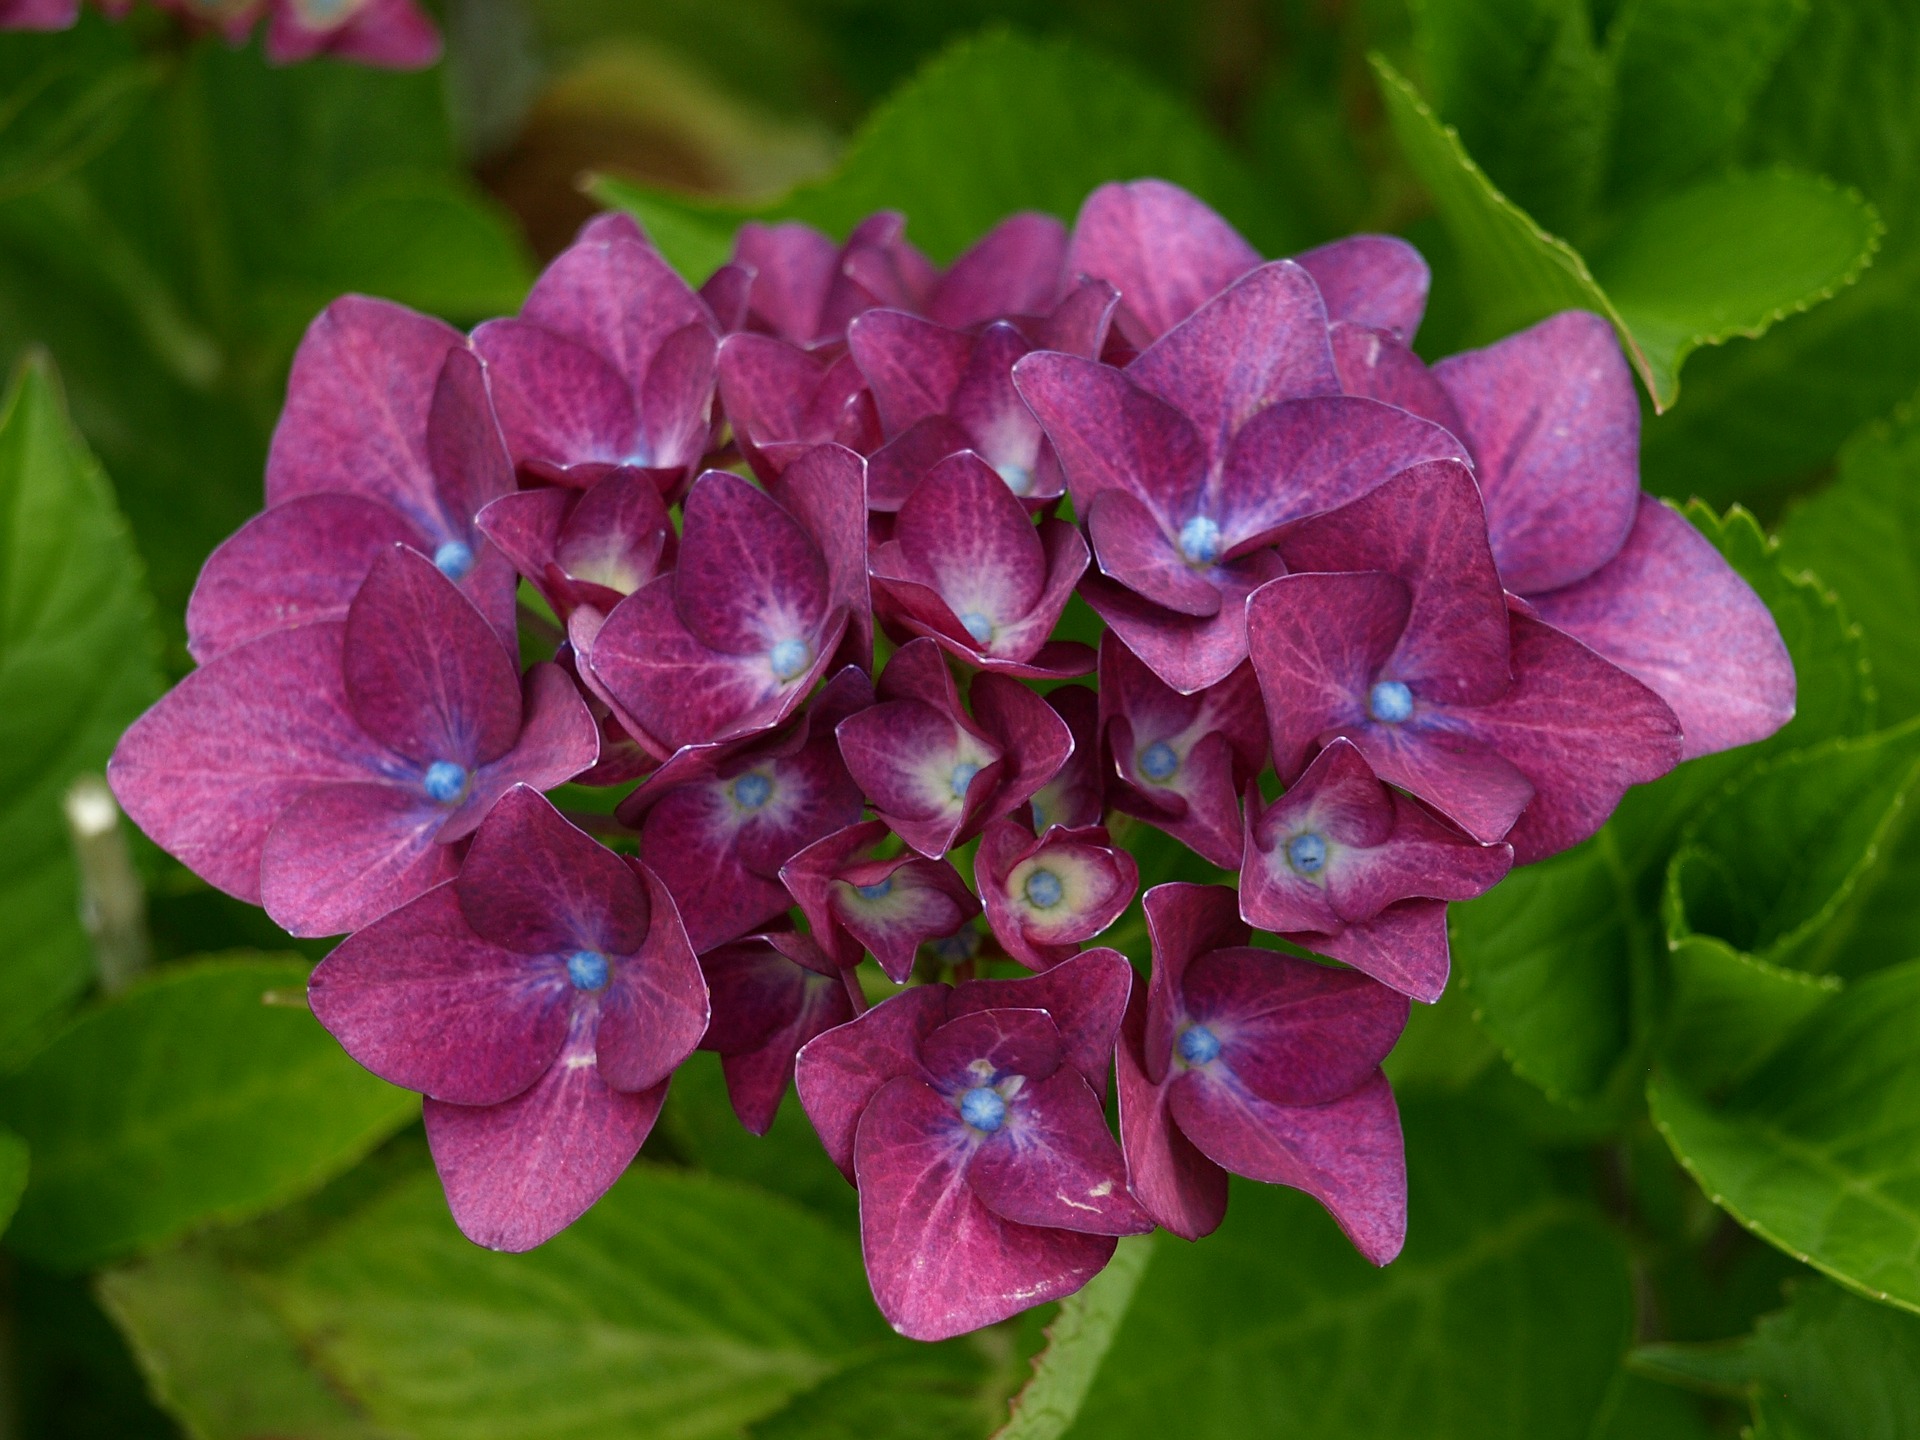
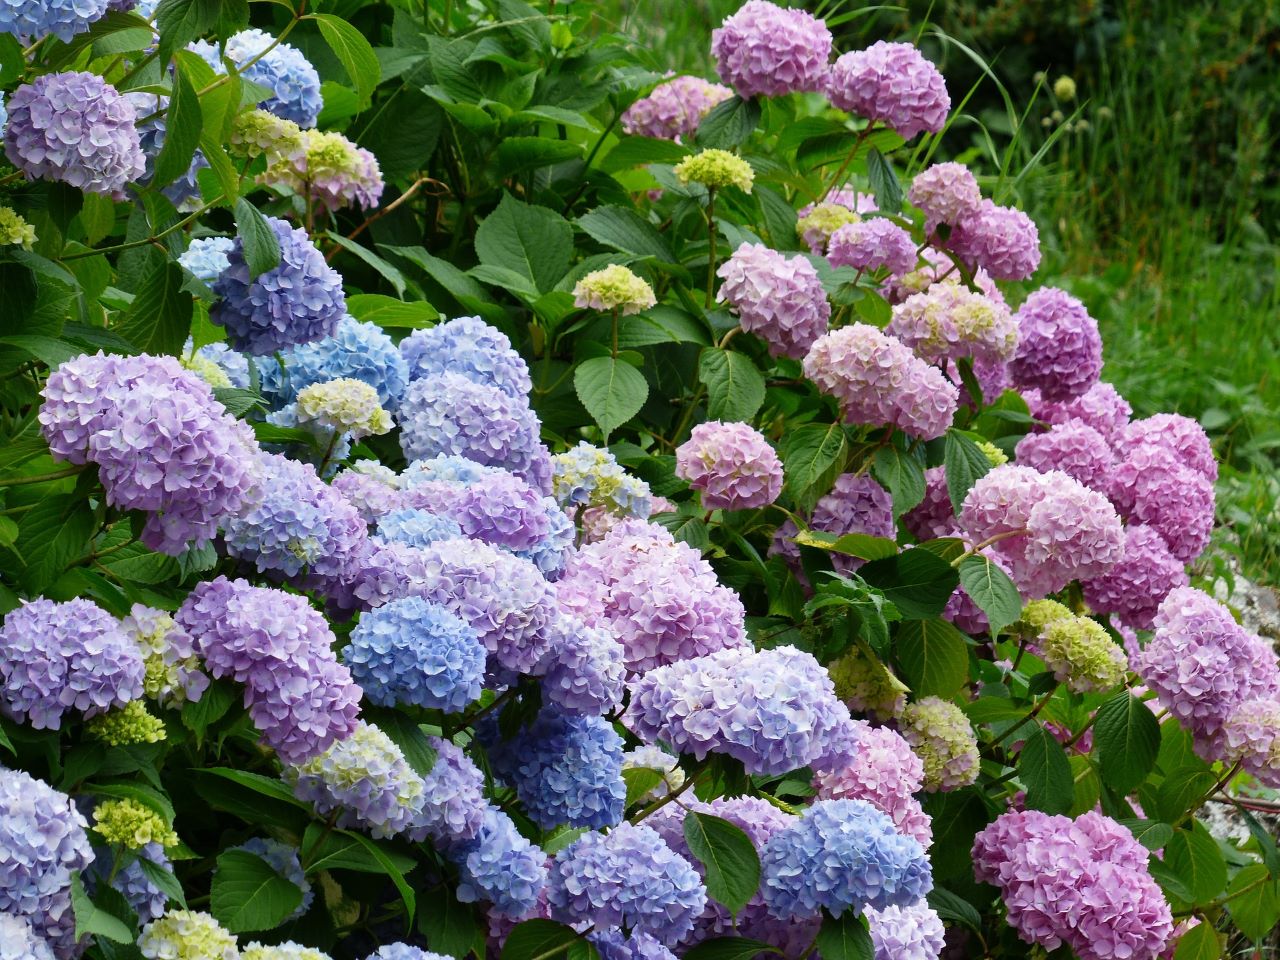
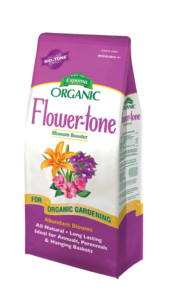
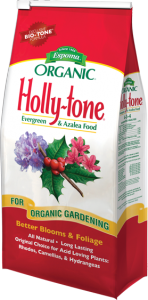
The Finishing Touch. Feed blue hydrangeas with Holly-tone to keep the soil acidic. Otherwise, opt for Flower-tone. For the best hydrangea care, feed 2-3 times throughout the growing season, which is spring until fall.

Guide to Growing Hydrangeas Here

Featured in this Post:


Where to Buy


https://www.espoma.com/wp-content/uploads/2016/05/hydrangeas-898043_1920.jpg 1079 1920 espoma https://www.espoma.com/wp-content/uploads/2023/05/espoma-logo340w-1.png espoma2016-05-17 08:00:092022-04-13 11:33:01Plant Hydrangeas to Get the Best Blooms

Small but Mighty – How to Grow Hydrangeas in Containers

May 12, 2016/in Flowers

When we picture hydrangeas — with their larger-than-life blooms and immense foliage — we naturally envision large plants. Believe it or not, though, hydrangeas come in not one, not two, but three sizes!

No matter how much space you have, find the perfect-sized hydrangea for you. You can even grow hydrangeas in a container.

hydrangea care, hydrangea color, growing hydrangas

Minimal Size, Maximum Blooms! Tips for Growing Hydrangeas in Containers

1. Small Has It All. Pick a hydrangea that will thrive in your small space. Dwarf varieties are petite beauties that pack a powerful punch. Scroll through our Hydrangea Variety Guide to find the right dwarf hydrangea for you. Then, find a spot that matches the amount of light they need.

2. Big, Bold and Full of Holes. Select a pot or re-purpose a container to make a statement. Just make sure it has drainage holes.

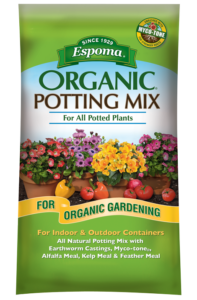
3. Solid Gold Soil. Hydrangeas need well-draining soil to thrive, so select a high-quality, organic potting soil Bonus points if it has Myco-tone™ mycorrhizae, which uses 30 percent less water than other soils.

hydrangea care, hydrangea color, growing hydrangas

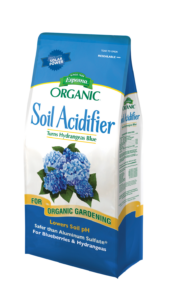
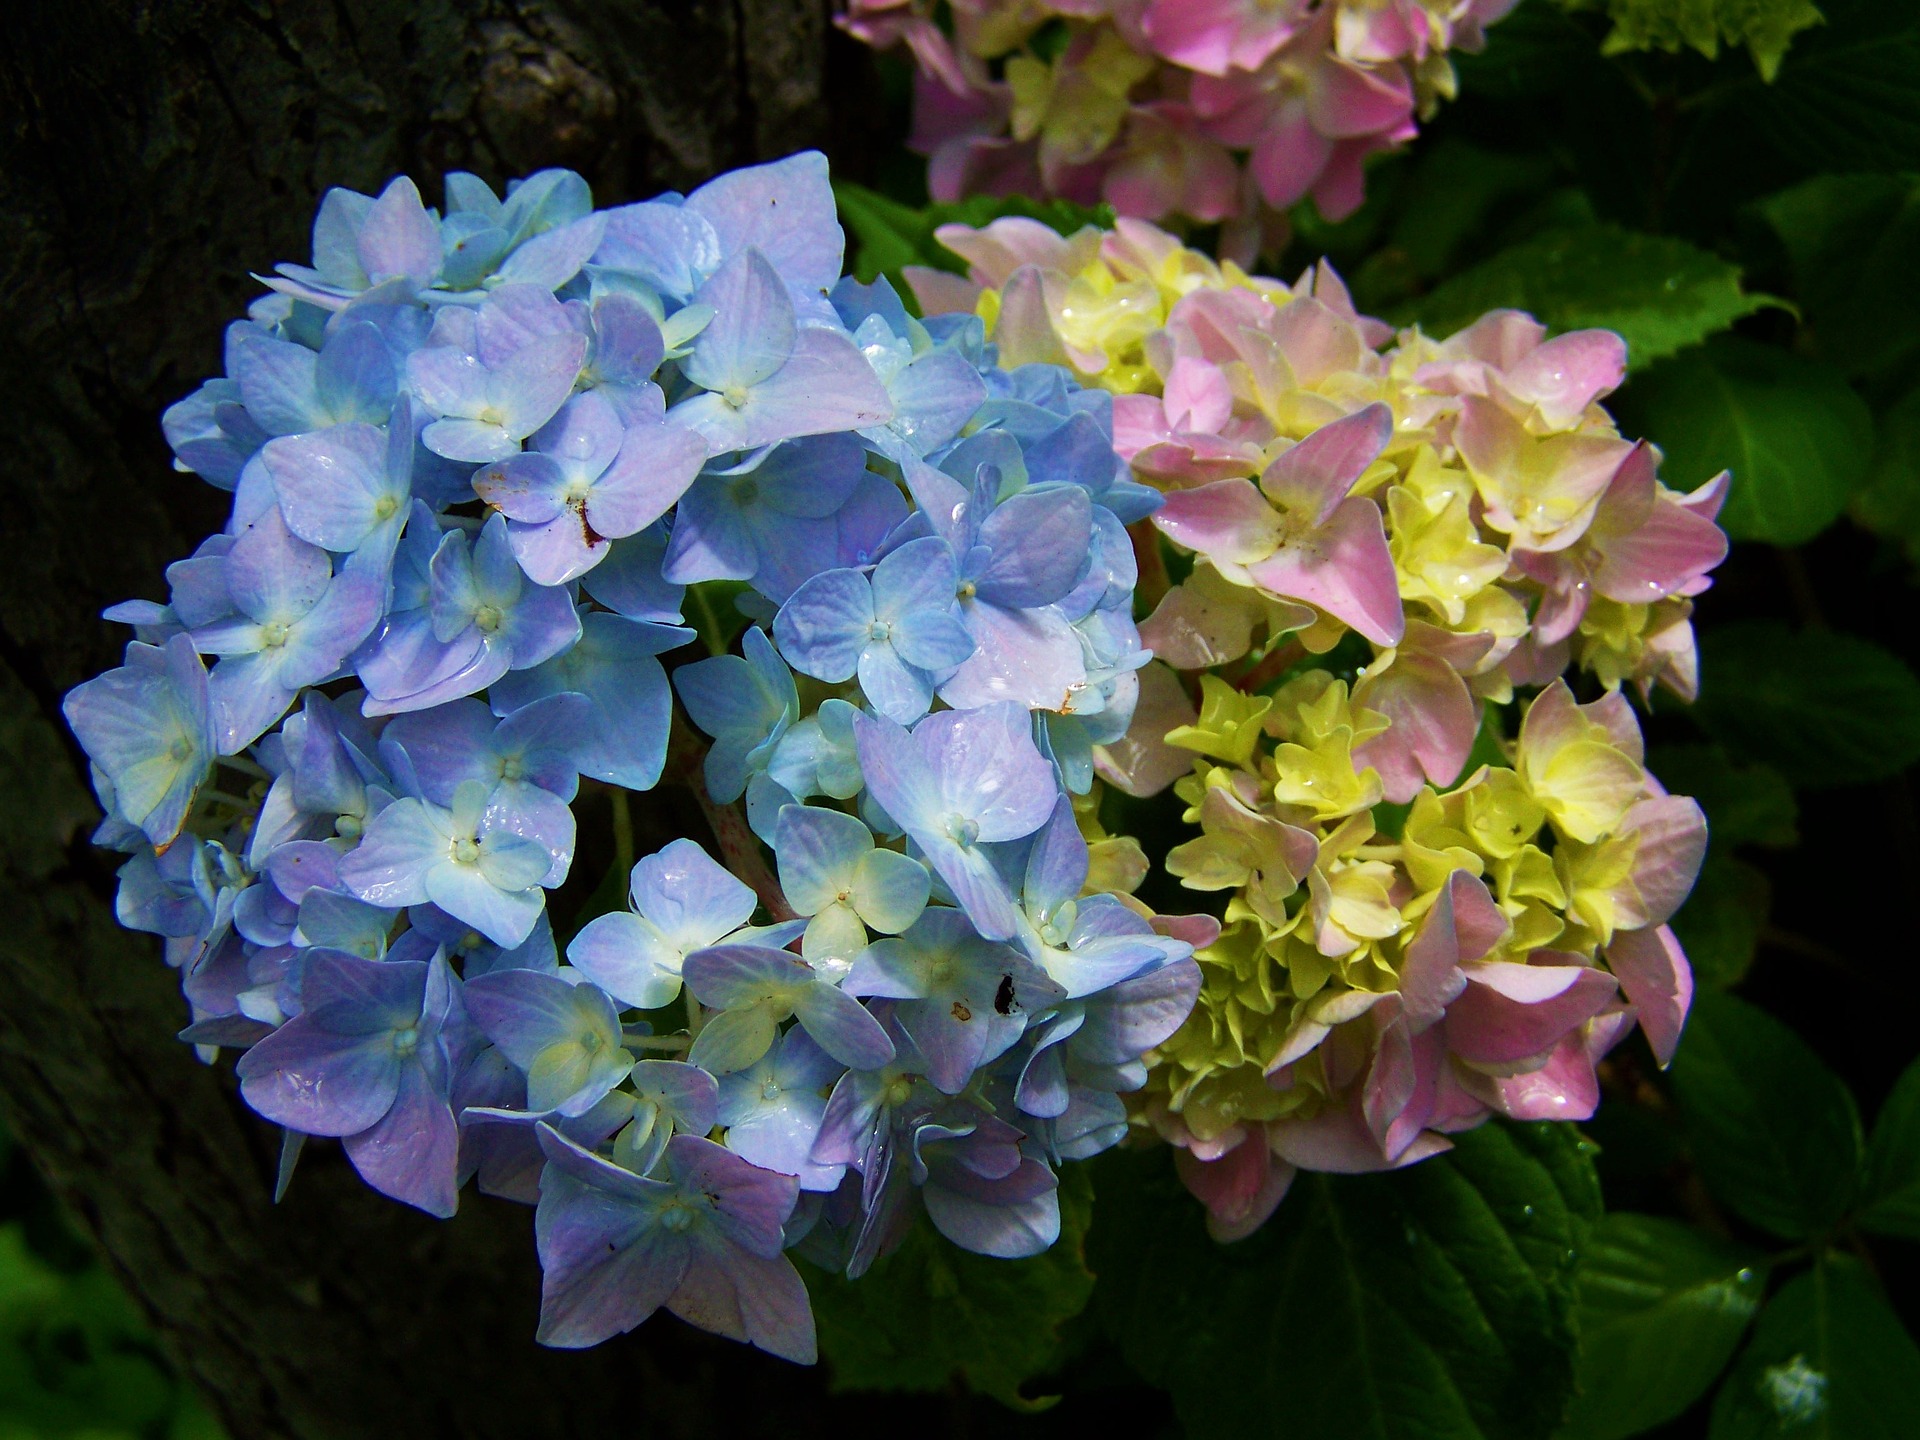
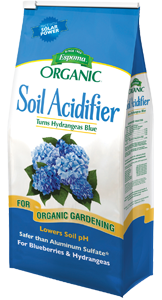
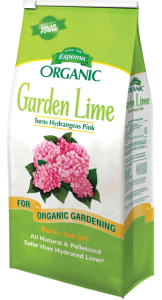
4. Plant with Power. If you want to grow blue hydrangeas, mix in Espoma Organic Soil Acidifier. For pink hydrangeas, add Espoma’s Organic Garden Lime. If you have it, add compost! Then fill planter with potting soil, and plant the hydrangea at the same height it was previously growing.

5. Establish Essentials. When growing hydrangeas in containers, water when the top 1” of soil is dry — or when the hydrangea begins to wilt. For best hydrangea care, feed once a year around June or July with an organic fertilizer. If you want a blue hydrangea color, feed with Holly-tone.

Small space, big blooms! Just think of how lovely your hydrangeas will look glistening in the sun at your Memorial Day party or twinkling in the moonlight during summer garden parties!

To learn more about hydrangeas, check out our organic growing guide. Find the right hydrangea for you by choosing one that loves sun, blooms all summer or is perfect for beginners.

Guide to Growing Hydrangeas Here

Featured in this post:


Espoma Holly-tone


Where to Buy
https://www.espoma.com/wp-content/uploads/2016/05/hydrangeas-759640_1920.jpg 1271 1920 espoma https://www.espoma.com/wp-content/uploads/2023/05/espoma-logo340w-1.png espoma2016-05-12 08:00:592022-04-13 11:18:06Small but Mighty – How to Grow Hydrangeas in Containers

The Easiest Blueberries for Beginners to Grow

May 10, 2016/in Fruits & Vegetables

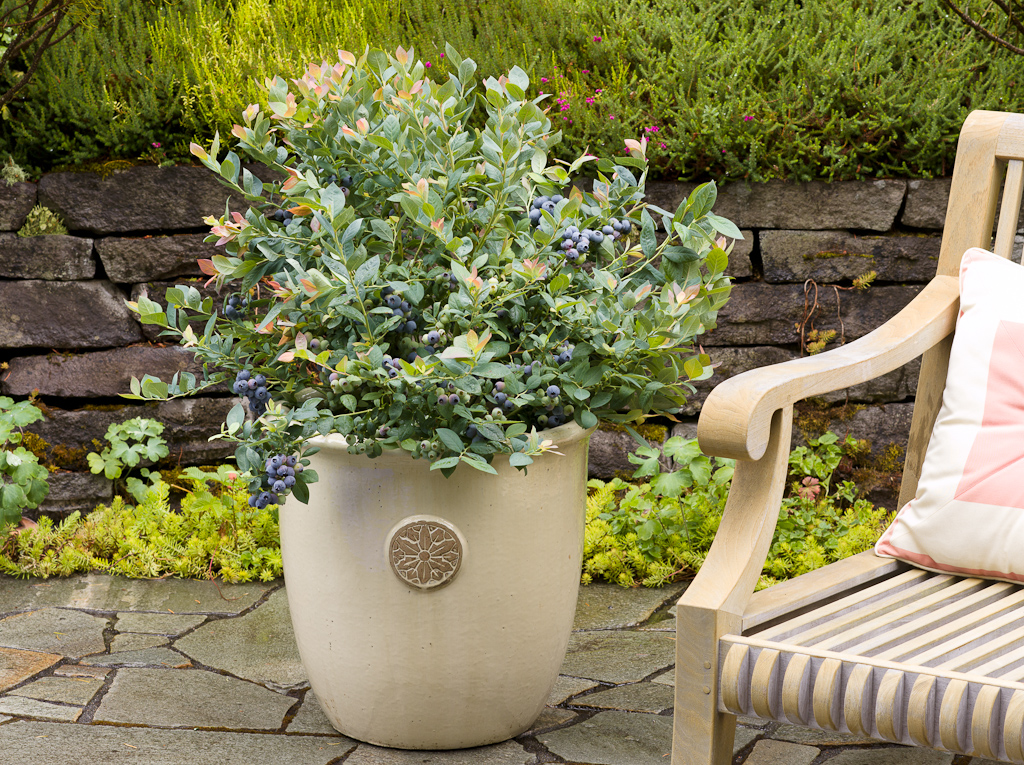
Grow blueberries in your garden, on your patio or balcony in containers. They don’t take much space or effort. And, once you know the basics, you are good to grow.

Native to North America, blueberries grow well in acidic soil and in areas with at least 140 frost-free days per year. They’re also perfect for organic gardeners since they can easily be grown without pesticides.

Below are our favorite picks for beginners to grow.

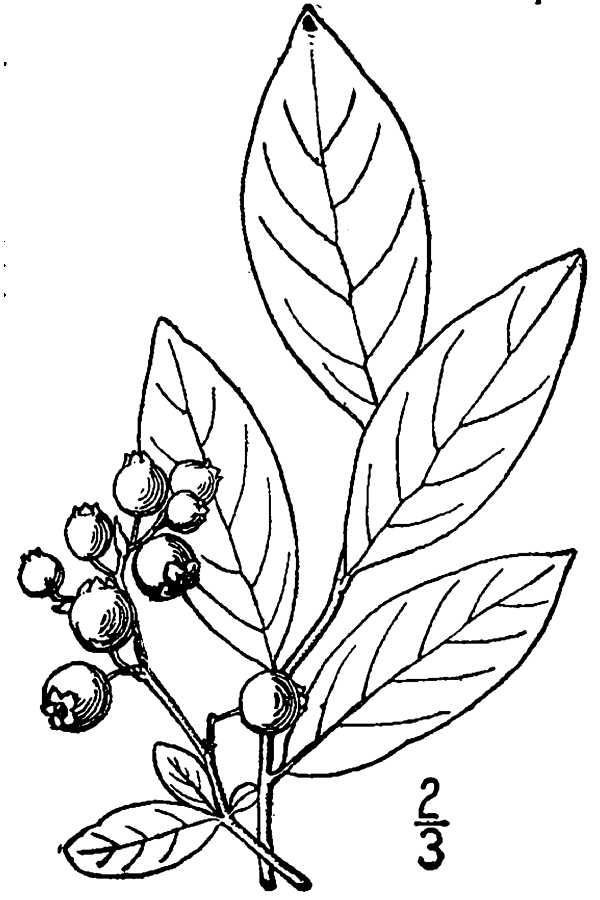
New jersey blueberry, organic blueberries.

Photo courtesy of USDA-NRCS PLANTS Database / Britton, N.L., and A. Brown.

Jersey Blueberry – One of the classics in the blueberry world. This reliable plant is super easy to grow and produces pounds and pounds of blueberries.

Blueberry Type: Northern Highbush

Light: Full sun

Size: 6-8’ H x 5-6’ W

Zone: 4-7

Chill Hours: 800-1,000

Ripening Season: Late: End of July-End of August

Taste and Size: Medium blueberries that taste rich and super sweet

Yield: High yield, 7-10 pounds of blueberries

Features:

  • Great blueberries for baking
  • Fiery orange fall foliage
  • Tolerant of many soil types
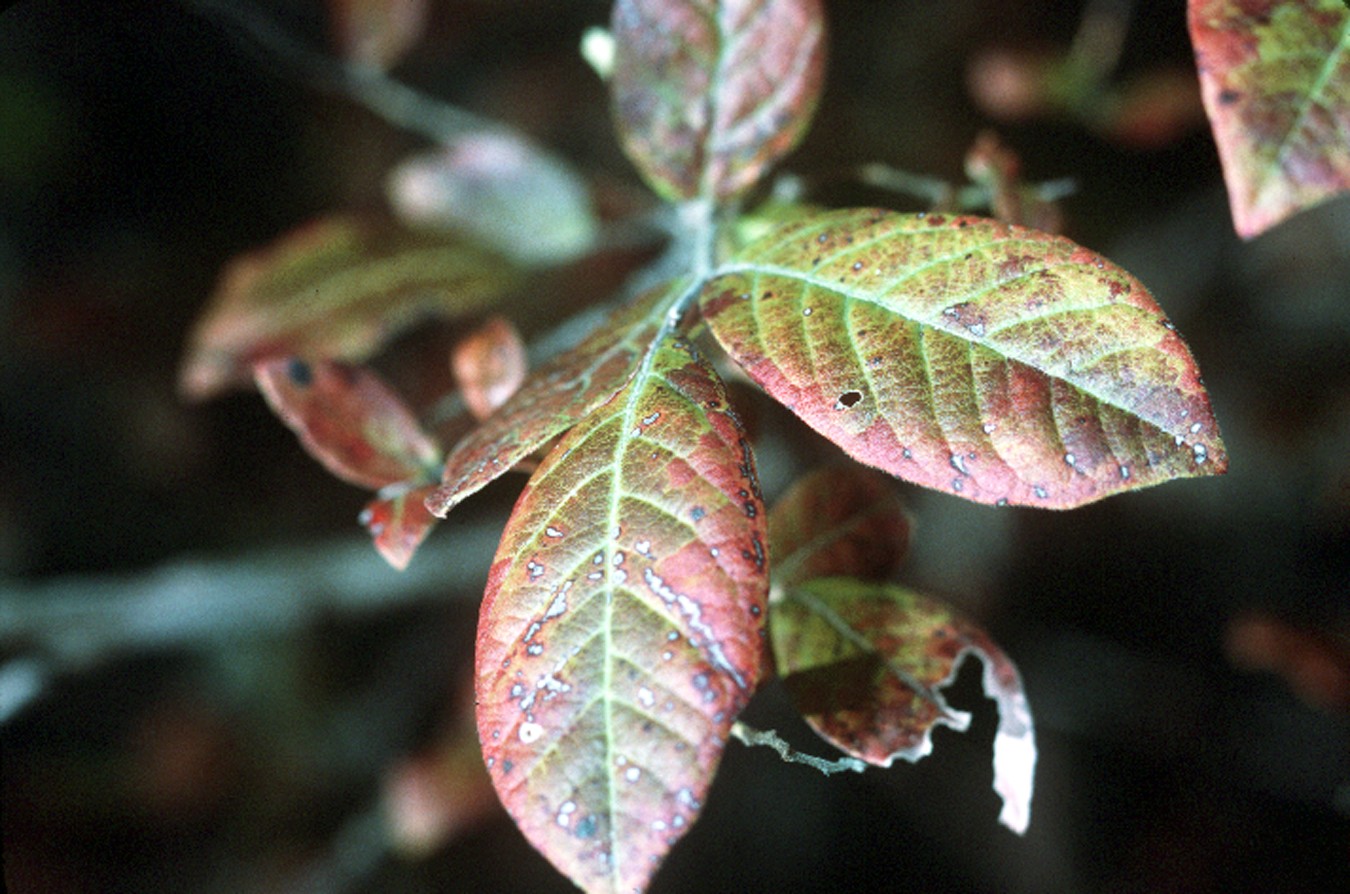
Photo courtesy of Robert H. Mohlenbrock, hosted by the USDA-NRCS PLANTS Database

Photo courtesy of Robert H. Mohlenbrock, hosted by the USDA-NRCS PLANTS Database

Emerald Blueberry – These berries are so enchanted you’ll think they’re from the Emerald City of Oz. This new blueberry variety is one you can count on. Year after year, it produces some of the biggest blueberries you’ve ever seen.

Blueberry Type: Southern Highbush

Light: Full sun

Size: 5-6’ H x 5-6’ W

Zone: 7-10

Chill Hours: 250

Ripening Season: Mid-season: End of May-Mid-June

Taste and Size: Enormous blueberries with a sweet flavor

Yield: High yield

Features:

  • Looks great in the landscape
  • Dependable in Southern climates
  • Grows well in Central and South Florida


pink icing blueberries, easiest blueberries to grow

Photo courtesy of Bushel and Berry™

Pink Icing – With breathtaking spring and fall foliage and large, sweet berries mid-summer, this gem makes small spaces shine. Plus, these bushes are self-pollinating, so only one bush is needed to produce fruit.

Blueberry Type: Dwarf

Light: Full sun

Size: 3’ H x 4’ W

Zone: 5-10

Chill Hours: 500

Ripening Season: Mid-summer

Taste and Size: Large blueberries with sweet, robust flavor

Yield: Moderate yield

Features:

  • Works well in containers or in landscape
  • Likes acidic soil
  • Beautiful year-round foliage
See the Total Berry Guide Here


https://www.espoma.com/wp-content/uploads/2016/05/BrazelBerries-Pink-Icing-Fall-Color.jpg 800 1200 espoma https://www.espoma.com/wp-content/uploads/2023/05/espoma-logo340w-1.png espoma2016-05-10 08:00:282022-04-12 14:43:45The Easiest Blueberries for Beginners to Grow

How to Create an Upside Down Tomato Planter

May 9, 2016/in Espoma Videos
See our guide to growing tomatoes here
https://www.espoma.com/wp-content/uploads/2016/05/Tomato-Planter-Thumbnail.jpg 720 1280 espoma https://www.espoma.com/wp-content/uploads/2023/05/espoma-logo340w-1.png espoma2016-05-09 09:55:262022-04-12 09:49:25How to Create an Upside Down Tomato Planter

Less is More: How to Successfully Prune Tomatoes

May 4, 2016/in Fruits & Vegetables

Tiny tomato seedlings can vigorously turn into huge bushes in no time. In fact, they’ve even been known to bend cages and pull stakes out of the ground!

However, when it comes to growing tomatoes, less is more. Fewer leaves mean air circulates better and leaves dry quicker, reducing the risk of disease.

Plants with less density direct energy toward producing bigger fruit. Plus, tomatoes often ripen earlier after a good pruning, allowing you to enjoy your harvest sooner.

Here are some helpful tips for pruning your tomatoes this season.

tomato-tone, growing tomatoes, organic gardening

Pruning 101

1. Find out if your tomato plant is a determinate or indeterminate variety. Determinate varieties often thrive with less attention because they only produce one crop of tomatoes. Indeterminate varieties, on the other hand, require frequent maintenance because they produce tomatoes all season.

2. Pinch or snip flowers until plants are 12-18” tall. When the first green fruit appears, remove all suckers, ie leaves beneath that cluster.

3. Feed throughout the season with Tomato-tone.

4. As the plant continues to fruit and flower, chose a few strong stems to produce tomatoes and prune the rest. Though this results in less fruit, tomatoes will be bigger and juicier.

5. Continue removing unnecessary suckers and flowers at least once a week during peak growing season. Eliminate suckers while they are still small enough to remove by hand. If you need to use a tool, be sure to use a sharp pruner blade to make a clean cut.

tomato-tone, growing tomatoes, organic gardening

Grow Up, Not Out

Tie tomato plants to a support such as a stake or a trellis to promote upward growth. This keeps tomatoes off the ground, keeping pests and diseases at bay. Vertically grown tomatoes are ultimately easier to prune because unnecessary suckers and leaves are more visible.

Though plants may now be better protected from insects and disease, staked and pruned plants may be more susceptible to blossom end rot and sunscald. Get a better harvest than you ever thought possible by giving tomatoes what they need!

See our guide to growing tomatoes here


Where to Buy


https://www.espoma.com/wp-content/uploads/2016/04/bush-tomatoes-876963_1920.jpg 1310 1920 espoma https://www.espoma.com/wp-content/uploads/2023/05/espoma-logo340w-1.png espoma2016-05-04 07:00:552022-04-12 09:51:40Less is More: How to Successfully Prune Tomatoes

How to Plant Blueberries in Containers

May 3, 2016/in Container Gardening

Laura from Garden Answer shows how to plant blueberries in containers and fertilize with Espoma’s Holly-tone. Watch the video below to see just how easy it is!


See the Total Berry Guide Here


https://www.espoma.com/wp-content/uploads/2016/05/Blueberries-in-Containers-2.jpg 1080 1920 espoma https://www.espoma.com/wp-content/uploads/2023/05/espoma-logo340w-1.png espoma2016-05-03 08:00:522022-04-12 14:44:44How to Plant Blueberries in Containers
Page 1 of 212
Where to Buy

Get News & Updates

Recent Posts

  • VIDEO: How to Plant a Raised Bed Like a Pro with Farmer Nick
  • VIDEO: Transplanting Magnolias 🪴🌺 with Wyse Guide
  • VIDEO: How to Care for Roses 🌹 & Hydrangeas 🌸 with Garden Answer
  • VIDEO: How to Grow a Hummingbird Garden 🕊️🌿🌺 | Growing Joy with Maria
  • VIDEO: Boost Your Blooms: 🌸 Fertilizing Hydrangeas the Organic Way with Skye Hamilton

Tags

All-Purpose Potting Mix bio-tone Bio-tone Starter Bio-tone Starter Plus cactus and succulents Cactus Mix caring for houseplants Container Gardening DIY project Espoma espoma grown espoma organic Espoma Organics Espoma Video fall gardening flower garden flowers garden Garden Answer Gardening gardening tips gardens grow holly-tone houseplants Indoor! indoor gardening indoor plants Kaleb Wyse organic organic fertilizer Organic Gardening organic plant food Organic Potting Mix Outdoor Gardening Planting plants Potting Mix potting soil Spring Gardening succulents summer rayne oakes vegetable garden Vegetable Gardening Wyse Guide

Espoma. A Family Tradition Since 1929.

Espoma Organic logo
  • Espoma Dealer
  • Espoma Pro
  • Garden Club
  • Privacy Policy

Scroll to top