Espoma Organic
  • Products
    • Close
    • Product Line Overview
    • Plant food finder
    • Garden Fertilizers
    • Potting Soils
    • Liquid Fertilizers
    • Lawn Fertilizers
    • Single Ingredients
    • Conventional Plant Foods
    • Animal Care Products
  • Where to Buy
  • Our Story
    • Close
    • Our Story
    • Locations
    • Historical Timeline
    • Our Commitment
    • Directions
    • Solar
    • Join our Team
    • Espoma Brand Partners
  • Learn
    • Close
    • Espoma Blog
    • FAQ’s
    • Pocket Guide
    • Espoma Guides
    • Garden Clubs
    • Safe Paws Lawn
    • PRODUCT FACT SHEETS
    • Fertilizer Fundamentals
      • Close
      • Understanding Plant Nutrition
      • Reading Labels
      • Choosing the Right Type of Fertilizer
      • Terms & Definitions
    • Gardening Projects
    • Resource Links
  • Contact Us
  • Menu Menu

Seeing Red: Raspberries in the Garden

April 28, 2016/in Fruits & Vegetables

Raspberries are a summer staple in every kitchen. Make them a staple in the organic garden, too.

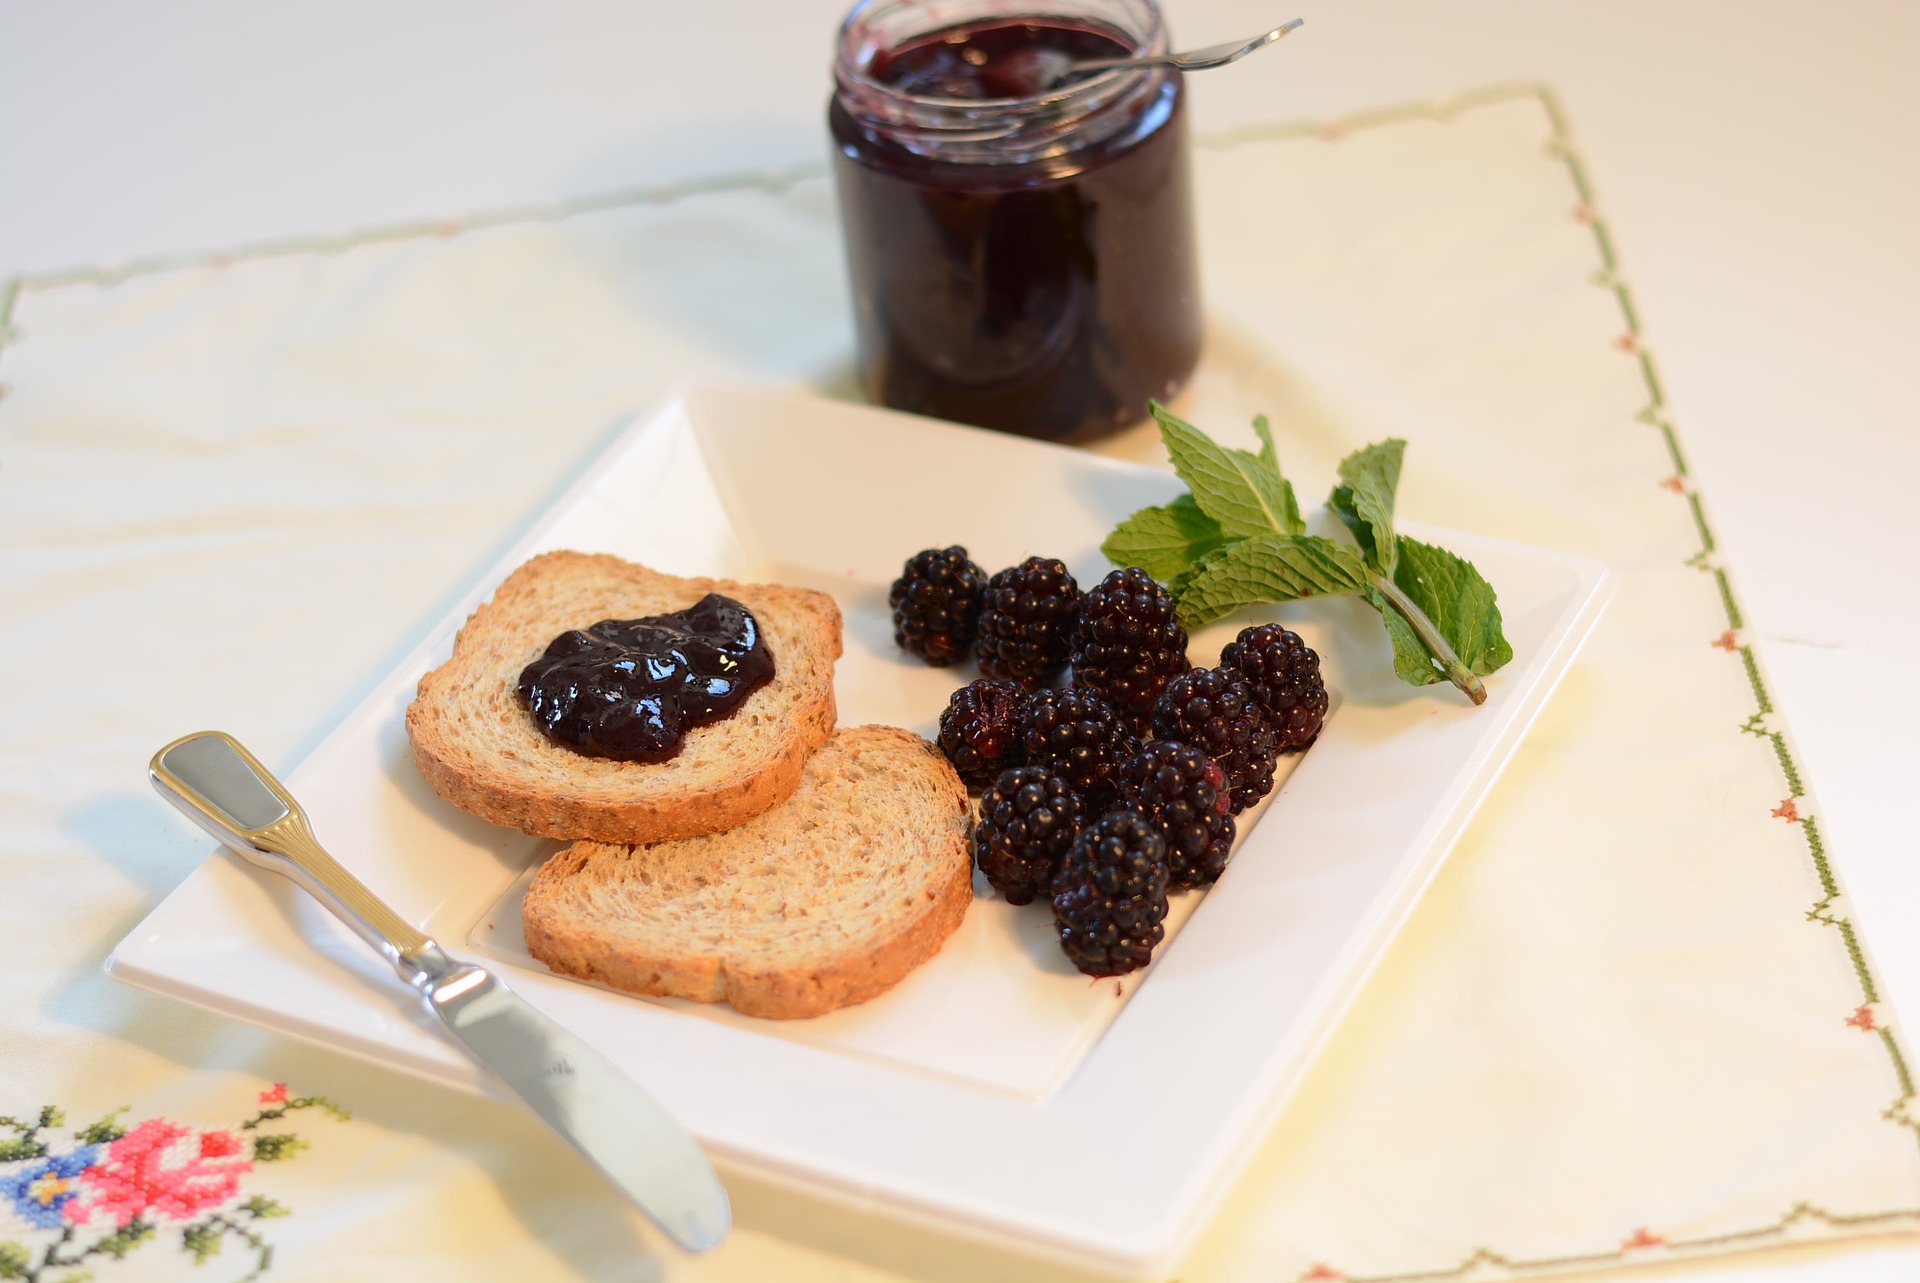
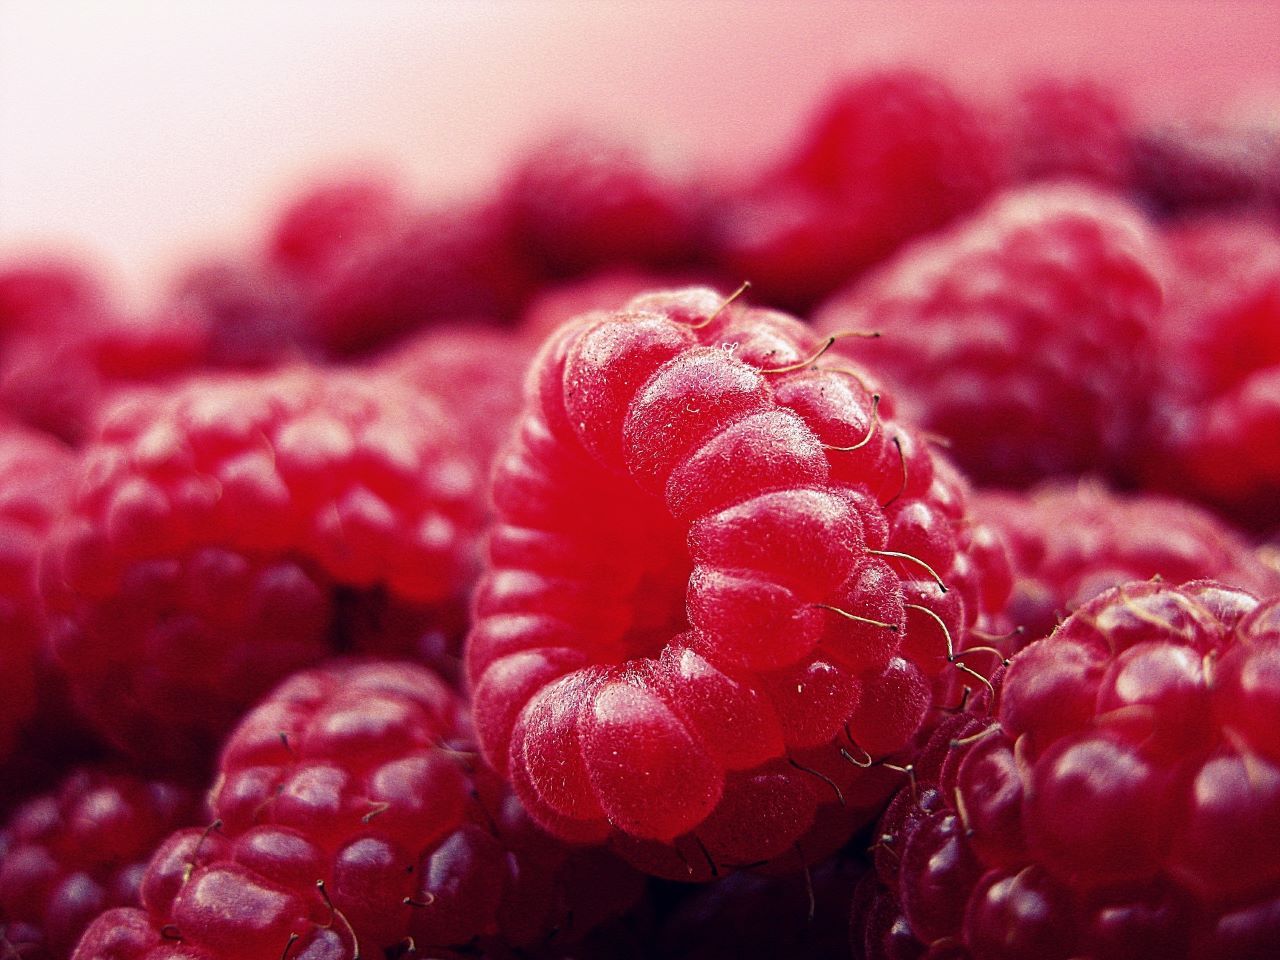
Whether you are growing berries for jam, raspberry cobbler, or just to eat as a quick and healthy snack, these sweet little fruits will never disappoint!

If you want to enjoy these delicious summer berries, now is the time to start planting. Here’s how, and when to plant raspberries.

Espoma soil acidifier, Holly-tone, growing berries

Pick a Berry

Summer-bearing fruits bear one crop per season, typically summer. Ever-bearing fruits bear two crops, one in the summer and one in the fall. Choose your variety based on how many berries you’d like to harvest.

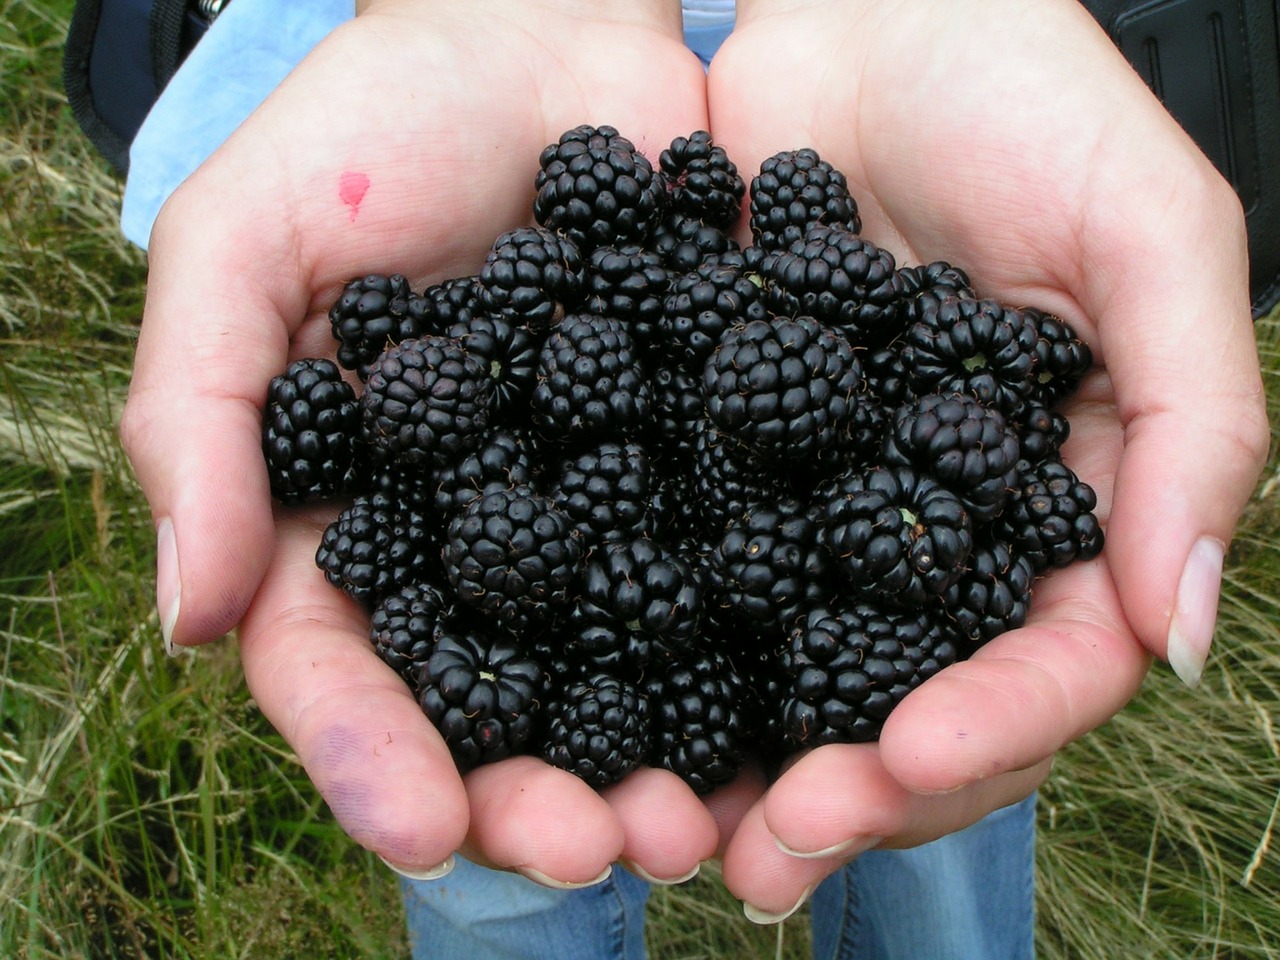
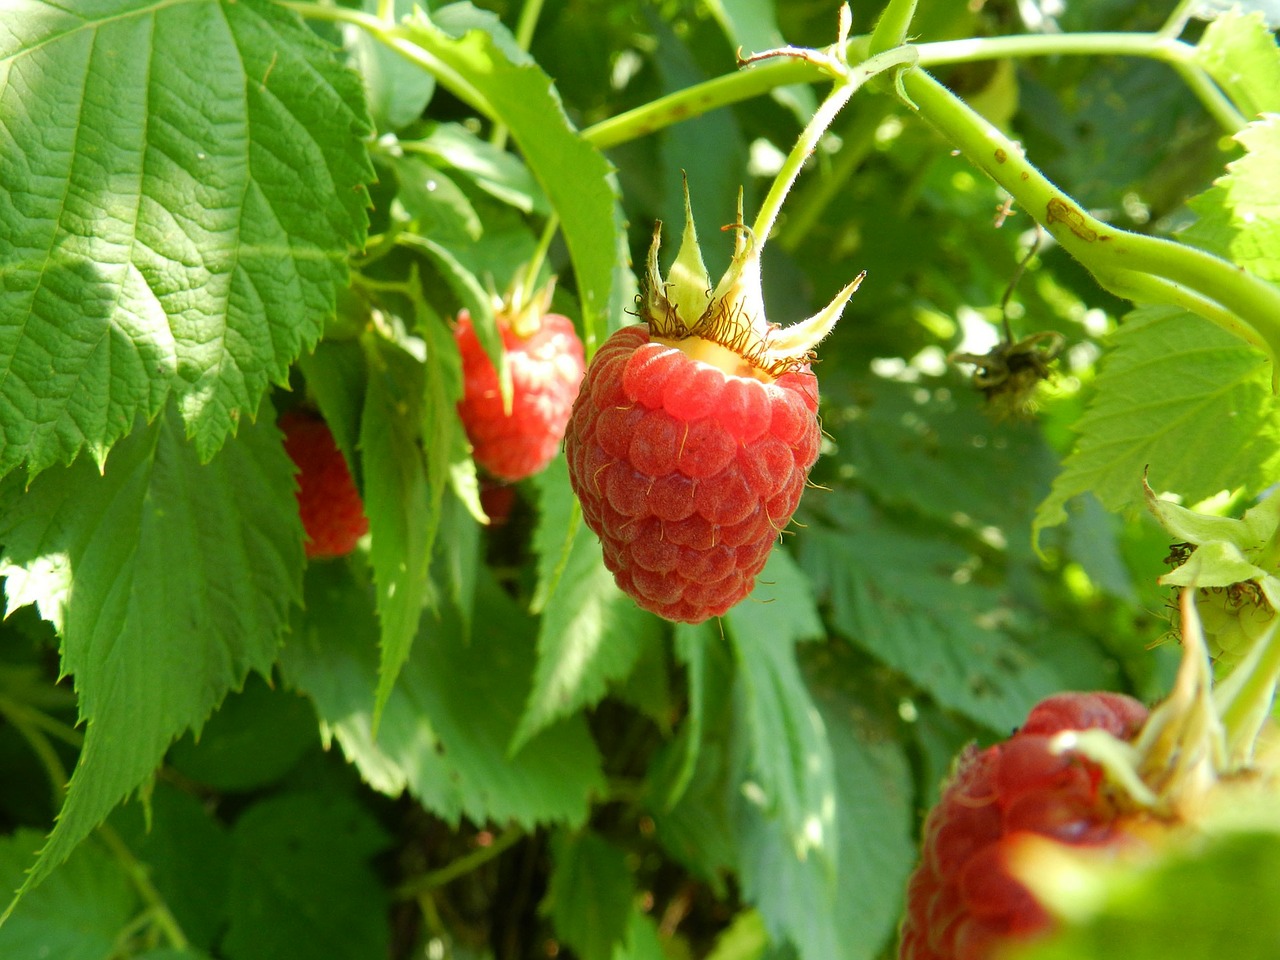
Contrary to popular belief, raspberries aren’t always red! They also come in yellow, purple and black, so grow a variety of berries and add some color to your organic garden this summer. Visit your local garden center and they can help you choose a variety best fit for your region.

Espoma soil acidifier, Holly-tone, growing berries

When and Where?

The best time to plant raspberries is in early or mid-spring. These berries are inclined to grow in cooler climates, but the ground might not be workable until after the last frost.

When choosing a location, plant raspberries in an area with full sun and good air circulation. Avoid areas with heavy winds that may damage plants. Leave about 3 feet of space in between each plant.

Because some varieties of raspberries send long canes upward as they grow, they need support. Plant them next to a fence or create a simple support alongside the row with stakes and wire.

Espoma soil acidifier, Holly-tone, growing berries

Soil Conditions

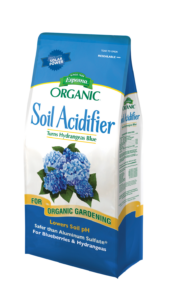
Raspberries will grow best in slightly acidic, well-drained soil. Be sure to test your soil — an ideal pH level is anywhere between 5.5 and 6.5. If the soil is not acidic enough, add Espoma’s Soil Acidifier.

Add an organic plant food to the soil to encourage healthy growth. Espoma’s Holly-tone is perfect for raspberries as it is a slow-release fertilizer for extended feeding. Keep the soil evenly moist and water as needed.

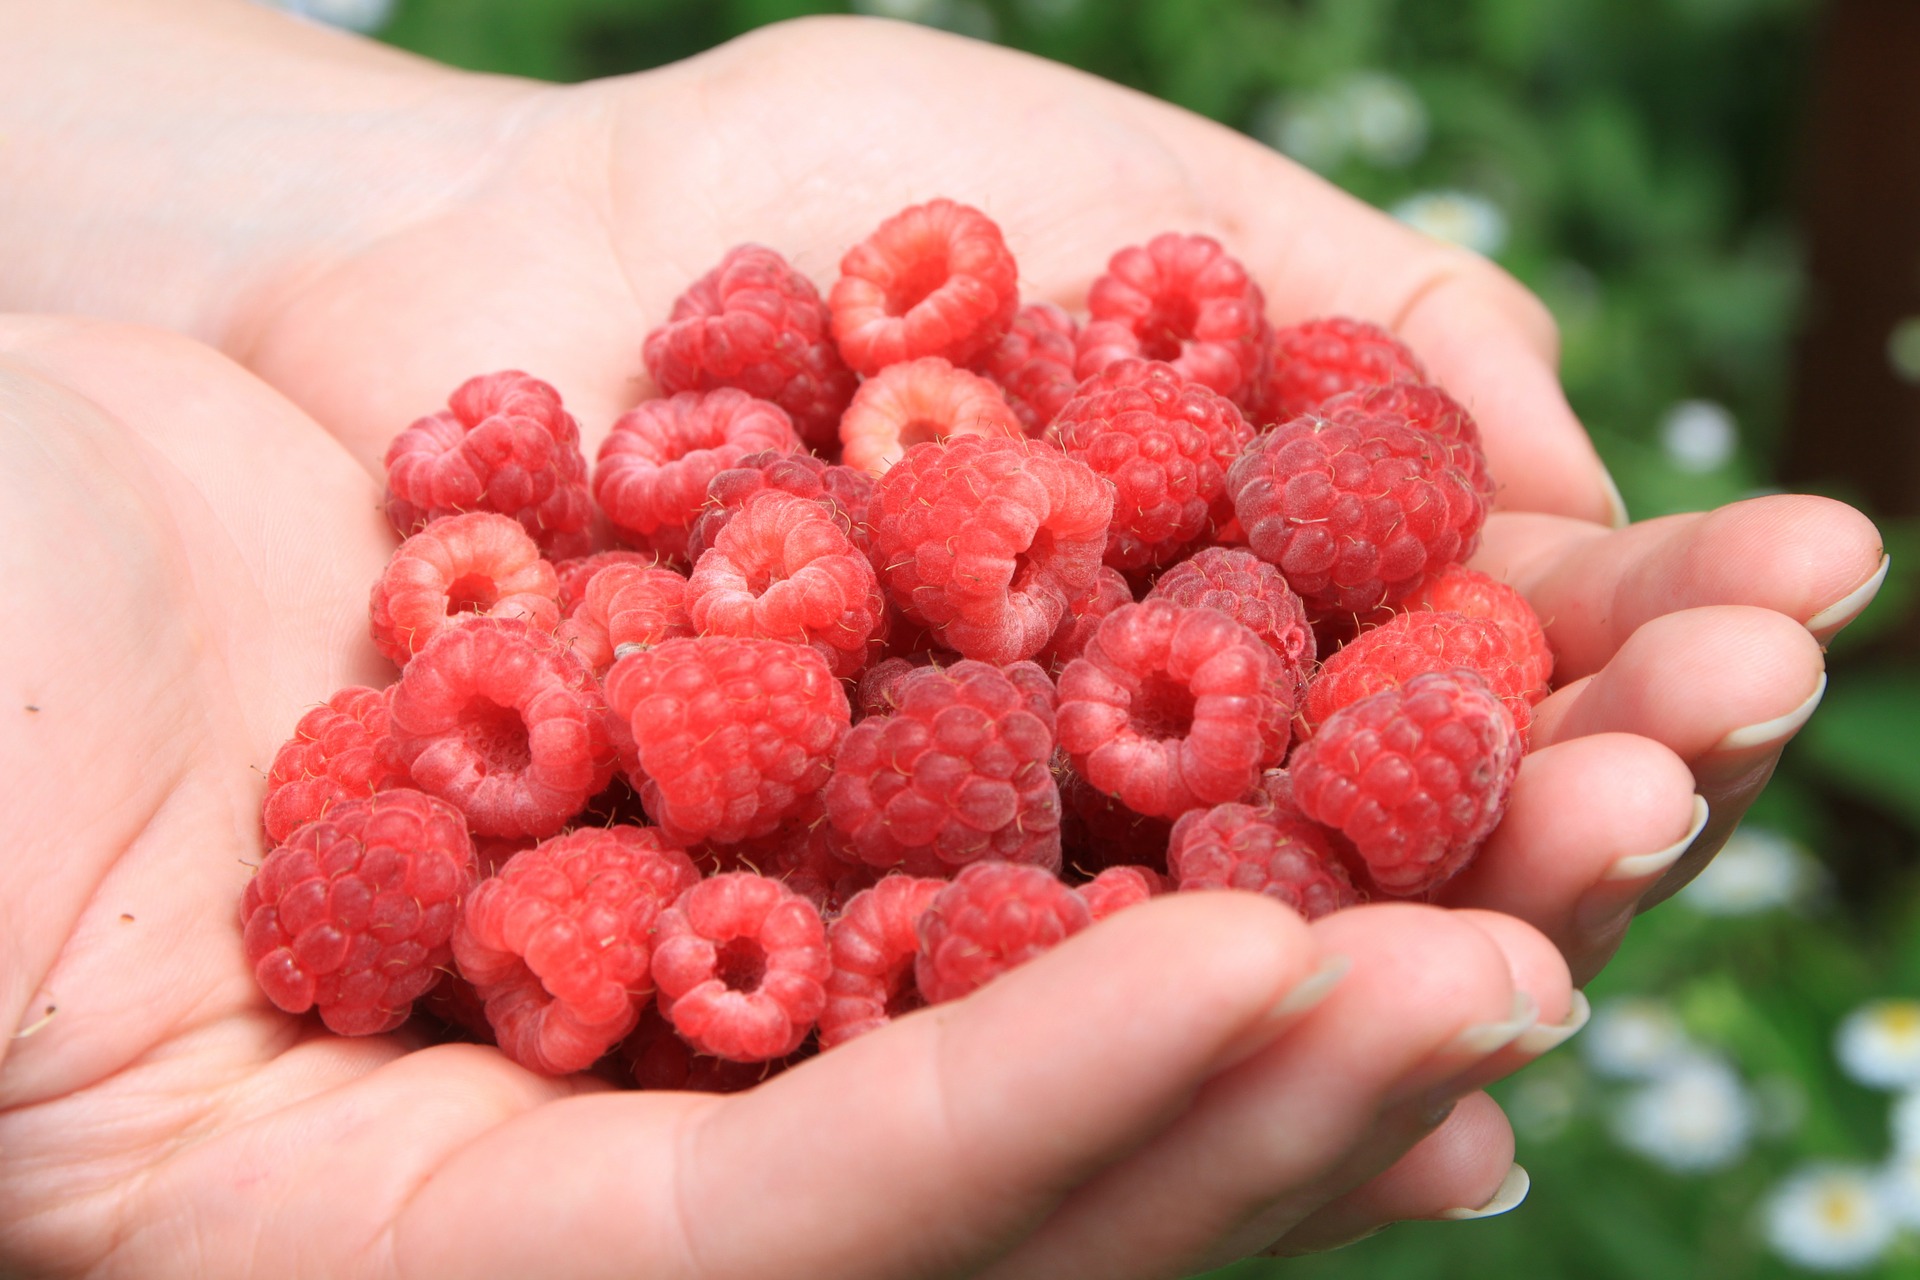
And that’s it! You’ll have juicy, fresh-picked raspberries in no time.

See the Total Berry Guide Here


https://www.espoma.com/wp-content/uploads/2016/04/raspberry-368159_1920.jpg 1280 1920 espoma https://www.espoma.com/wp-content/uploads/2023/05/espoma-logo340w-1.png espoma2016-04-28 08:00:132022-04-12 14:45:36Seeing Red: Raspberries in the Garden

The Time is Ripe to Plant Blackberries

April 26, 2016/in Fruits & Vegetables

Blackberry cobbler, fruit salad, pie, and muffins – oh my!

These yummy berries are loaded with antioxidants and Vitamin-C, which help promote healthy skin and improve memory.

So maybe, it’s ok to have that second slice of cobbler after all?

We’re getting ahead of ourselves, though. Let’s get those blackberries planted first.

Grow Bliss in the Garden! Plant Blackberries

1. Just in Time! The best time to plant blackberries is early spring. If you’re feeling eager, plant them a month before winter’s last frost if the ground is workable. Planting in late fall works, too – as long as winters temps aren’t especially cold.

2. Here or There? Plant blackberries in full sun. Also, blackberries don’t play well with others. Choose a spot that hasn’t had blackberries, blueberries, raspberries, tomatoes, potatoes, eggplants, or peppers growing there in the last few years. Otherwise, leftover diseases or pests from those plants could spread to your blackberries.

Espoma soil acidifier, Holly-tone, growing berries

3. Testing, Testing. Once, you’ve found the prime spot, test the soil. Blackberries prefer well-draining, acidic soil. Add a handful of compost and Espoma’s Organic Soil Acidifier, if needed.

Growing, Growing, Gone! Plant your blackberry 1” deeper than it was growing in its pot. Plant upright varieties 3’ apart and trailing varieties 5-8’ apart. Then, water.

Ready, Set, Wait! Blackberries don’t produce fruit their first year, but they still need TLC to establish. Give them 1-2” of water a week, and organically feed throughout the season with Holly-tone.

See the Total Berry Guide Here


Where to Buy

https://www.espoma.com/wp-content/uploads/2016/04/jametlene-reskp-HGMw8z3NmcU-unsplash-scaled.jpg 1707 2560 espoma https://www.espoma.com/wp-content/uploads/2023/05/espoma-logo340w-1.png espoma2016-04-26 08:00:162024-04-16 11:17:20The Time is Ripe to Plant Blackberries

DIY Vegetable Pallet Planter from Garden Answer

April 19, 2016/in Container Gardening


This DIY veggie pallet planter, made by Laura from Garden Answer, is a great upcycled vertical planter idea. Laura shows how you can grow lettuce and flower in a small space using Espoma organic potting soil and organic fertilizer.

https://www.espoma.com/wp-content/uploads/2016/04/Capture.jpg 345 659 espoma https://www.espoma.com/wp-content/uploads/2023/05/espoma-logo340w-1.png espoma2016-04-19 10:50:112019-05-07 10:06:22DIY Vegetable Pallet Planter from Garden Answer

Grow Scrumptious Tomatoes in Easy Containers

April 19, 2016/in Fruits & Vegetables

True love is biting into a juicy tomato you’ve just picked off the vine. Even if space is limited, you can still grow delicious tomatoes in pots.

Tomatoes grown in portable containers are just as tasty and satisfying as garden grown. Plus, containers are versatile and can easily be moved from one spot to another to suite your gardening needs.

It takes just a few minutes to plant and maintain for a summer of delicious fruit.

tomato-tone, growing tomatoes, organic gardening

Make Space for Tomatoes with These Easy Planting Tips

Growing tomatoes in containers is easy. Tomatoes just need soil, sun and a little care.

Whether you live in an apartment or farm, containers are the perfect solution when space is limited or soil is tough to work.

1. Start by choosing a sunny patio, driveway, walkway, stairway or deck. Tomatoes need 6-8 hours of full sun a day.

2. Pick a pot big enough for your variety. A container 18 inches or larger in diameter with drainage holes will work. Tomatoes can grow 6-8 feet tall and 2 feet across. Place drainage material (like gravel) in the bottom of the pot before you add soil to provide air pockets so roots don’t drown.

3. Select the right tomato variety for containers. While any variety will perform, determinate varieties such as Patio Princess, Baxter’s Bush cherry tomato and Balcony are great choices.

4. Fill container 3/4 full with Espoma’s organic potting mix.

5. Add an organic starter plant food, such as Bio-tone Starter Plus, to keep roots strong.

6. Moisten mix slightly.

7. Add tomato plants. Sit the plant in the hole so its lowest leaves are below the soil level. Pinch off lower leaves.

8. Fill with potting soil.

9. Mix compost into the top few inches of your container.

10. Place container in a sunny spot that’s easy to access so you can regularly monitor plants.

11. Water tomatoes generously for the next few days. Then, give tomatoes about 2” of water at their base each week.

12. Add stakes or cages to your container to keep tomatoes from growing out of control and to help prevent diseases.

In addition to watering, feed tomatoes with Espoma’s Tomato-tone every other week. Organically fertilizing tomatoes with Tomato-tone produces larger, plumper tomatoes all season.

See our guide to growing tomatoes here


Where to Buy

https://www.espoma.com/wp-content/uploads/2016/04/tomato-999110_1920.jpg 1279 1920 espoma https://www.espoma.com/wp-content/uploads/2023/05/espoma-logo340w-1.png espoma2016-04-19 08:00:202022-04-12 09:56:24Grow Scrumptious Tomatoes in Easy Containers

Prune Hydrangeas a Cut Above the Rest

April 18, 2016/in Flowers
Guide to Growing Hydrangeas Here

Hydrangea care, specifically pruning, doesn’t have to be complicated. Honest. Even those who have been gardening for years still have questions about how to prune hydrangeas.

Discover our secrets to pruning hydrangeas.

Hold Up! How to Prune Hydrangeas

hydrangea care, hydrangea color, growing hydrangas

Hone in on Hydrangeas. Before you prune hydrangeas, you need to know which type you have. If you planted a hydrangea from our Hydrangea Guide, your answer is just a click away.

Take the quiz below to find out what type of hydrangea you have and when to prune.

Does your hydrangea bloom most of the season?

  • Yes? You have a new variety of hydrangea, such as an Endless Summer. If you’re planning on re-shaping, prune in fall after the final blooms. However, you can prune these at any time.

 Does your hydrangea have blooms in early summer that fade away by mid-summer?

  • Yes? You have a bigleaf, modheap, lacecap or oakleaf hydrangea that blooms on old wood. Prune these right as their flowers begin to fade to maximize next year’s blooms. Whatever you do, don’t prune in the late fall, or you’ll remove next year’s flower buds.
  • Pruning Old Wood Hydrangeas. Cut off any dead, diseased or deformed canes. Also, remove any branches that rub. Cut canes off close to the ground. If the hydrangea is older and has smaller blooms, remove up to 1/3 of the oldest canes. If the hydrangea is too tall, cut off the tallest canes.

 hydrangea care, hydrangea color, growing hydrangasDoes your hydrangea start to bloom in mid-to-late summer and flower until the first frost?

  • If yes, you’re the proud owner of a panicle or smooth hydrangea that blooms on new wood. Prune in winter or early spring before they start growing.
  • Pruning New Wood Hydrangeas. For the biggest flowers, prune shrubs to the ground. Over time, this pruning method weakens the plant. If you want to keep hydrangea’s long-term health in mind, cut back canes to 18-24”. Also, prune canes to 18-24” if you’ve noticed your hydrangea flops to the ground due to heavy blooms.

Do you have a climbing hydrangea that grows upward?

  • If yes, prune in late spring or early summer. Skip pruning during their first year, though.
  • Pruning Climbing Hydrangeas. When pruning, remove any dead, diseased or rubbing branches.

 P.S. You can still can deadhead hydrangeas at any point.

There you have it! Now you know how to prune hydrangeas. Impress your friends with this knowledge or by teaching them how to change hydrangea color!

Guide to Growing Hydrangeas Here
https://www.espoma.com/wp-content/uploads/2016/04/hydrangea-696587_1920.jpg 1440 1920 espoma https://www.espoma.com/wp-content/uploads/2023/05/espoma-logo340w-1.png espoma2016-04-18 12:37:012022-04-13 11:19:33Prune Hydrangeas a Cut Above the Rest

Simple Steps to Planting Tomatoes

April 14, 2016/in Fruits & Vegetables

Seeing red tomatoes peek through the green leaves in your garden is a true sign that summer is here. The first harvest of the season provides opportunities to finally try those delicious garden-to-table recipes.

Tomatoes are a staple in every organic garden. And growing them doesn’t have to be difficult.

Start planting today and you’ll have a delicious harvest in no time.

tomato-tone, growing tomatoes, organic gardening

Start Growing

1. Choose a few of your favorite tomato varieties and get ready to plant!

2. Choose a spot that gets at least 6 hours of sunlight a day.

3. Check the plant tag to see how far apart plants should be.

4. Dig holes larger than the tomatoes’ original container.

5. Set the plant in the hole so its lowest leaves are below the soil level. Go ahead and pinch those lower leaves off now.

6. Mix in an organic starter plant food, such as Bio-tone Starter Plus, to keep roots strong.

7. Fill the hole with amended soil or Espoma’s Organic Garden Soil.

8. Once established, feed tomatoes by mixing in 3 tablespoons of Espoma’s Tomato-tone per plants. Organic Tomato-tone provides tomatoes the nutrients they need to grow big and plump. Since this is a slow-release, organic fertilizer, Tomato-tone never forces rapid growth, which reduces tomato yield.

tomato-tone, growing tomatoes, organic gardening

Keys to Success

Stake tomatoes now to increase air circulation and sunlight exposure.

Support plants with a tomato cage, trellis or container. Stakes work, too. Hammer 6-8” stakes into the ground 3-6” away from the plant. When tomatoes begin blooming, tie them to the stake.

Water tomatoes generously for the first few days after planting. Then, give tomatoes 2” of water at their roots per week.

Feed tomatoes with organic Tomato-tone monthly for larger, plumper tomatoes all season.

Add 2-3” of mulch in 3-5 weeks to reduce water consumption.

If you’re looking for more info on tomatoes, such as growing heirloom tomatoes, hybrid tomatoes or non-red tomatoes, please visit our Organic Tomato Gardening Guide: 

See our guide to growing tomatoes here
https://www.espoma.com/wp-content/uploads/2016/04/tomatoes-7605_1920.jpg 900 1200 espoma https://www.espoma.com/wp-content/uploads/2023/05/espoma-logo340w-1.png espoma2016-04-14 08:00:252022-04-12 09:58:39Simple Steps to Planting Tomatoes

Tried and True: The Best Way to Plant Hydrangeas

April 12, 2016/in Flowers

Lush, lavish blooms you’ll instantly love! Hydrangeas are like the little black dress of the garden. They’re chic and always in style. Though, hydrangeas will deliver way more wow with their color-changing flowers.

Plant one this season to enjoy its bloom in the yard — or in a vase!

hydrangea care, hydrangea color, growing hydrangas

Say Hi to Hydrangeas with These 5 Easy Planting Steps

Beautiful flowers. Many hydrangea colors. Little care. Super disease and pest resistant.

What’s not to love about growing hydrangeas?

Pick Perfect. Big? Small? Low-maintenance? Color-changing, perhaps? There are SO many wonderful hydrangeas to choose from. Find the perfect one for you here. While hydrangeas typically prefer sun in the morning and shade in the afternoon, there are full-sun hydrangeas.

hydrangea care, hydrangea color, growing hydrangas

Dial Mild. While you can plant hydrangeas at any time, the best time is spring or fall. If you plant in the middle of the summer, they’re going to need lots of attention to survive.

Place and Plant. Once you’ve found the perfect spot (ideally with well-draining soil,) dig a hole twice the width of the hydrangea’s container. Mix in an organic starter plant food, such as Bio-tone Starter Plus, to keep roots strong. Add 1” of compost or Espoma Organic All-purpose garden Soil to help with drainage. Then arrange the hydrangea at the same height it was growing, spread its roots wide and fill the hole with soil. Finish by adding 2-3” of mulch.

Water Well. Right after planting, water the hydrangea until a puddle forms. Continue to water your hydrangea twice a week until it’s established. Then water deeply weekly — or when you see its leaves or flowers wilting.

How ‘Bout Holly. If you’re growing blue hydrangeas, feed with Holly-tone to keep the soil acidic. Otherwise, opt for Flower-tone. For the best hydrangea care, feed 2-3 times throughout the growing season, which is from spring until fall.

Say hello to your new hydrangeas! While they look handsome in the yard, they’ll look even finer as cut flowers inside.    

 Want to change your pink hydrangea blue? Click here.

Guide to Growing Hydrangeas Here


Featured in this post:

Espoma Holly-tone


Where to Buy
https://www.espoma.com/wp-content/uploads/2016/04/hydrangeas-177317_1920.jpg 960 1280 espoma https://www.espoma.com/wp-content/uploads/2023/05/espoma-logo340w-1.png espoma2016-04-12 07:00:232022-04-13 11:21:59Tried and True: The Best Way to Plant Hydrangeas

Plant Tomato Seeds in 4 Easy Steps

April 7, 2016/in Fruits & Vegetables

Nothing beats that first bite into a delicious, ripe tomato – even better when it’s fresh out of your summer garden! Just talking about tomatoes has us craving homemade salsas, Caprese salads and a delicious medley of fresh summer veggies.

If you’re as excited about tomato season as we are, why not get started now?

In practically no time at all, you can start tomato seeds. The best way to get a head start on growing tomatoes is to start seeds indoors 4-6 weeks before the last spring frost date in your region.

tomato-tone, growing tomatoes, organic gardening

Pick Your Plant

The first step to starting seeds is deciding which tomato is the one for you. With thousands of varieties, it can be hard to choose just one! This list of easy-to-grow tomatoes will make your decision simple and stress free.

Start Seeding

When starting seeds indoors, you only need three simple things: warmth, light and an organic plant food.

Fill seed trays to within ¼” of the top with Espoma’s Organic Seed Starting mix. Follow instructions on the seed packets to see how deep and far apart to plant. Cover with soil, press down and lightly water.

Place tray in a larger pan of shallow water for a minute so the water seeps up from the bottom.

Place seeds in a warm spot between 65-75°. Try the top of the fridge, or purchase a heat mat.

Loosely cover tray with plastic wrap or the cover from your seed-starting kit. Check seeds daily for moisture and water as needed.

Give seeds 12-16 hours of light daily. Supplement sunlight with grow lights if needed.

tomato-tone, growing tomatoes, organic gardening

Getting bigger

Once you see sprouts, remove the cover and move seeds to a sunny, south-facing window that is 65-75°F. Then, turn the container a little each day to prevent leaning seeds.

Add Espoma’s Organic Tomato-tone, a premium plant food formulated specifically for growing plump and juicy tomatoes, once seeds have sprouted. Tomato-tone’s organic composition feeds your plants naturally and will not force rapid growth at the expense of blooms and tomato yield.

Ready to Plant

Once the last frost date has passed, you’re almost ready to plant! Start by hardening off plants and placing seedlings outdoors for seven to 10 days for a few hours each day. Cut back on watering, as well. Now that plants are good and strong, it’s time to plant!  Gently remove plants from containers without damaging the roots. Plant in a prepared bed and mix in organic starter plant food, such as Bio-tone Starter Plus, to keep roots strong.

Now you’ll have delicious tomatoes in no time!

Go forth, and grow! When you’re organic gardening, be sure to feed tomatoes lots of Tomato-tone during the growing season.

See our guide to growing tomatoes here


Where to Buy

https://www.espoma.com/wp-content/uploads/2016/04/young-791790_1920.jpg 1280 1920 espoma https://www.espoma.com/wp-content/uploads/2023/05/espoma-logo340w-1.png espoma2016-04-07 08:00:222022-04-12 10:00:54Plant Tomato Seeds in 4 Easy Steps
Where to Buy

Get News & Updates

Recent Posts

  • VIDEO: How to Plant a Raised Bed Like a Pro with Farmer Nick
  • VIDEO: Transplanting Magnolias 🪴🌺 with Wyse Guide
  • VIDEO: How to Care for Roses 🌹 & Hydrangeas 🌸 with Garden Answer
  • VIDEO: How to Grow a Hummingbird Garden 🕊️🌿🌺 | Growing Joy with Maria
  • VIDEO: Boost Your Blooms: 🌸 Fertilizing Hydrangeas the Organic Way with Skye Hamilton

Tags

All-Purpose Potting Mix bio-tone Bio-tone Starter Bio-tone Starter Plus cactus and succulents Cactus Mix caring for houseplants Container Gardening DIY project Espoma espoma grown espoma organic Espoma Organics Espoma Video fall gardening flower garden flowers garden Garden Answer Gardening gardening tips gardens grow holly-tone houseplants Indoor! indoor gardening indoor plants Kaleb Wyse organic organic fertilizer Organic Gardening organic plant food Organic Potting Mix Outdoor Gardening Planting plants Potting Mix potting soil Spring Gardening succulents summer rayne oakes vegetable garden Vegetable Gardening Wyse Guide

Espoma. A Family Tradition Since 1929.

Espoma Organic logo
  • Espoma Dealer
  • Espoma Pro
  • Garden Club
  • Privacy Policy

Scroll to top