Espoma Organic
  • Products
    • Close
    • Product Line Overview
    • Plant food finder
    • Garden Fertilizers
    • Potting Soils
    • Liquid Fertilizers
    • Lawn Fertilizers
    • Single Ingredients
    • Conventional Plant Foods
    • Animal Care Products
  • Where to Buy
  • Our Story
    • Close
    • Our Story
    • Locations
    • Historical Timeline
    • Our Commitment
    • Directions
    • Solar
    • Join our Team
    • Espoma Brand Partners
  • Learn
    • Close
    • Espoma Blog
    • FAQ’s
    • Pocket Guide
    • Espoma Guides
    • Garden Clubs
    • Safe Paws Lawn
    • PRODUCT FACT SHEETS
    • Fertilizer Fundamentals
      • Close
      • Understanding Plant Nutrition
      • Reading Labels
      • Choosing the Right Type of Fertilizer
      • Terms & Definitions
    • Gardening Projects
    • Resource Links
  • Contact Us
  • Menu Menu

VIDEO: 6 Container Gardening MISTAKES | Growing Joy with Maria

April 10, 2025/in Blog, Espoma Videos, Growing Joy with Maria

Balcony gardening is a rewarding but sometimes tricky endeavor, especially for beginners. In this video tutorial, Maria shares six common mistakes that she and many others have made while gardening in containers on balconies. She also highlights how Espoma Organic products can help prevent these pitfalls and ensure healthy, thriving plants.

1: Choosing the Wrong Plant Varieties

Many beginners choose plants that are too large for container growth. Maria advises selecting micro, dwarf, or patio-specific varieties like ‘Patio Baby’ eggplant or ‘Tidy Treats’ cherry tomatoes. These are bred to be compact and manageable, ideal for small balcony spaces.

2: Using the Wrong Potting Mix

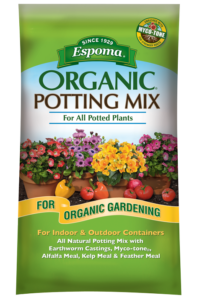
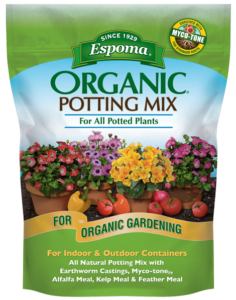
Standard garden soil is not suitable for containers as it can be too dense and poorly aerated. Maria recommends using Espoma Organic Potting Mix, which includes perlite and wood bark for proper aeration. This ensures that roots receive enough air and water, crucial for healthy plant growth.

 3: Inconsistent Watering

Balcony plants need regular watering, and failing to plan can lead to wilted or dead plants. Maria suggests using self-watering planters or multiple watering cans to maintain consistency. This strategy, along with early morning watering, ensures plants get the hydration they need.

4: Not Fertilizing Regularly

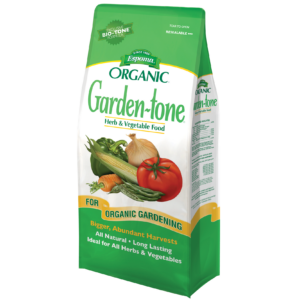
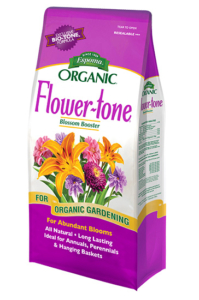
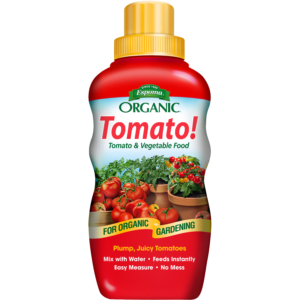
Container soil loses nutrients quickly. Maria uses Espoma Organic Bio-tone Starter Plus, an organic starter fertilizer at the time of planting to minimize transplant shock and boost initial growth. Throughout the season, she fertilizes monthly with Espoma’s specialized granular or liquid fertilizers such as Garden-tone, Flower-tone, Grow, or Tomato! liquid plant food.

5: Forgetting Plant Tags

Keeping track of which plant varieties perform best is essential. Maria emphasizes saving plant tags or using aesthetically pleasing labels. This simple step helps replicate success in future seasons.

6: Misunderstanding Light Exposure

Light availability is often overestimated. Balcony gardeners must consider shadows from buildings, railings, and trees. Maria advises using a compass to determine the direction of exposure and observing the balcony throughout the day to identify sunlight duration. Southern-facing balconies get the most sun, while northern ones are more limited.

Maria’s guidance is a blend of heartfelt experience and practical advice. By using Espoma Organic products and being mindful of these six common mistakes, balcony gardeners can transform small spaces into a gardening paradise. With the right organic soil, fertilizer, and planning, even a modest balcony can yield joy and an abundance of plants.

*****

Learn more about Growing Joy with Maria:

🪴🌿 Website

🪴🌿 Facebook

🪴🌿 Instagram

🪴🌿 YouTube

Featured Products:


Espoma Organic Bio-tone Starter Plus Bag ImageEspoma Organic Garden-toneEspoma Organic Flower-tone bag


Espoma Organic Potting MixGrow! Liquid FertilizerEspoma Organic Tomato! Liquid Plant Food Image


Where to Buy

https://www.espoma.com/wp-content/uploads/2025/04/GJWM_6-Container-Gardeing-Mistakes_Thumbnail-.jpg 720 1280 Matt Dauphinais https://www.espoma.com/wp-content/uploads/2023/05/espoma-logo340w-1.png Matt Dauphinais2025-04-10 11:47:272025-04-10 11:56:58VIDEO: 6 Container Gardening MISTAKES | Growing Joy with Maria

Growing Joy with Maria Blog: Minimalism and Plants

April 15, 2024/in Blog, Growing Joy with Maria

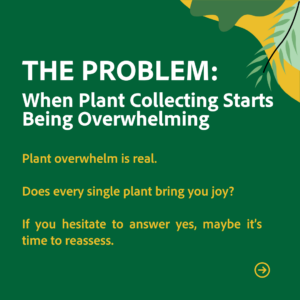
Has your plant collection started taking over your home? Do you feel overwhelmed trying to care for all of them? Many plant parents go through phases of filling their homes with plants, but eventually, may feel fatigue, anxiety, and even shame over the size of their collections.

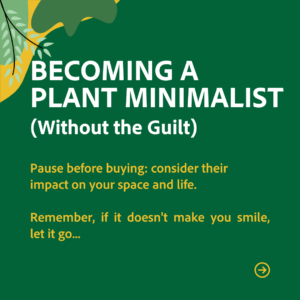
This might be the ideal time to adopt a minimalist plant parent lifestyle.

This blog is inspired by Episode 180 of Growing Joy with Maria Podcast, where host Maria Failla sat down with Stephanie of Mama Minimalist (former Sustainable Minimalist) to explore how principles of minimalism can be applied to plant care to build a sustainable plant collection.

When a Hobby Becomes a Burden

A key sign that your plant collection has become too large is when caring for your plants starts feeling like a chore rather than a hobby. You sigh, thinking about the next watering or repotting session, and no longer finding joy in the task.

Your plants are also likely to become nameless masses rather than individual living things you connect with. This overwhelm often results in neglecting plants, which leads to guilt and dismay. 

But don’t dwell on the past. Instead, use these feelings as motivation to shift your habits moving forward.

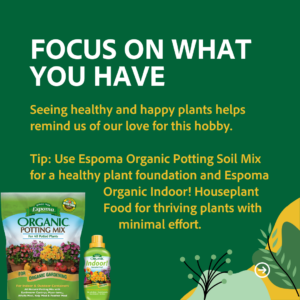
Tip: Try using Espoma Organic Indoor! Plant Food in your plant care routine to make your life a little easier. It helps your plants grow well, so you don’t have to spend lots of time worrying about them. This means less work for you and beautiful happy plants..

Breaking the Compulsion to Buy

Many plant parents experience strong compulsions to buy new plants, even when our spaces are already overflowing. Try putting up barriers between yourself and new purchases.

The number one tip is to pause – take a picture of the plant you want, leave the store, and reflect at home about whether you need another addition. Ask yourself how the plant will improve your life and consider the work of caring for another plant.

Taking time to reflect often helps to reduce that initial dopamine rush.

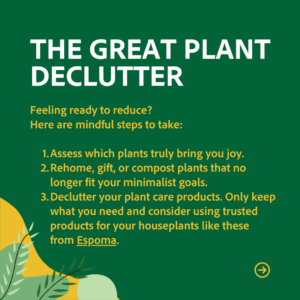
Decluttering Your Plant Collection

If certain plants no longer spark joy, consider responsibly rehoming them through gifting, donating, selling cuttings, or even composting.

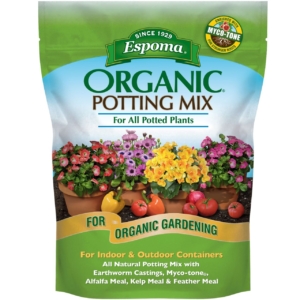
Don’t forget to also declutter your plant care product supply. Have products stored that you’ll likely not use again or that don’t meet your current plant collection needs? Minimize that stash along with your plants. Consider restocking with trusted products that will help your plants thrive like  Espoma Organic Potting Soil Mix or their Espoma Organic Indoor! Houseplant Food.


Biggest Minimalist Takeaways

A few of Stephanie’s top minimalist lessons include:

  • Evaluating “cost per use” rather than sticker price alone. A $100 wool sweater worn 50 times has a lower cost per use than a $20 synthetic sweater worn 5 times.
  • Valuing free space over stuff. Too much clutter can rob peace and turn homes into chaotic environments.
  • Understanding that memories reside in us, not objects. Appreciate your plants for their inherent qualities rather than solely as mementos or reminders of joyful moments.
  • Avoid multiples that contribute to excess clutter. In a world where goods are easily acquired, most of us do not require 5 spatulas or 16 winter boots.

When to Buy New Plants

Instead of using shopping to self-soothe negative emotions, plan purchases around positive events. Each new plant can become a living reminder of accomplishments, joyful milestones, or celebrations with loved ones.

While minimalism is not for everyone, having a plant collection and home that you feel happy to have and be in is still a lesson everyone can take from this lifestyle. At the end of the day, our plants thrive when we also feel connected to ourselves and our space.

*****

Featured Products:


Where to Buy

https://www.espoma.com/wp-content/uploads/2024/04/Minimalism-1-1.png 1080 1080 Matt Dauphinais https://www.espoma.com/wp-content/uploads/2023/05/espoma-logo340w-1.png Matt Dauphinais2024-04-15 15:36:252024-04-15 15:36:25Growing Joy with Maria Blog: Minimalism and Plants

Growing Joy with Maria Blog – How to Grow Citrus Indoors ??

March 21, 2024/in Blog, Growing Joy with Maria, Indoor Gardening

Growing citrus indoors, complete with flowers and fruit, may sound too good to be true. However, by choosing the right citrus varieties and providing them with the ideal growing conditions, you can indeed become a successful indoor citrus farmer.

This blog is inspired by Episode 210 of Growing Joy with Maria Podcast, where host Maria Failla chatted with citrus expert Danny Trejo of Via Citrus to talk about how to choose citrus varieties, set up the right growing environment, and how to effectively care for them.


Popular Citrus Varieties for Indoors

Some of the best citrus trees for growing inside include:

  • Calamansi – bears fruit year-round
  • Key lime – small in stature like calamansi, perfect for containers
  • Meyer lemon – a classic lemon variety that flowers beautifully indoors
  • Kumquat – sweet edible fruits

You can also consider unique varieties like the Buddha’s Hand with its unique fruit, the thorny Australian finger lime, or fragrant yuzu. Blood oranges require lots of light but their antioxidant-rich fruit may be worth the effort.

Prepping for Your Citrus Tree

Before bringing home a new citrus plant, make sure that you have the proper growing conditions it requires. Citrus trees originate from subtropical climates and do best with 6-8 hours per day of direct sunlight, warm interior temperatures, and plenty of humidity. 

Have an appropriate sunny window or consider investing in a grow light like the Soltech Aspect™ LED Growlight. These lights can help your citrus tree grow well, and you can place them wherever you need to.

How to Grow Citrus Successfully

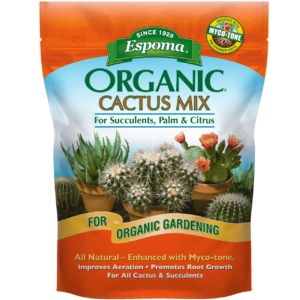
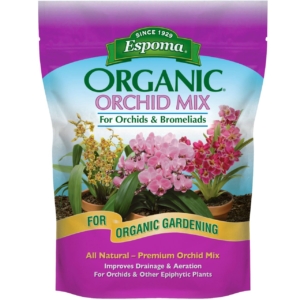
Citrus trees require deep yet infrequent watering. Use a well-draining soil like Espoma Organic Cactus Mix, which is designed not just for cactus, but also succulents, palms, and citrus. Wait until the top part of the soil is dry, and then water the tree a lot until water comes out from the bottom holes.

Place your citrus in terracotta to allow excess moisture to evaporate. Notably, Danny offers a range of pots crafted from recycled materials for this purpose.

Small adjustments to your citrus care can make all the difference, so observe them closely. Leaves that curl upward typically indicate underwatering while leaves that yellow or brown at the tips signal overwatering issues.

Feeding Your Citrus

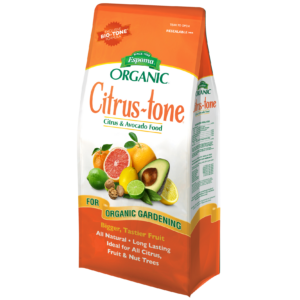
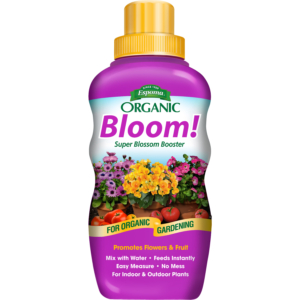
Fertilize citrus plants during the active growing season. We recommend pairing Espoma Citrus-Tone with Espoma Bloom! liquid fertilizer when fertilizing indoor citrus. Bloom! is an effective option that ensures your citrus indoor plants receive the necessary nutrients without the risk of unpleasant smells. Slow or stop feeding over winter when trees enter a period of dormancy. 

Pruning and Pest Prevention

Prune citrus trees in early spring to remove any dead branches and shape them for better growth habits. Before you bring your citrus trees inside in the late fall, keep an eye out for tiny bugs like spider mites and aphids on them. Spray neem oil or insecticidal soap to prevent bringing pests indoors.


From Flower to Fruit

Don’t feel sad if your citrus has lots of blooms but only a portion of them form into actual fruit. Citrus decide how many fruits they can make depending on how much light and nutrients they get. So just enjoy the wonderful smell of citrus blooms!

Humidity for Healthy Citrus

Keep the air moist (40-60% humidity) for your citrus plants during dry winter when heaters are running. Using a humidifier can help keep the higher humidity during dry seasons. Even though citrus slows down in winter, don’t expose them to sudden temperature changes or drafts. 

Are You Ready to Grow Citrus?

Growing citrus indoors can be a rewarding experience for indoor gardeners. Observe them closely, make small adjustments, practice patience with fruiting times, and soon you’ll enjoy homegrown citrus for gourmet dishes and cocktails!

*****


Featured Products:


Where to Buy


https://www.espoma.com/wp-content/uploads/2024/03/1.png 1080 1080 Matt Dauphinais https://www.espoma.com/wp-content/uploads/2023/05/espoma-logo340w-1.png Matt Dauphinais2024-03-21 16:13:572024-03-21 16:46:20Growing Joy with Maria Blog – How to Grow Citrus Indoors ??

Growing Joy with Maria Blog – DIY Houseplant First Aid Kit

February 28, 2024/in Blog, Growing Joy with Maria, Indoor Gardening

As any experienced houseplant parent knows, emergencies happen. Maybe you discover mealybugs infesting your favorite plant. Perhaps a fungal leaf spot is spreading quickly on your Monstera. 

When these problems with your houseplants happen, you have to act quickly. You can’t waste time searching for the right tools to fix them. That is why a DIY houseplant first aid kit is very important.

This blog is inspired by Episode 208 of Growing Joy with Maria Podcast, where host Maria Failla chatted with certified horticulturist Leslie Halleck to talk about the important items to include in your DIY houseplant first aid kit so you can effectively address plant problems as they arise.

Must-Have Products for Your Houseplant First Aid Kit

Horticultural Oils

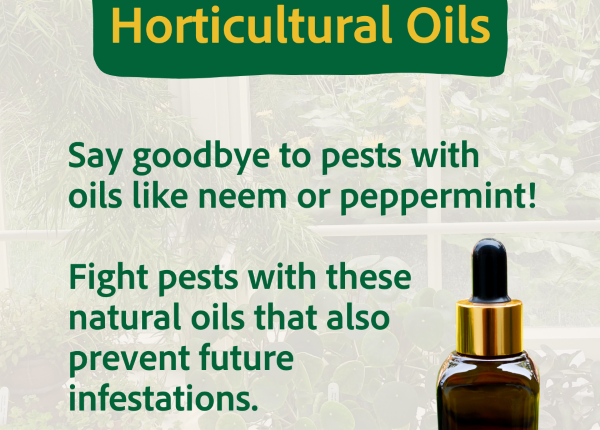
Horticultural oils like neem oil, peppermint oil, etc. work to “smother” soft-bodied insects and fungal spores on contact. Some oils also help prevent future infestations.

Remember that when using these natural oils, pay attention to application instructions as some risk causing leaf burn if left on too long. 

Fungicides

Sometimes those annoying fungal leaf spots and powdery mildews just won’t quit. For these or other fungal issues, use a fungicide like copper soap or a bio-fungicide spray made from helpful soil bacteria.

These products can stop fungal diseases in their tracks and prevent their spread. For similar insect issues, some companies now offer bio-insecticides with ingredients like spinosad to repel pests.

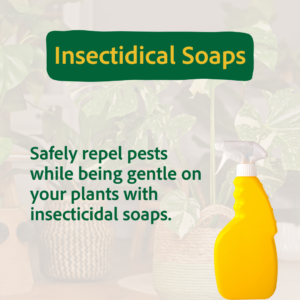
Insecticidal Soap

Made from plant-based fats/oils, insecticidal soaps effectively gets rid of pests that have soft bodies by breaking down their protective coatings when it touches them.

The good thing is that it usually doesn’t harm most plants. If you need to spray or clean up pests from time to time, it’s a good idea to start with insecticidal soap first before resorting to stronger methods.

Systemic Pesticides

When all else fails, it’s time to bring out the final boss—systemics. Unlike other treatments, systemics are absorbed by the plant after application to the soil, causing any pest that feeds on it to ingest the poison.

But this should be used as a last resort due to toxicity concerns, especially if you have curious pets. Still, they’re very effective at managing pest issues.

Hydrogen Peroxide  

Best known for disinfecting human wounds, hydrogen peroxide eliminates pest larvae in potting soil and also increases oxygen flow to plant roots to aid struggling plants. Always dilute it first before applying.

Rooting Hormone 

When restoring a plant that has experienced root loss or damage, using powdered rooting hormone can help it grow back faster after being replanted. It’s also useful to have on standby for propagating cuttings!


Tools to Add to Your Houseplant First Aid Kit

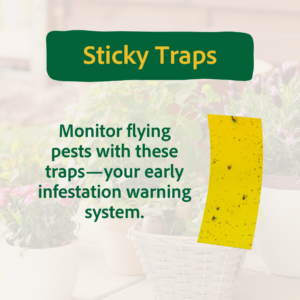
Sticky Traps

Sticky traps can catch adult fungus gnats and other flying pests. Put these traps just above the soil level to keep tabs on potential infestations. 

But if you find a lot of pests stuck to the traps all at once, it’s a sign to do something about it.  While sticky traps alone won’t completely fix the pest problem, using them with soil treatments can help prevent more pests in the future.

Gloves

It’s important to shield your hands from irritation and chemicals with quality gloves. Leslie recommends these types of gloves when gardening:

  • Nitrile gloves – protect hands and allow you to physically remove pests by squishing or rubbing them off of leaves.
  • Cotton gloves – a softer option for gently cleaning leaves and polishing plants.
  • Rubber/latex gloves – offer hand protection when working with oils and chemicals.

Scissors and Pruners

Invest in a pair of sharp scissors and pruners solely for your houseplants. Not only do clean cuts improve healing, but using kitchen scissors risks bringing diseases inside.

Repotting Mat

These portable silicone mats provide a temporary clean surface for potting and treating plants. They prevent spilled soil or plant debris from dirtying floors and easily hose or wipe off afterward. No mess, no stress!

Humidity Domes

Is your Calathea being a “diva” again and wanting more moisture? Consider creating a mini greenhouse effect by either using plastic wrap to cover the pots or by placing transparent domes over your plants. This extra humidity will help the wilting leaves become healthy again!

Grow Lights  

Supplementing natural light helps stressed plants recover faster. Compact LED grow lights provide therapeutic light when nursing plants back to health.

PAR Meter

Advanced plant parents invest in handheld PAR meters to precisely measure usable light reaching their plants.

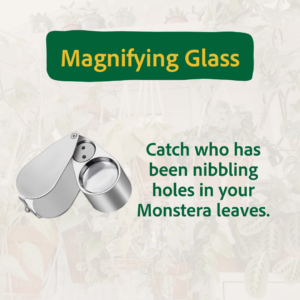
Magnifying Glass

A small magnifying glass equipped with a built-in LED light lets you inspect plants close up for early pest detection. The sooner you spot those tiny insects or fungal spores, the quicker you can spring into action before major damage occurs!

Moisture Meter 

These secondary tools monitor moisture content in potting mixes. While somewhat unnecessary for experienced gardeners, soil probes help prevent underwatering/overwatering issues for new plant parents.

DIY Houseplant First Aid Kit Essentials—Assembled!


*****

Compile your basic houseplant products and tools into a houseplant first aid kit for indoor gardening emergencies. Store supplies in tackle boxes, label them clearly, and keep the kit easily accessible near your plants. Don’t wait until it’s too late; prepare your DIY houseplant care first aid kit today!

Featured Products:


Where to Buy

https://www.espoma.com/wp-content/uploads/2024/02/DIY-First-Aid-Kit-1.png 1080 1080 Matt Dauphinais https://www.espoma.com/wp-content/uploads/2023/05/espoma-logo340w-1.png Matt Dauphinais2024-02-28 16:20:192024-10-21 12:36:09Growing Joy with Maria Blog – DIY Houseplant First Aid Kit

VIDEO: How to Make Kokedama | Growing Joy with Maria

February 13, 2024/in Blog, Growing Joy with Maria
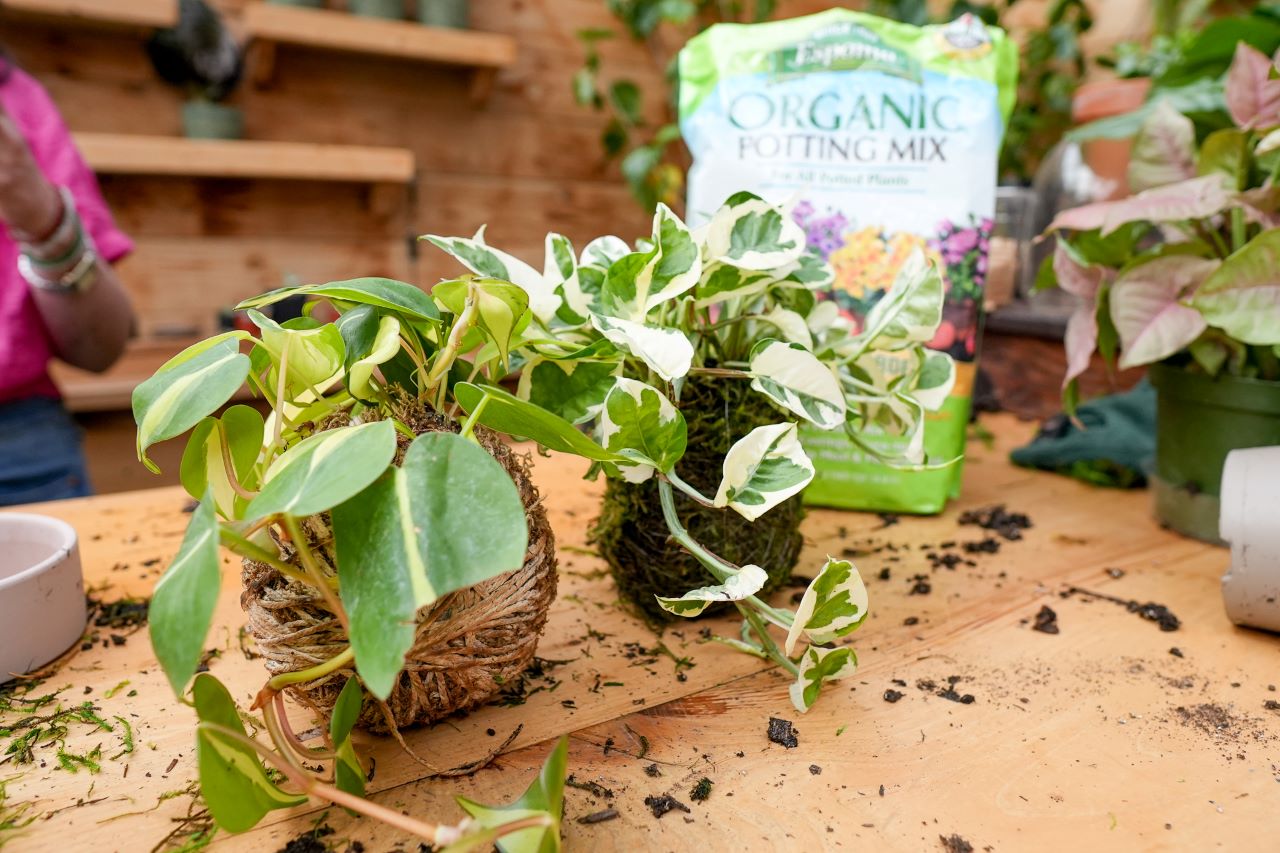
 Follow along as Maria from Growing Joy with Maria makes kokedama, a Japanese craft tradition of wrapping plants in moss balls.


Featired Products:

Where to Buy

https://www.espoma.com/wp-content/uploads/2024/02/Copy-of-DSC00298.jpg 1365 2048 Matt Dauphinais https://www.espoma.com/wp-content/uploads/2023/05/espoma-logo340w-1.png Matt Dauphinais2024-02-13 12:40:502025-04-10 11:51:43VIDEO: How to Make Kokedama | Growing Joy with Maria

Growing Joy with Maria Blog: Succulent Care 101

November 30, 2023/in Blog, Growing Joy with Maria, Succulents

Succulents are controversial plants in the houseplant community. The trouble with succulents is that they’re often described as “impossible to kill.” This sets up unrealistic expectations—when the inevitable happens and they die, it only reinforces the idea that you’re a failure at plant parenting. 

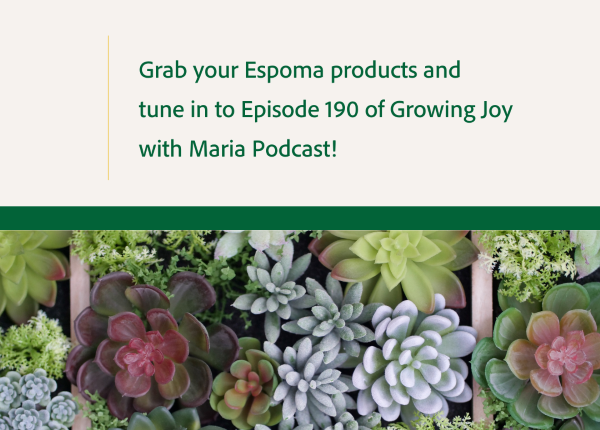
This blog is inspired by Episode 190 of the Growing Joy with Maria Podcast, where host Maria Failla interviewed succulent expert Andrea of Justsuccit.com to give you tips for growing happy, healthy succulents inside your home.

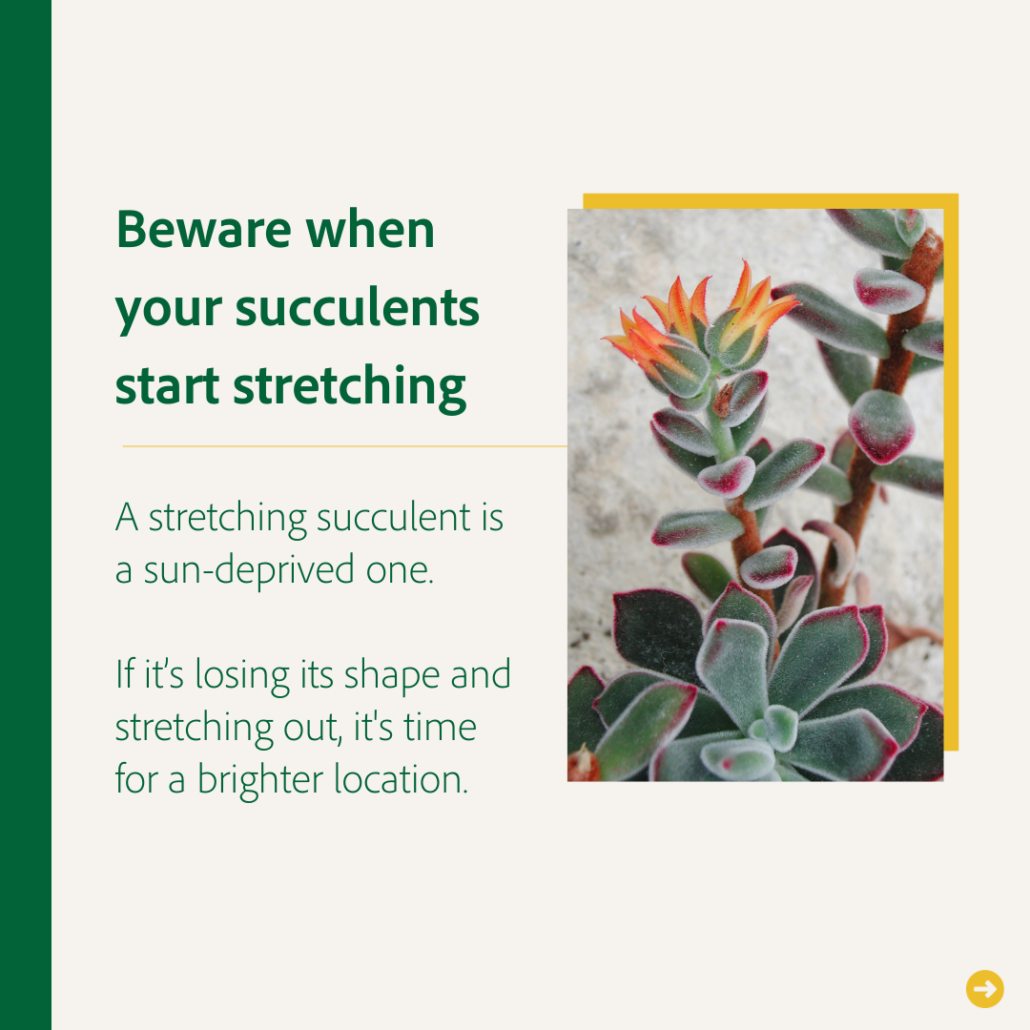
One very common misconception is that when a succulent starts stretching or etiolating, meaning growing leggy and elongated, that it’s happy and thriving. Actually, the opposite is true—stretching is a sign that the desperate succulent is searching for more sunlight!

So why do succulents die? There are three main reasons:

  1. Overwatering – This doesn’t mean watering too much at once, but rather watering too frequently. Succulents prefer a thorough watering followed by a complete drying out period before the next drink.
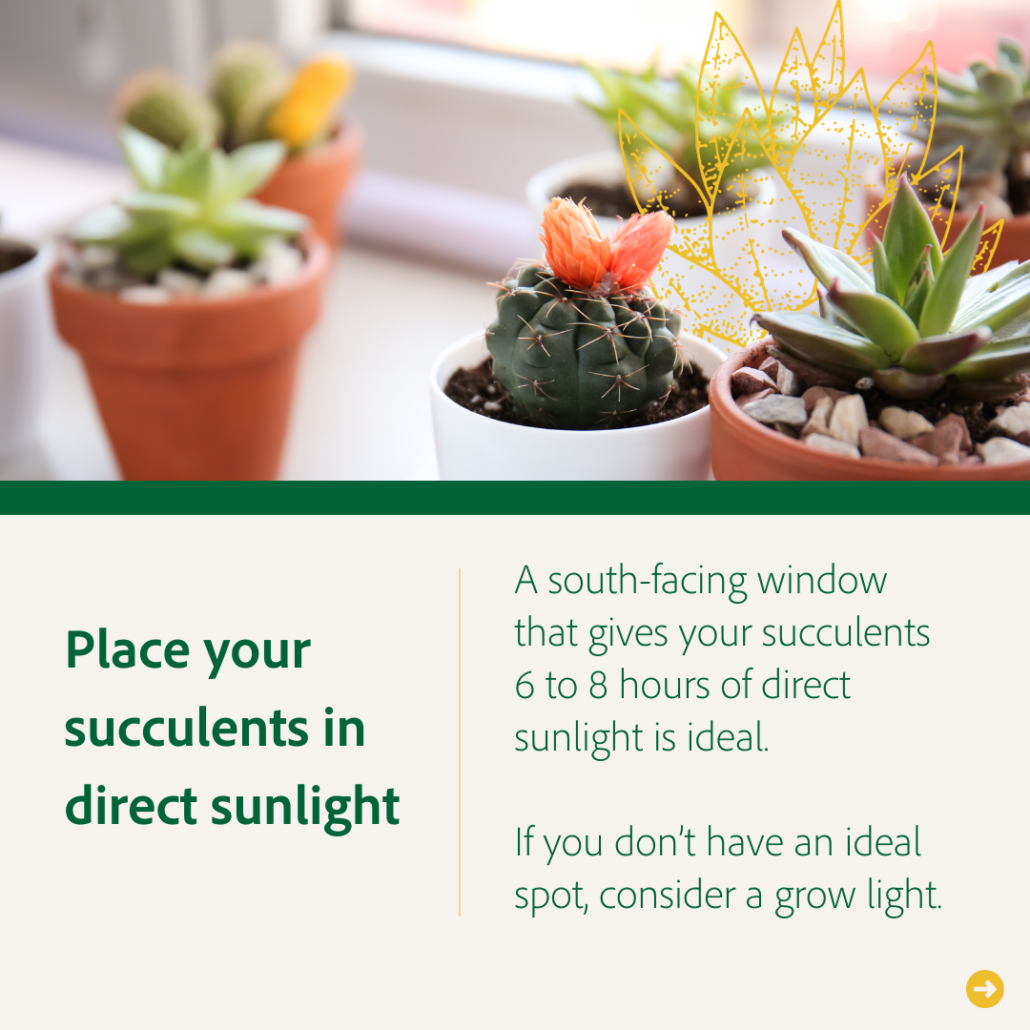
  2. Inadequate light – Most succulents require several hours of direct sunlight daily. A bright window alone won’t cut it. Southern-facing windows or grow lights are best.
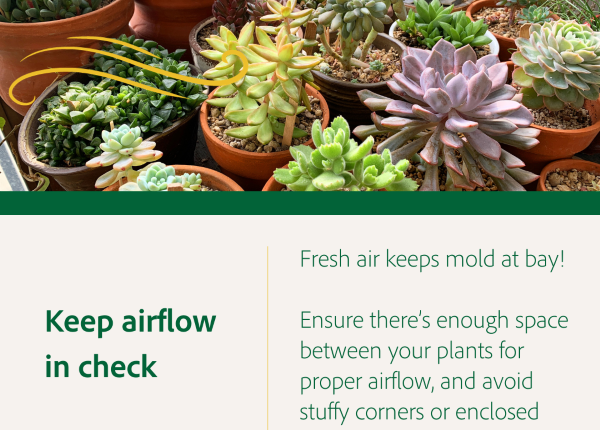
  3. Lack of airflow – Succulent nurseries actually use fans on their succulents! A small fan indoors can help mimic their natural environment.

Caring for succulents isn’t extremely complicated, but you do need to get a few key things right.

Before watering, check the soil

When it comes to water, always check the soil moisture first by sticking your finger in the pot. Wait until the soil is completely dry and the plant looks thirsty before watering again. When you do water, give the plant a thorough, deep drink until water drains from the bottom. Then allow the plant to almost fully dry out before repeating.

Place your succulents in direct sunlight

Providing adequate sunlight is critical for succulents to maintain their compact shape and vivid colors. Varieties with more intense colors require more light. Outdoor full sun is ideal, but indoors, you’ll need a bright southern-facing window or grow lights.

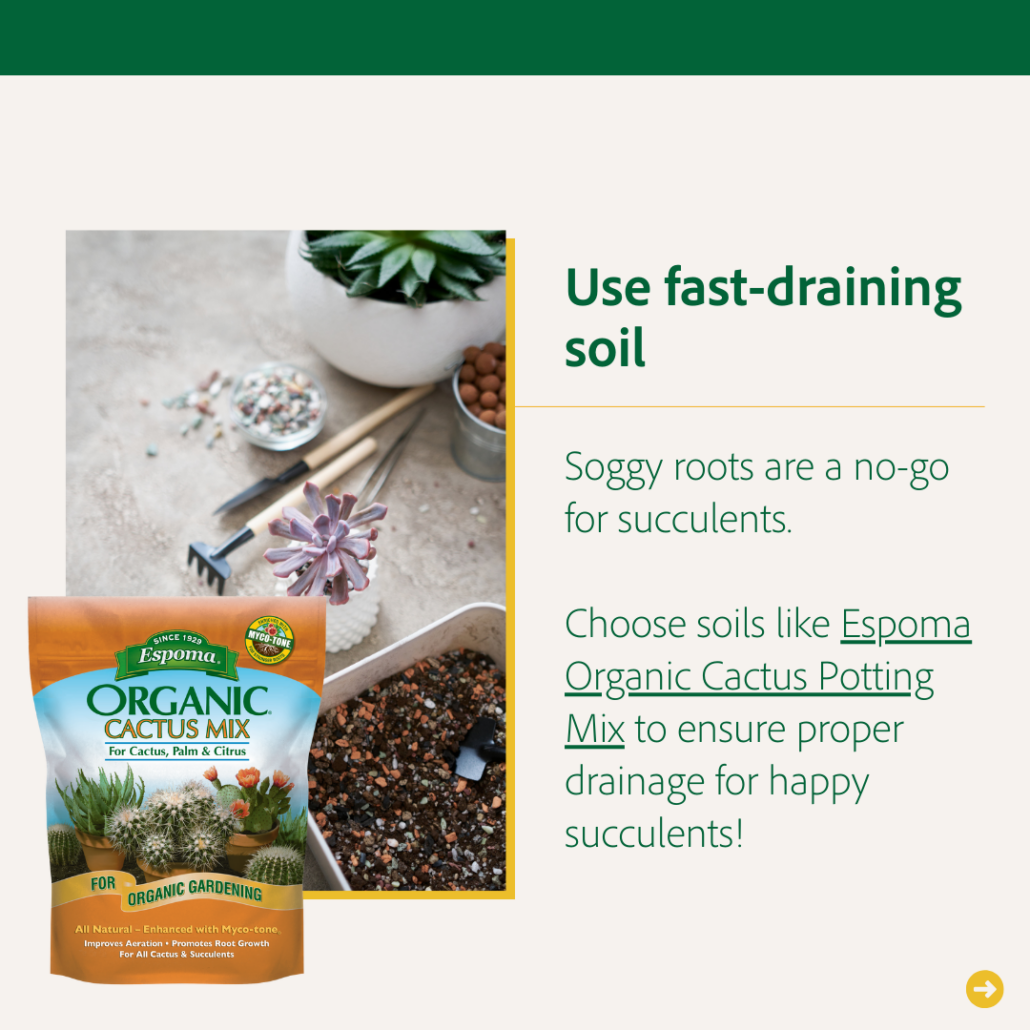
Place your succulents in fast-draining soil

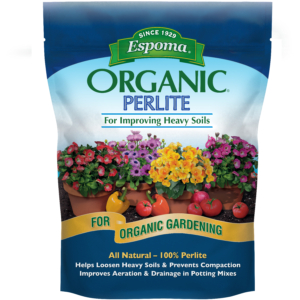
Succulents require a fast-draining medium like Espoma Organics Cactus Mix to prevent root rot, but you can create your own by amending regular potting soil with perlite, pumice, or bark. One thing—always use containers with drainage holes! Without drainage, you’re just asking for trouble.

Feeding your succulents

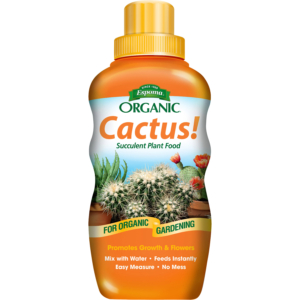
While succulents don’t need frequent feeding, giving them a nutritional boost during their growing season can be beneficial. Espoma Organic Cactus! provides essential proteins enhanced with kelp extracts, humic acids, and microbes in a balanced form suitable for indoor succulents.

Succulent Propagation

Propagating succulents is fun and helps them multiply. The easiest method for beginners is leaf propagation.

Carefully twist off fresh leaves with the base still attached. Let the end callus over in a dry spot, then look for baby plantlets or roots emerging as a sign of growth. Once the mother leaf shrivels up, plant the baby in your fast-draining soil and water a bit more frequently than mature plants.

Beginner Friendly vs Advanced Succulents

Some succulents are easier to care for than others. Beginner-friendly plants include:

  • Jade Plants
  • Snake Plants
  • Haworthia

More challenging “advanced” succulents include:

  • Lithops
  • String of Pearls

What have you learned? With some specialized care related to water, sunlight, and soil medium, you can absolutely grow succulents indoors. Understand their needs, make adjustments, and you’ll stop killing them in no time. Be mindful and patient—their adaptations can teach us important life lessons. Open your heart and let your succulents embrace you!

*****

Featured Products:


Where to Buy

https://www.espoma.com/wp-content/uploads/2023/11/Copy-of-Espoma-Succulent-101.png 1080 1080 Matt Dauphinais https://www.espoma.com/wp-content/uploads/2023/05/espoma-logo340w-1.png Matt Dauphinais2023-11-30 11:33:082023-11-30 11:33:08Growing Joy with Maria Blog: Succulent Care 101

Growing Joy with Maria Blog: Monstera 101

November 13, 2023/in Blog, Growing Joy with Maria

With its glossy leaves and signature holes, Monstera deliciosa (a.k.a. the Swiss Cheese plant), has become the latest Instagram celebrity. Named after the Latin word “monstrous,” these plants’ leaves can grow up to two feet wide! The Monstera is popular among plant parents looking to create an urban jungle in their homes, and despite appearances, aren’t that tricky to care for.

This blog is inspired by Episode 33 of Growing Joy with Maria Podcast, where host Maria Failla interviewed Scott Cain, owner of @tropicaloco on Instagram, to discuss how to keep your Monstera happy and healthy.

Caring for Your Monstera

Light

Monsteras thrive in bright, indirect sunlight. Place your Monstera 1-3 feet away from an east-facing or west-facing window where it will receive bright, indirect light throughout the day. Avoid south-facing windows as they can provide harsh, direct sunlight that will scorch the leaves. If your Monstera sits in direct light, keep a close watch to make sure leaves do not burn.

Water

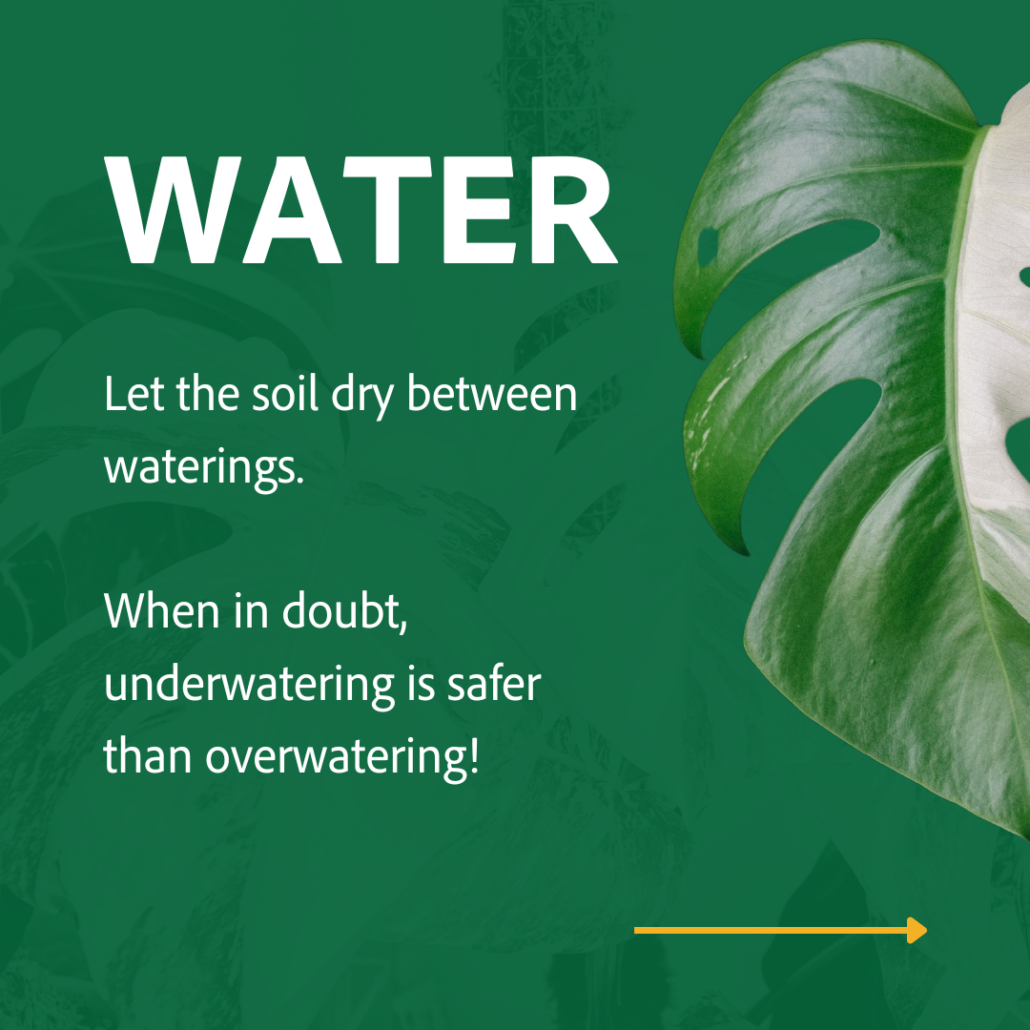
Monstera is a tropical plant that prefers evenly moist (but not soggy) soil. Allow 1-2 inches of the topsoil to dry out between waterings, checking with your finger to be sure there is no residual moisture. According to Scott, it’s better to under-water these plants than over-water them. For assistance in the perfect balance, use an organic potting soil like Espoma Organic Potting Mix to help retain moisture.

Fertilizer

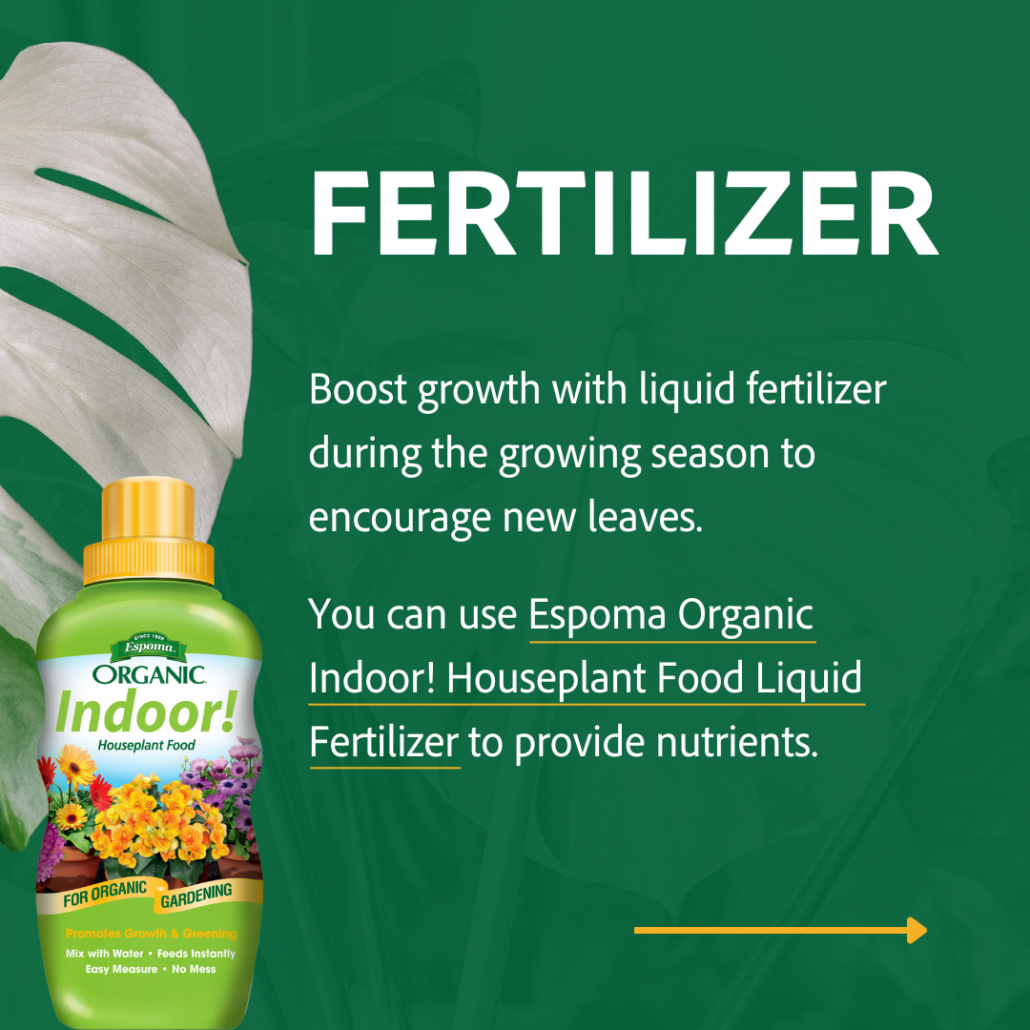
During the growing season, use a diluted liquid fertilizer to help encourage new growth. Look for options made for tropical foliage plants, such as Espoma Organic Indoor Plant Food!


Cleaning

Over time, Monstera leaves can gather dust that blocks their ability to photosynthesize. Every 1-2 weeks, gently wipe both sides with a damp cloth or paper towel to remove dust. For an occasional, deeper clean, move the plant to a kitchen or bathroom for a gentle shower. Be sure it dries fully before returning to bright light to avoid sunburn.

Support

While not always needed, providing a moss pole or other support structure can help train your Monstera’s growth vertically. If aerial roots form, gently tuck them into the moss pole or back into the soil to ensure they do not lose nutrients. For the best moss pole, keep it slightly moist.


Fixing Common Monstera Problems

If your Monstera leaves start to change colors or droop, pinpoint the problem with this troubleshooting guide by Scott:

  • Drooping or yellowing leaves: Normally a sign of overwatering. Allow soil to dry out more between waterings.
  • Brown leaf tips: Indicates too much sun, overwatering, or just old leaves. Remove the entire leaf by cutting at the base of the stem.
  • Small new leaves: If your plant’s new growth is smaller than other leaves, it needs more sunlight. Move it closer to a window.
  • Wilting: Both too little and too much water can make the leaves wilt. Check soil moisture by sticking your finger in it before watering to ensure you are watering at the right times.

By observing your plant’s needs and making adjustments accordingly, you can get your Monstera back to its healthy, happy self. Patience and attentiveness are always key!


Different Types of Monstera Plants

There are around 50 species in the Monstera genus, though the types you’re most likely to find for sale include:

Monstera deliciosa: The classic swiss cheese plant, known for its big, heart-shaped leaves. In the wild, it can produce edible fruit.

Monstera adansonii: Also referred to as the swiss cheese vine, due to its smaller oval leaves and growth like a vine.

Monstera borsigiana: Sometimes confused with deliciosa, it has flexible leaves without the ruffled part where they attach to the stems.

Monstera obliqua: Very rare as houseplants. It has lacy leaves with lots of holes and thin leaf strands.

Monstera variegata: A Monstera variety with white variegation on the leaves. Variegated Monstera need more light than non-variegated Monstera.

Caring for your Monstera is simple as long as you stay aware of the right growing conditions. Their interesting shapes and detailed leaves make them gorgeous to plant parents and visitors alike.

*****

Featured Products: 


Where to Buy


https://www.espoma.com/wp-content/uploads/2023/11/Copy-of-Espoma-Monstera-101.png 1080 1080 Matt Dauphinais https://www.espoma.com/wp-content/uploads/2023/05/espoma-logo340w-1.png Matt Dauphinais2023-11-13 14:40:512023-11-13 14:45:45Growing Joy with Maria Blog: Monstera 101

Growing Joy with Maria: Plant Projects for Kids

October 12, 2023/in Blog, Growing Joy with Maria

Indoor Plant Projects for Kids

Looking for ideas to keep your kids engaged with nature while they’re indoors for the season? Look no further!

This blog is inspired by Episode 104 of Growing Joy with Plants Podcast, where host Maria Failla discusses fun, indoor plant-based projects for kids of all ages with teacher turned content creator, Joe Dombrowski. These activities will allow your children to learn about plants, science, and nature in a hands-on way, and the best part is they require minimal supplies and space, making them doable for those without big yards.

Let’s dig in!

Project 1: Seed Germination 

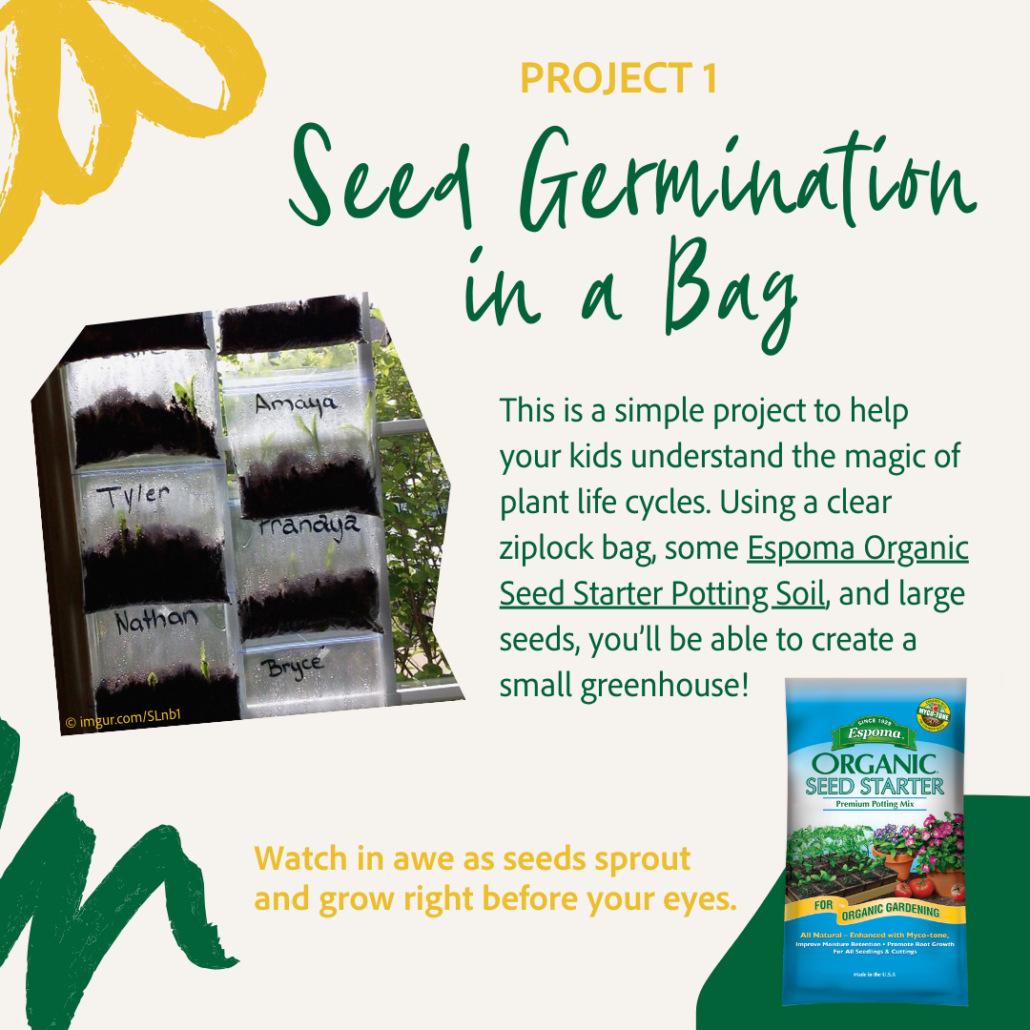
This first project allows kids to observe the entire seed germination and plant life cycle close-up.

Supplies Needed:

  • Clear ziplock bag (quart or gallon size)
  • Potting soil, about 2 cups
  • Marker for labeling bags
  • Large seeds, such as pumpkin or lima beans
  • Water
  • Tape or a pin to attach bag to window, wall, or bulletin board

Steps:

  1. Add 2 cups of Espoma Seed Starter Potting Soil Mix to the bottom of the ziplock bag. Lightly mist the soil with water until moist but not soaked.
  2. Plant 1-2 large seeds in the center of the bag, either close to the side for visibility or in the middle for some mystery.
  3. Seal the bag most of the way, leaving a bit of air inside.
  4. Hang the bag on a window or bulletin board using tape or tacks.
  5. Use Espoma Indoor! Plant Food to feed plants once sprouted.

What Happens: The sealed environment leads to condensation forming inside the bag. This “precipitation” falls back to the soil, watering the seeds. Kids will be able to observe the seed sprouting roots and, eventually, the plant emerging. The water cycle is happening right before their eyes!

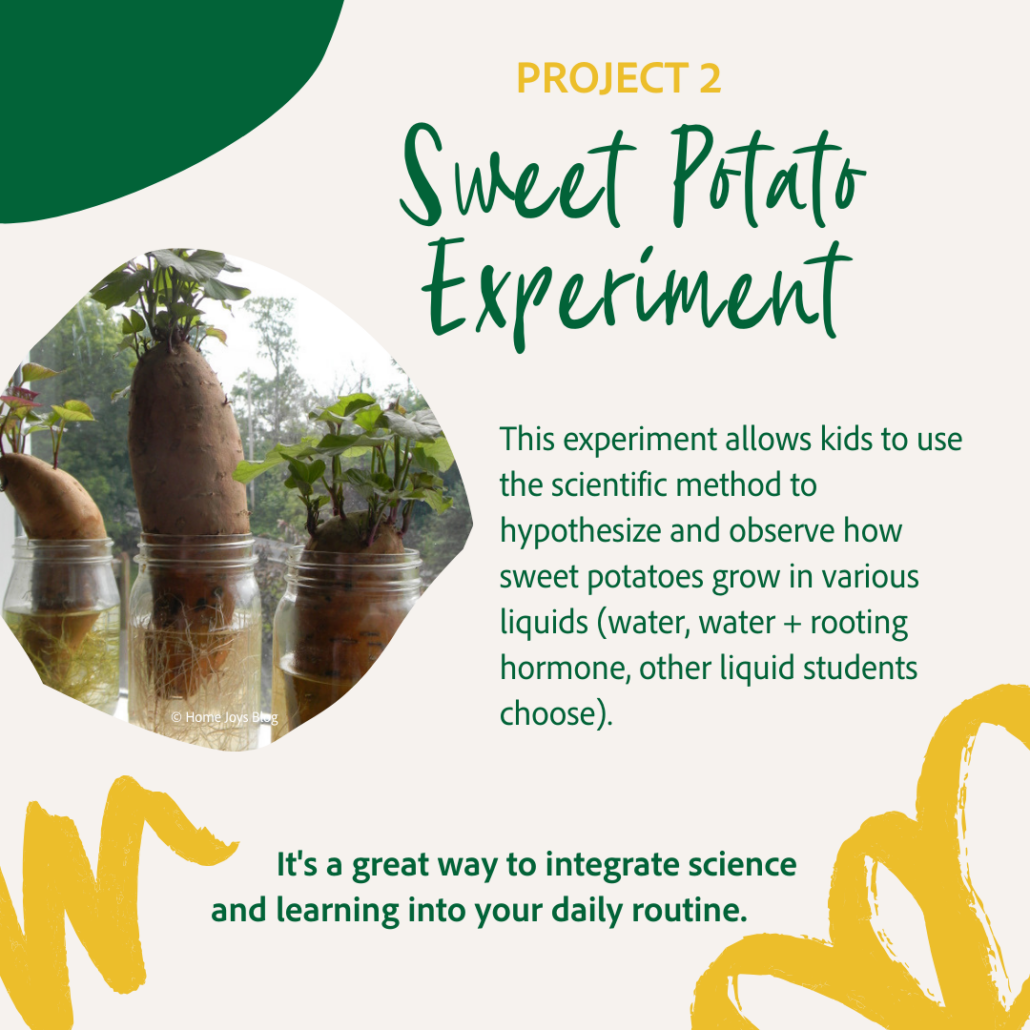
Project 2: Sweet Potato Experiment

Let kids play “mad scientist” with this rooting experiment using sweet potatoes and different liquids.

Supplies:

  • 3 sweet potatoes
  • 3 clear cups or jars, enough for each liquid
  • Water
  • Rooting hormone
  • Other liquid of child’s choice (safe options like juice, soda, etc.)

Steps:

  1. Pick 3 sweet potatoes from the grocery store; if you can pick one with “eyes” (buds), choose those!
  2. Fill each cup with a different liquid: water, water + rooting hormone, and any other liquid the student chooses.
  3. Place the sweet potato’s bottom third in each liquid, using toothpicks to hold it up.
  4. Have kids hypothesize what will happen: which potato will root the best and why? How long will it take?
  5. Observe the changes each day.

What Happens: Kids get to play with the scientific method: hypothesis, experimentation, and observation as they learn about root and shoot growth through trial and error testing. Discuss how and why the results turned out the way they did in the end, and conclude which liquid was the best for plant growth!

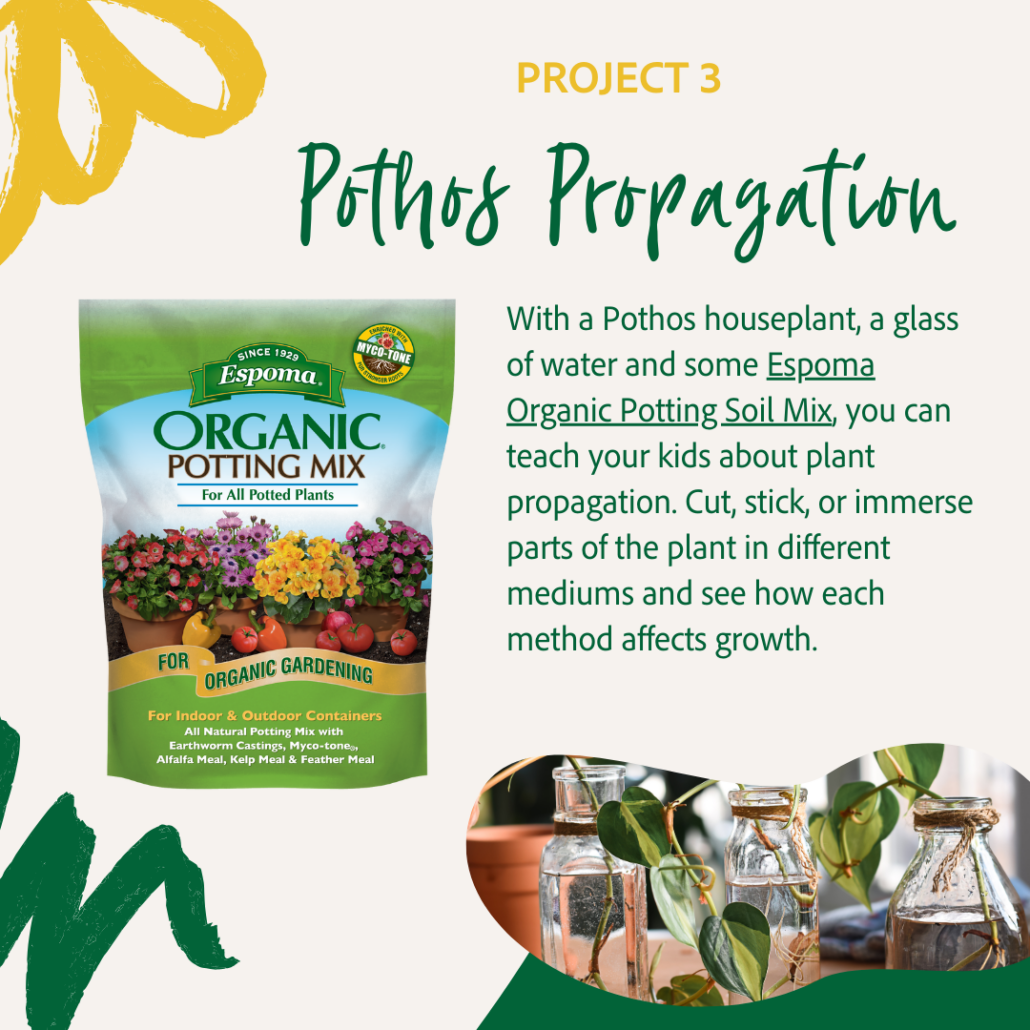
Project 3: Pothos Propagation 3 Ways

Kids can learn how plants reproduce by trying their hand at propagating pothos cuttings in different ways.

Supplies:

  • Pothos houseplant
  • Scissors
  • Water
  • Small pots or containers
  • Espoma Potting Soil

Steps:

  1. Cut a vine below a node and place in water (water propagation).
  2. Cut a vine and stick it directly into soil (soil propagation).
  3. Remove a leaf, place the petiole in water (new plant just from leaf).

What Happens: Watch roots form in cuttings in water. Look for new vines sprouting from cuttings in soil. See new baby pothos plants emerge just from the leaf. All of these are different ways to reproduce a plant that your child can learn from!

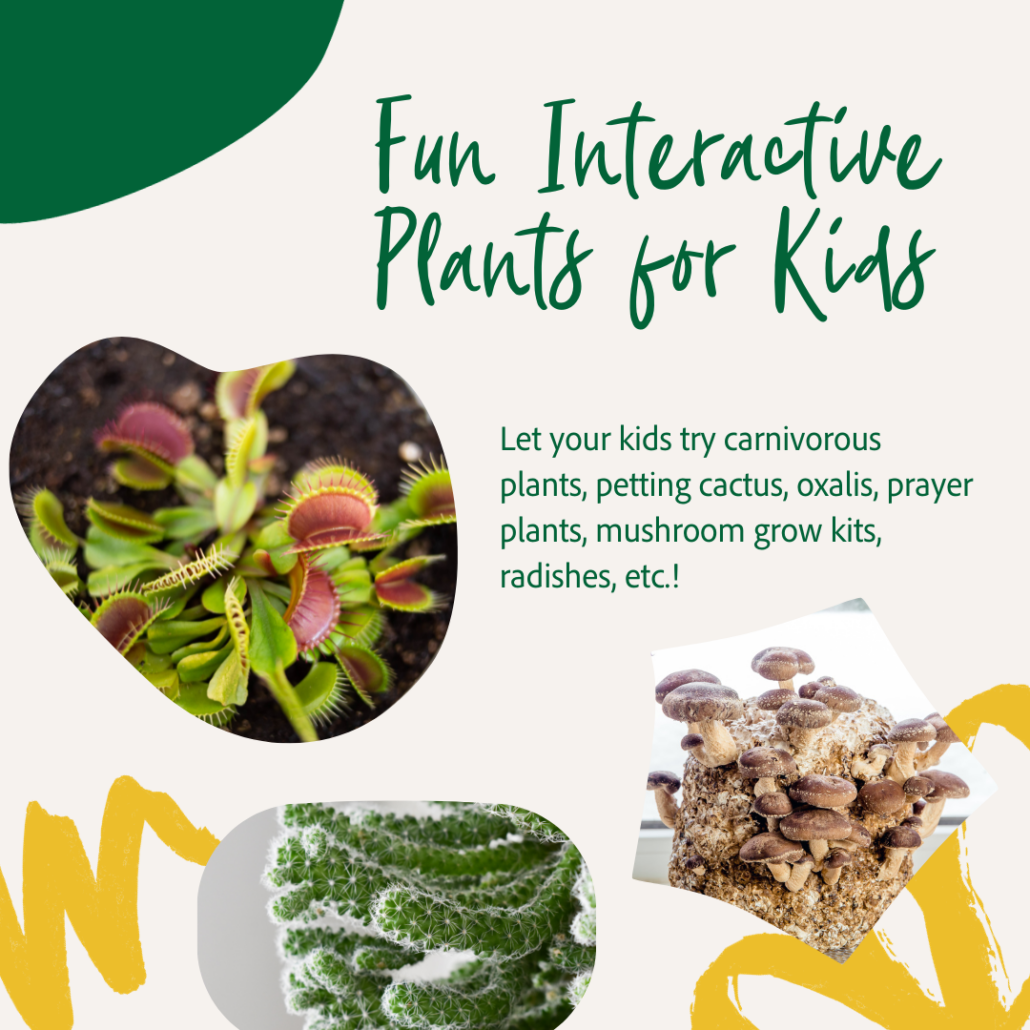
Bonus: Fun Interactive Plants for Kids

Add some engaging plants to a kids room or learning space to pique their interest in nature.

Some plants to try:

  • Carnivorous plants – Venus flytraps and pitcher plants are endlessly fascinating
  • Sensitive plant (Mimosa pudica) – leaves close up when touched
  • Petting cactus – start growing your own with Espoma Cactus Potting Mix 
  • Plants that move – oxalis, prayer plants, etc.
  • Mushroom grow kits – watch fungi sprout up rapidly
  • Amaryllis bulbs – watch them bloom
  • Radishes – fast-growing and edible

The hands-on nature of these plants captures kids’ attention and turns them into budding botanists. They learn that plants are living things that move and change. 

Bringing nature indoors that kids can touch and interact with is needed now more than ever, as plants bring benefits like creativity, reduced stress, and increased focus. Hopefully, these planty projects have sparked some ideas for easy ways to engage your kids all year long, even when they’re inside!

*****


Featured Products:


Where to Buy


https://www.espoma.com/wp-content/uploads/2023/10/Espoma-Indoor-Plant-Projects-for-Kids.png 1080 1080 Matt Dauphinais https://www.espoma.com/wp-content/uploads/2023/05/espoma-logo340w-1.png Matt Dauphinais2023-10-12 14:09:152024-08-30 20:24:50Growing Joy with Maria: Plant Projects for Kids

Growing Joy with Maria Blog: Fall Gardening Tips

September 18, 2023/in Blog, Bloom and Grow Radio, Fruits & Vegetables - None, Growing Joy with Maria, Growing Joy with Maria

For many gardeners, the arrival of fall means the end of the growing season. Once the weather turns cool, it’s easy to assume that it’s time to clear out the vegetable garden and put the tools away until spring. However, fall is actually an ideal time for gardening! You can extend your productive garden season into the cooler months with simple preparations and proper plant choices.

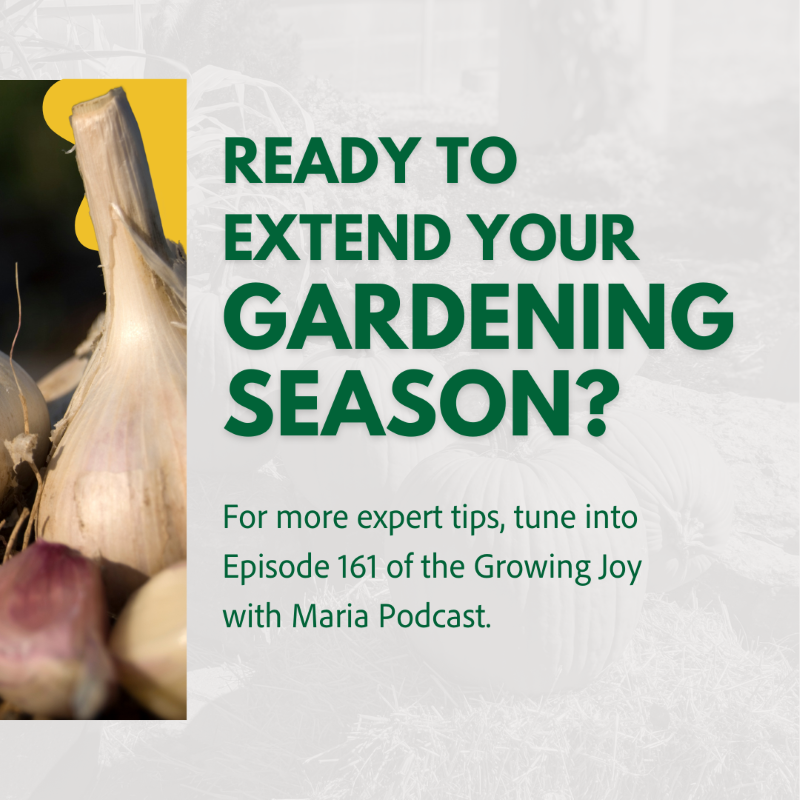
This blog is inspired by Episode 161 of Growing Joy with Maria Podcast, where host Maria Failla talks about how to keep your edible garden going strong into fall with our go-to organic gardening expert, Joe Lamp’l. His latest book, The Vegetable Gardening Book, is a complete guide to growing an organic edible garden from seed to harvest.

When to Plant Your Fall Garden

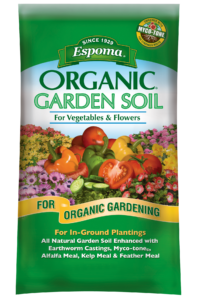
Surprisingly, plants that like the cold actually need to be planted while it’s still warm outside! This is the perfect opportunity to prepare your garden beds using Espoma Organic Garden Soil, ensuring that your plants have the best possible start.

If you plant them in August or July, they can get comfy in the warm soil. As they grow bigger, the weather gets cooler—which is precisely the environment they thrive in. It’s important to plant them early enough in the fall so they have ample time to mature before the days become shorter. If you wait too long, they might stop growing and remain at a certain stage.

Here’s the cool part: When these plants get a touch of frost, they turn sweeter. The chemical reactions triggered by frost cause sugars within the plants to become more prominent, resulting in a sweeter taste. It’s like they have a flavor makeover! 

Here are some specific timeframes for planting popular fall veggies:

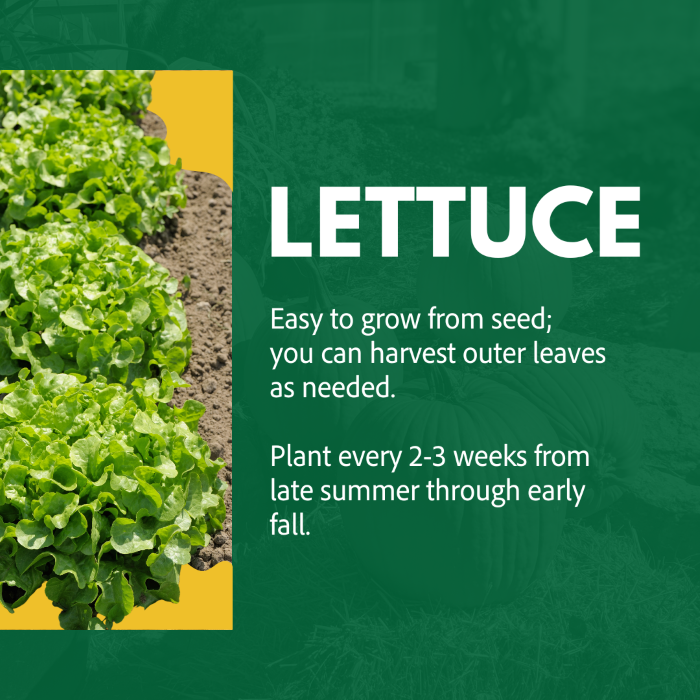
  • Lettuce, spinach, arugula – Plant every 2 to 3 weeks from late summer through early fall.
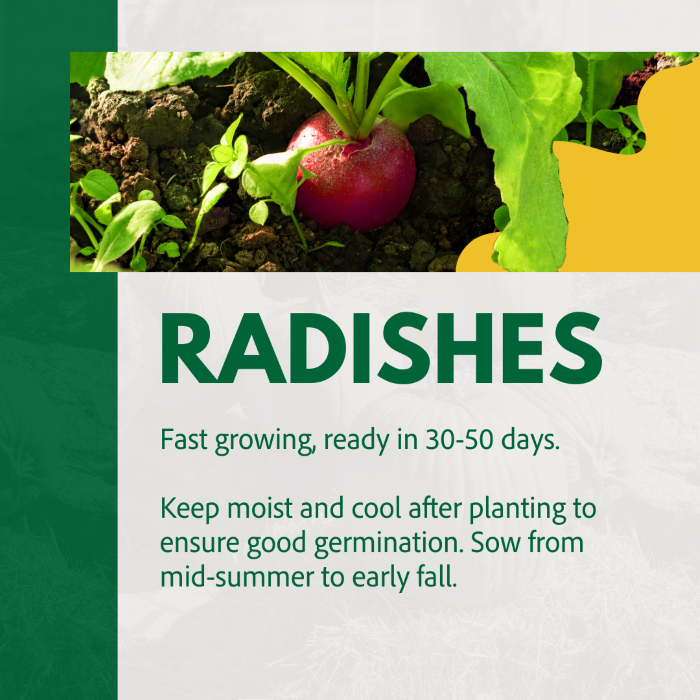
  • Radishes, kale, beets – Sow from mid-summer to early fall.
  • Peas – Plant as soon as summer crops finish since peas don’t handle frost well.
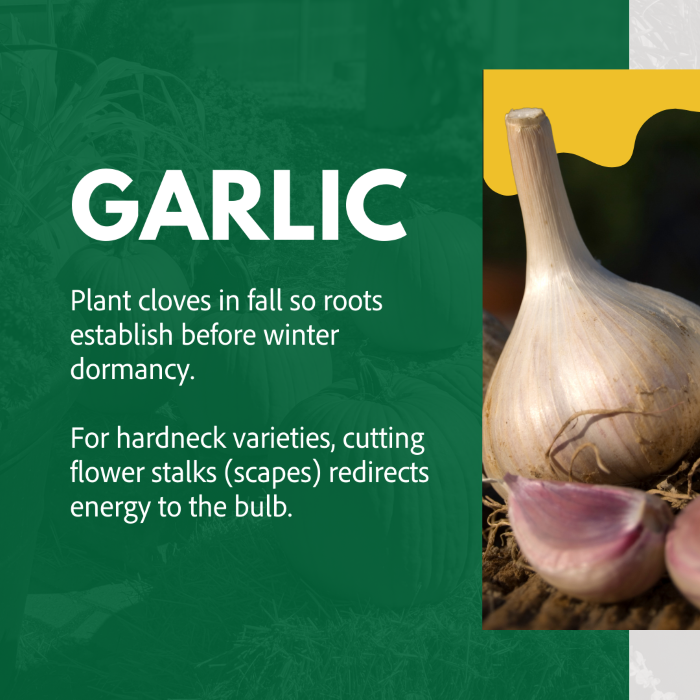
  • Garlic – Plant garlic cloves in late fall about 6 to 8 weeks before the ground freezes.

Best Crops for Fall Gardening

While frost renders warm-weather favorites like tomatoes and peppers useless, many vegetables actually thrive in cooler temperatures. Focus your fall planting on these cold-hardy, tasty options:
Lettuce

Lettuce is one of the easiest vegetables to grow in fall, thanks to its love of light, or being “photoblastic.” Simply sprinkle the tiny seeds onto the soil’s surface  (Espoma Organic’s Potting Mix is a great choice here), keep them moist, and young seedlings will emerge within a couple of days. The chilly autumn nights prevent lettuce from bolting or forming flower stalks prematurely.

Kale

This superfood green becomes even more nutritious after being exposed to frost, which causes it to convert starch into sugar. That makes fall-grown kale incredibly sweet and flavorful compared to the bitter reputation it garners. It’s also one of the most cold-tolerant vegetables, lasting through winter in many regions.

Spinach

Like kale, spinach responds to cold conditions by producing more sugars. While spinach seeds can be tricky to germinate, the plants readily tolerate freezing weather. Choose “overwintering” spinach varieties to grow them in the winter months.

Beets

Beets are root vegetables that do well in the fall and are Joe’s favorite fall plants. They have an earthy flavor that some people may find off-putting, but there are now varieties available that offer all the qualities of beets you know and love, minus the strong earthiness.
Radishes

Radishes grow crisp and rapid in the fall, ready to harvest in as little as 30 days. Succession plant them every week or two for a steady supply throughout the season.

Peas

Peas make for an excellent fall crop. They become very sweet, but keep a close eye: they aren’t as frost-tolerant as other vegetables. 
Garlic

Garlic is typically planted in November before the ground freezes. Not only is it everyone’s favorite flavor in sauces, soups, stir-fries, roasted dishes, and garlic scape pesto—but it also serves as a great pest-deterrent! Garlic is resilient and can be grown ornamentally.
Carrots

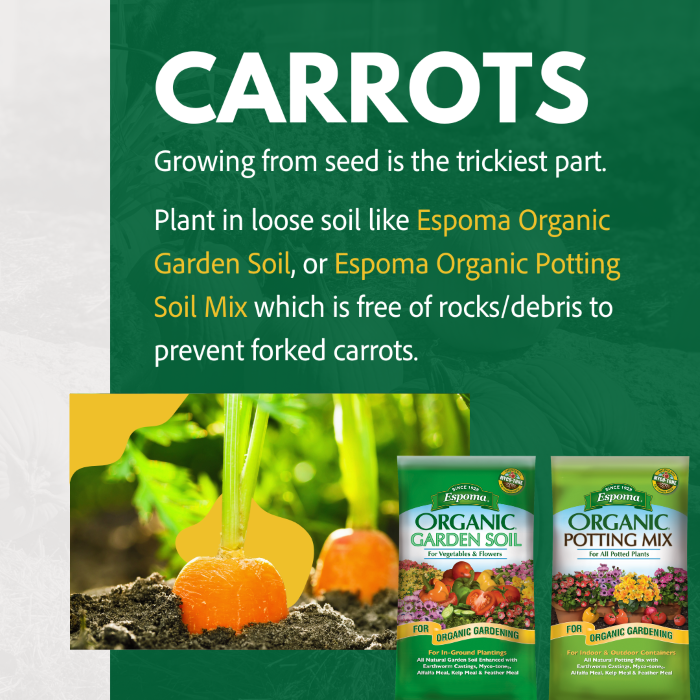
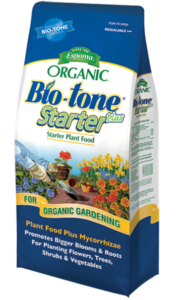
Carrots require good soil and care during germination. They should be kept moist and cool until they sprout. There is a risk of underground splitting if they encounter obstacles, but using fertilizers like Espoma Organic Biotone Starter Plus can prevent this.

Other plants to consider:

  • Brussel sprouts
  • Arugula
  • Kohlrabi
  • Cabbage

Why “Think Like a Plant”

Even experienced gardeners like Joe Lamp’l run into problems with pests, diseases, or environmental factors impacting their plants. When something goes wrong in your garden, he recommends first taking a step back (rather than blaming it on, say, cool weather).

He suggests putting yourself in the plant’s position, which is a concept Joe likes to call “planthrophormizing.” Observe its symptoms closely, then deduce what factors might be causing them. Is the plant wilting from under or overwatering? Do chewed leaves indicate pests? Are yellowed lower leaves a sign of nutrient deficiency? In such cases, Espoma’s line of organic fertilizers can be a solution, helping replenish essential nutrients and restore plant health.

Fall Gardening Mindset

In addition to crop selection and timing, Joe spoke about shifting your mindset when it comes to fall gardening. So take a minute to relax: This is a chance to slow down and decrease the intensity after the long summer months. 

Many fall vegetables like lettuce and radishes mature much quicker, in 30 to 60 days, so the stakes are lower than starting a long-season crop like tomatoes or peppers. For gardeners who dealt with challenges and setbacks in the summer, fall is an opportunity to learn from mistakes and try again with a new perspective.

Start small, keep it simple, and don’t overcomplicate things.


With the right mindset and plant choices, you can enjoy fresh homegrown produce from your garden into late fall or early winter. Follow these tips to make the most of the fall gardening season. No need to put those tools away just yet!


Featured Products:


Where to Buy


https://www.espoma.com/wp-content/uploads/2023/09/Espoma-Fall-Gardening-Tips-Fall-Crops.png 1080 1080 Matt Dauphinais https://www.espoma.com/wp-content/uploads/2023/05/espoma-logo340w-1.png Matt Dauphinais2023-09-18 11:38:202023-09-18 11:38:20Growing Joy with Maria Blog: Fall Gardening Tips
Where to Buy

Get News & Updates

Recent Posts

  • VIDEO: How to Plant a Raised Bed Like a Pro with Farmer Nick
  • VIDEO: Transplanting Magnolias 🪴🌺 with Wyse Guide
  • VIDEO: How to Care for Roses 🌹 & Hydrangeas 🌸 with Garden Answer
  • VIDEO: How to Grow a Hummingbird Garden 🕊️🌿🌺 | Growing Joy with Maria
  • VIDEO: Boost Your Blooms: 🌸 Fertilizing Hydrangeas the Organic Way with Skye Hamilton
Tags

All-Purpose Potting Mix bio-tone Bio-tone Starter Bio-tone Starter Plus cactus and succulents Cactus Mix caring for houseplants Container Gardening DIY project Espoma espoma grown espoma organic Espoma Organics Espoma Video fall gardening flower garden flowers garden Garden Answer Gardening gardening tips gardens grow holly-tone houseplants Indoor! indoor gardening indoor plants Kaleb Wyse organic organic fertilizer Organic Gardening organic plant food Organic Potting Mix Outdoor Gardening Planting plants Potting Mix potting soil Spring Gardening succulents summer rayne oakes vegetable garden Vegetable Gardening Wyse Guide

Espoma. A Family Tradition Since 1929.

Espoma Organic logo
  • Espoma Dealer
  • Espoma Pro
  • Garden Club
  • Privacy Policy

Scroll to top